
Hello. To celebrate my new book, Scrap Patchwork, I've put together a series of zipper pouches.
But first, let put my own plug on this wonderful book. It’s a DIY book on making organized scrappy quilts. I talk about color and organizing your stash. You’ve gotta check it out. Most of the quilt patterns comes with alternate layouts and sizes, providing you with more possibilities. You’re going to love it.

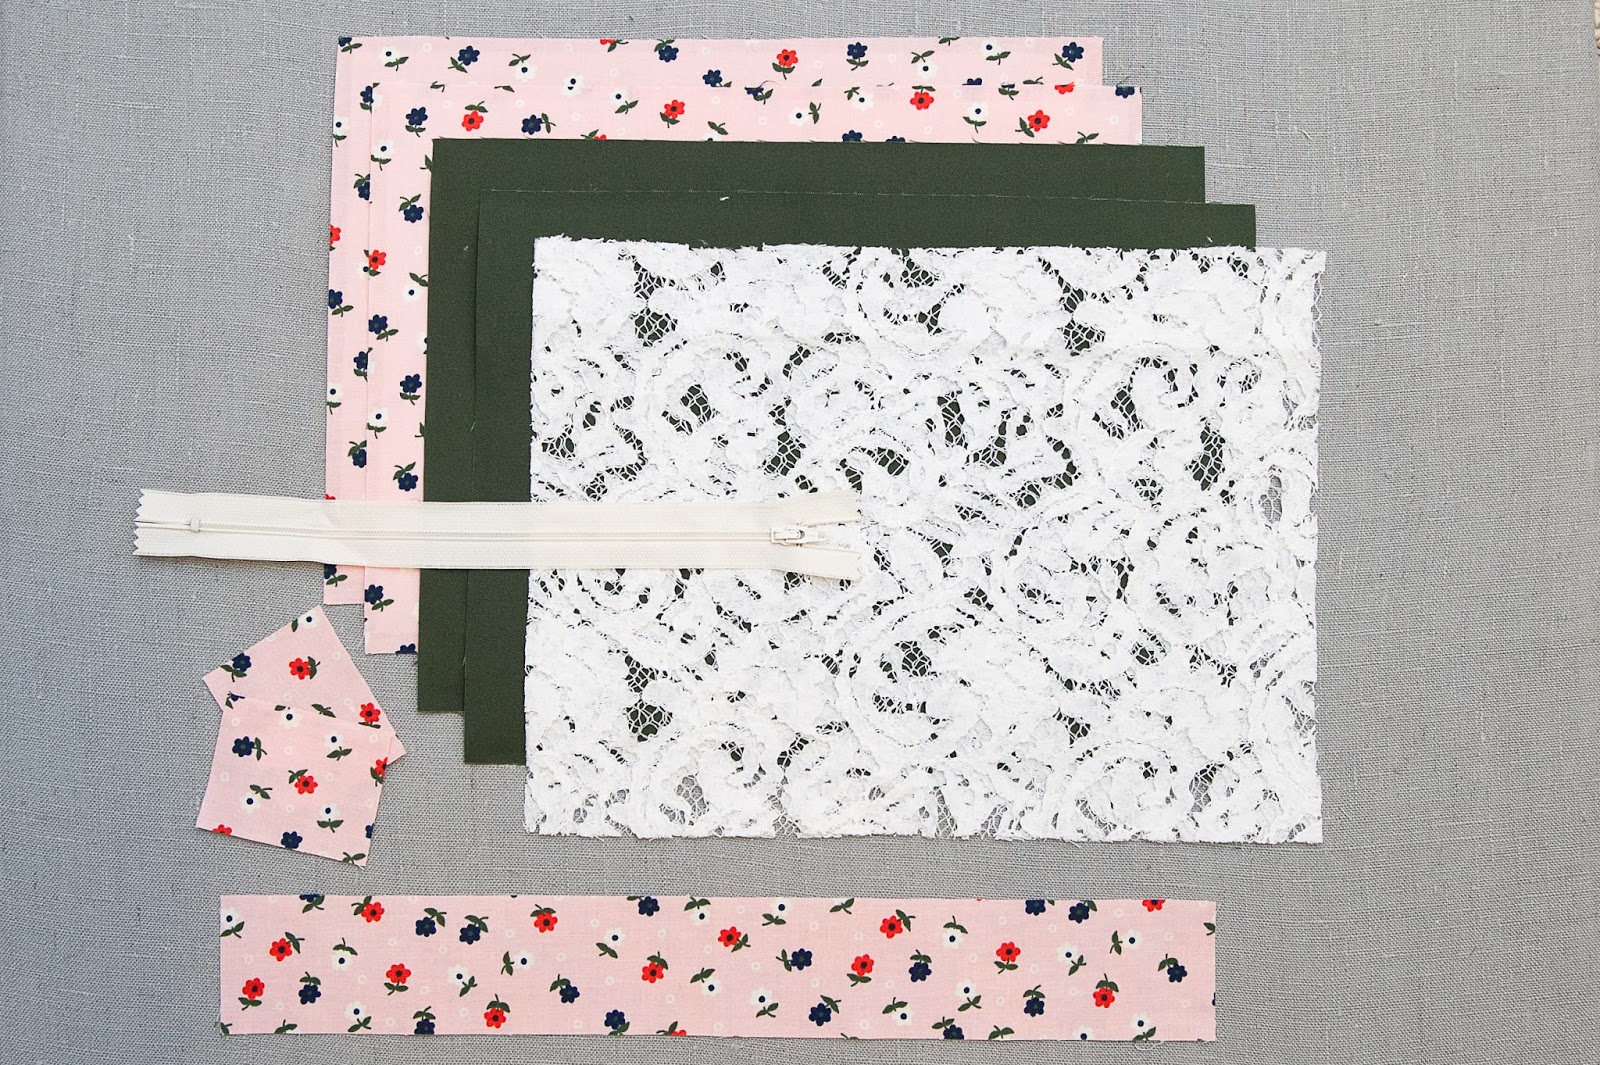
Finished Size 8” x 11”
Materials:
1/2 yard of interfacing
Fat quarter of exterior
Fat quarter of interior, straps, and zipper end covers
Fat quarter of lace
9” zipper
General quilting and sewing supplies
Cutting:
Note: I used a Pellon 809 interfacing for both the interior and exterior. I wanted my pouches stiff. Though, you don’t have to have it as stiff as mine. To soften the bag, only apply interfacing to the exterior fabric. It’s your choice.
Interfacing
4 – 8” x 11”
Exterior fabric
2 – 8 1/2” x 11 1/2”
Interior fabric, strap, and zipper end covers
2 – 8 1/2” x 11 1/2”
1 – 2” x 14 1/2” (optional strap)
2 – 1 1/2” x 2 1/2” (zipper end covers)
Lace
2 – 8 1/2” x 11 1/2”
Sew with 1/4” seam allowance.
Make the Strap:
Choose to iron on fusible interfacing on the wrong side of the handle. I did for my Zipper Pouch Square-in-a-Square. However it was so stiff, I had to place the end next to each other, instead of on top of each other. For this pouch, I left the interfacing off and I like the soften feel of it. Click here to see how to make a strap.Prep the Zipper and Make the Bag:
1. Refer to the Zipper Pouch Square-in-a-Square to prep to the zipper.
2. Iron on interfacing to front and back exterior, and front and back interior units. Center the interfacing to the wrong side of the fabrics. The interfacing is 1/4” short on all four sides. This is intended to reduce seam bulk.
3. Place the lace on top of the right side of the exterior fabric. Secure it in place by stitching it with a 1/8” seam allowance.

4. Refer to the Zipper Pouch Square-in-a-Square to make the pouch.

There you have it. There are other version of this bag to check out over on my blog. Now that you have all the ingredients to make your very own pouch, it’s your turn to make it blossom.
Enjoy!
Sandra

No comments:
Post a Comment