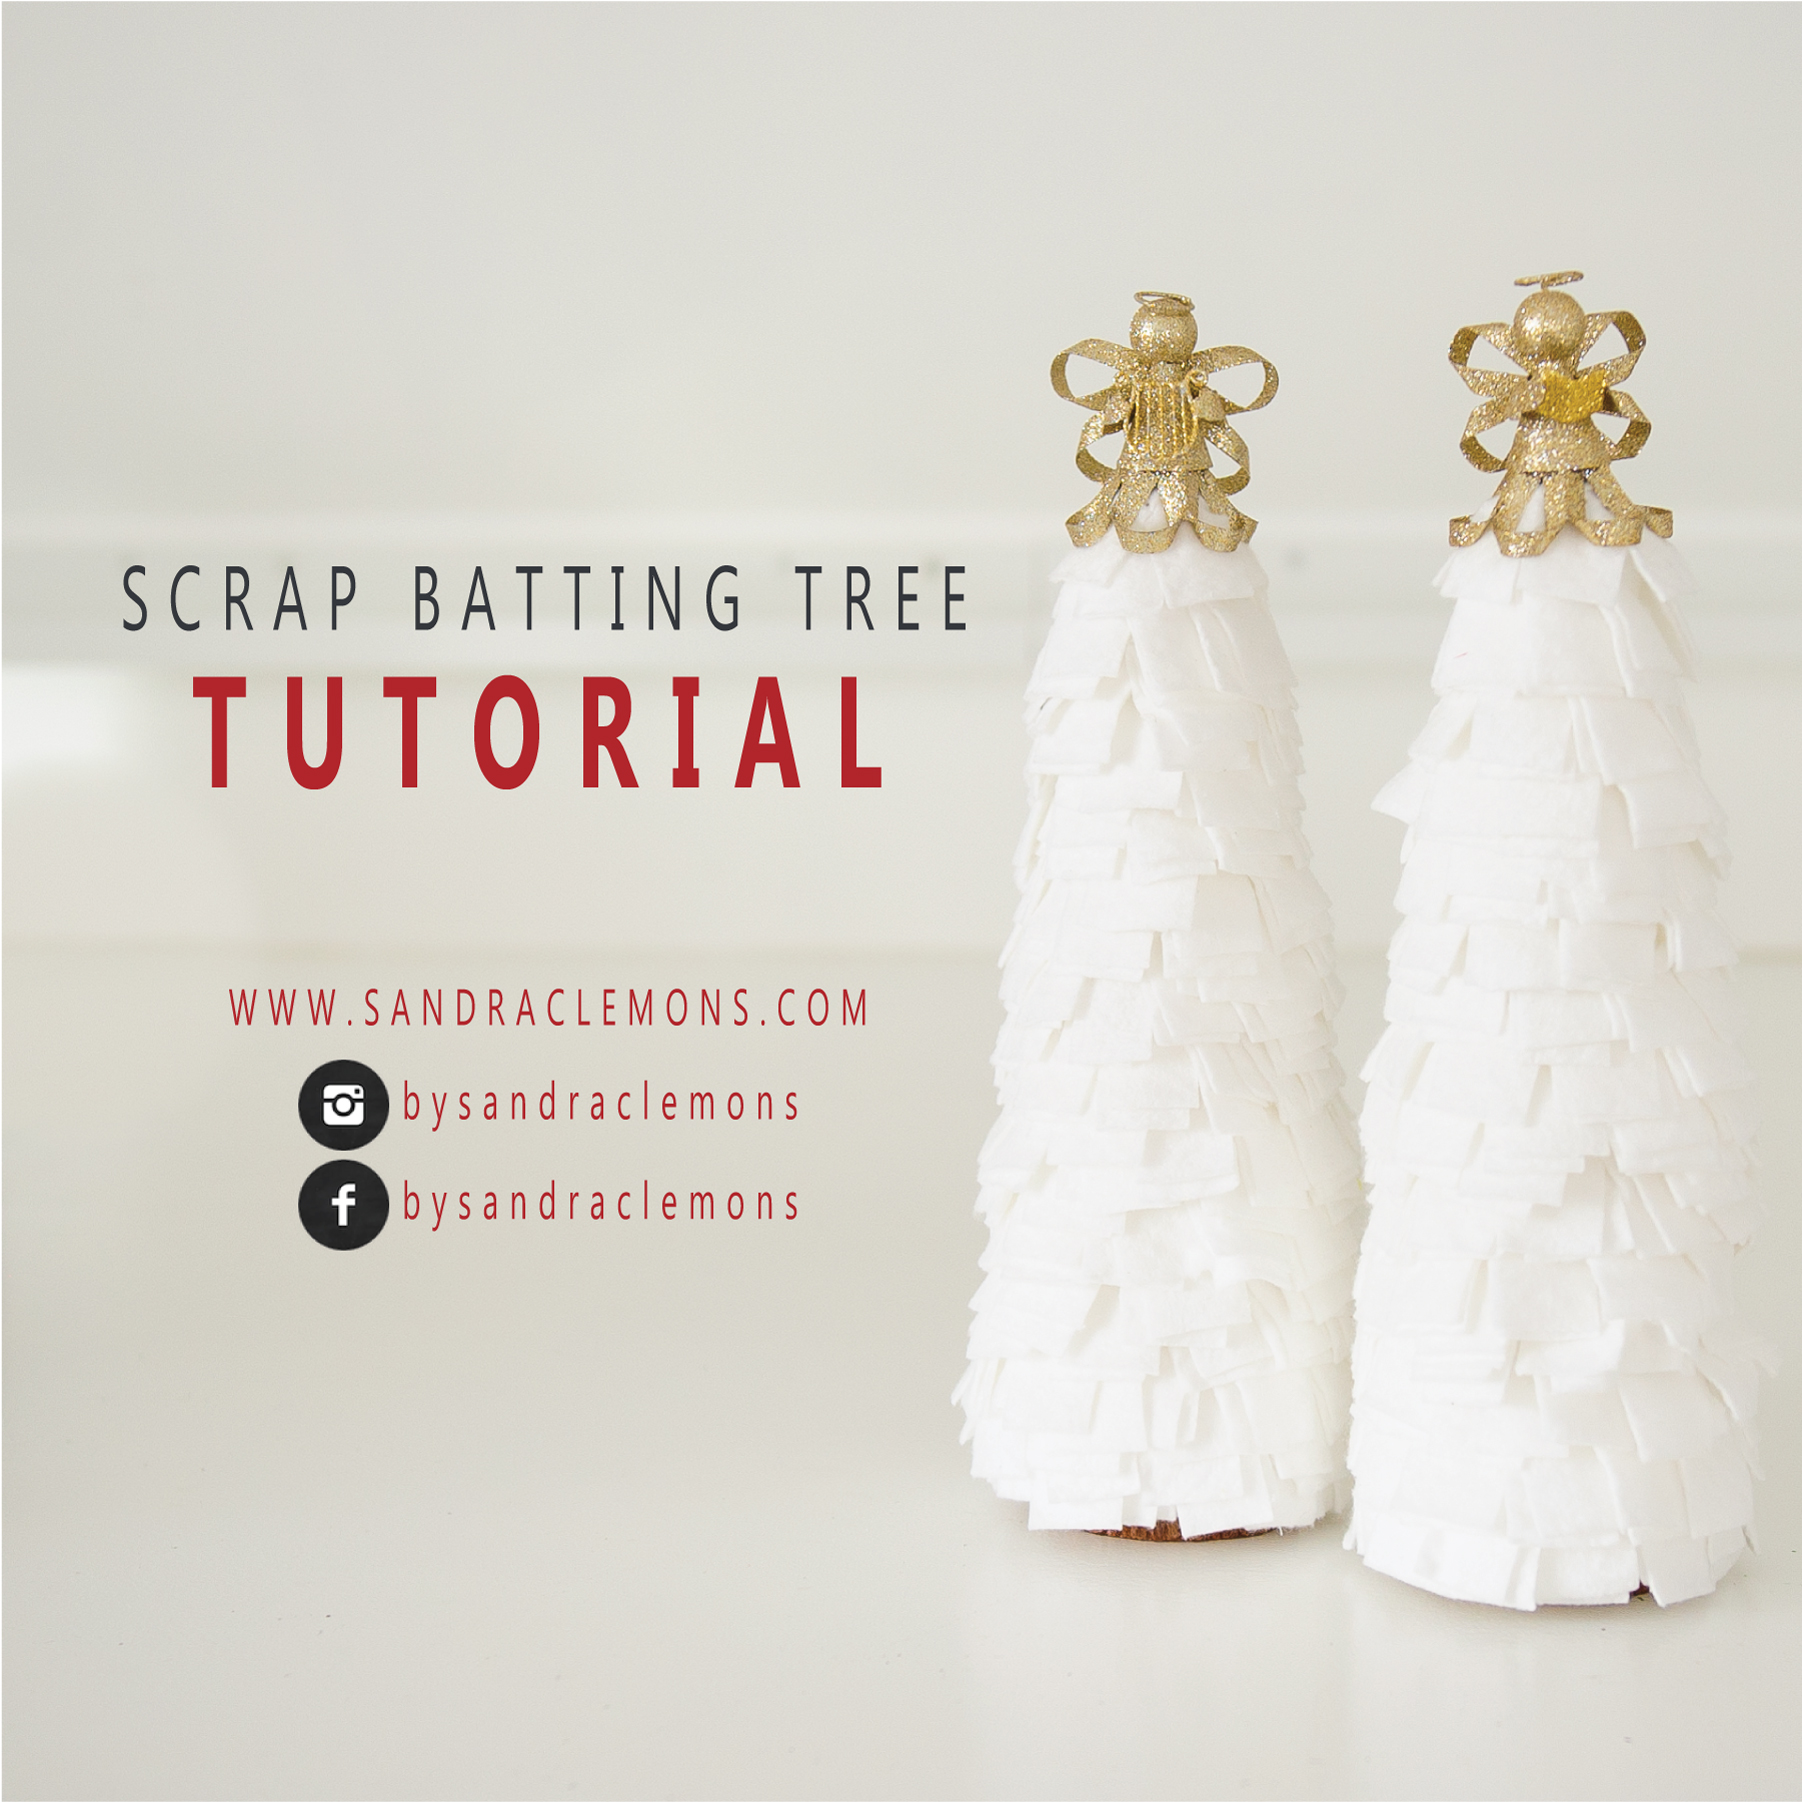
Today, let’s use up our scraps of batting to make table size Christmas trees. I have a ton of scrap batting from my quilts and I’m sure you do too. This is a super quick and cheap craft to use as holiday decorations for your home or perhaps a gift for a friend. Most of items on the material list are things you can find around your house. It’s great to make with kids, too.
M A T E R I A L
S
Craft Cone 4.8” x 11.9” (https://amzn.to/3rHeNnU)
Scraps
of Batting or Warm Company White Cotton Batting 45” x 60 (https://amzn.to/31vtnUJ)
Olfa
Rotary Cutter 45mm (https://amzn.to/3c1uTj1)
Dritz
Cutting Mat (https://amzn.to/3DtRQGQ)
Omnigrid
Ruler 6” x 12” (https://amzn.to/3lFxQLc)
Straight
Pins (https://amzn.to/3rHfNZc)
Tacky
Glue (https://amzn.to/3y19MHL)
Natural Wood
Slices (https://amzn.to/3yaTvQx) or Wooden
Spools (https://amzn.to/3DuntQJ)
Optional
Accessories Goodies - pompoms, buttons, bells, ribbons, etc.

A S S E M B L
E T R E E
Grab your scrap
batting and cut it up to roughly 1” x 4”. There is no pressure to be exact. In
fact, the slight variation in size can provide more interest to your tree.

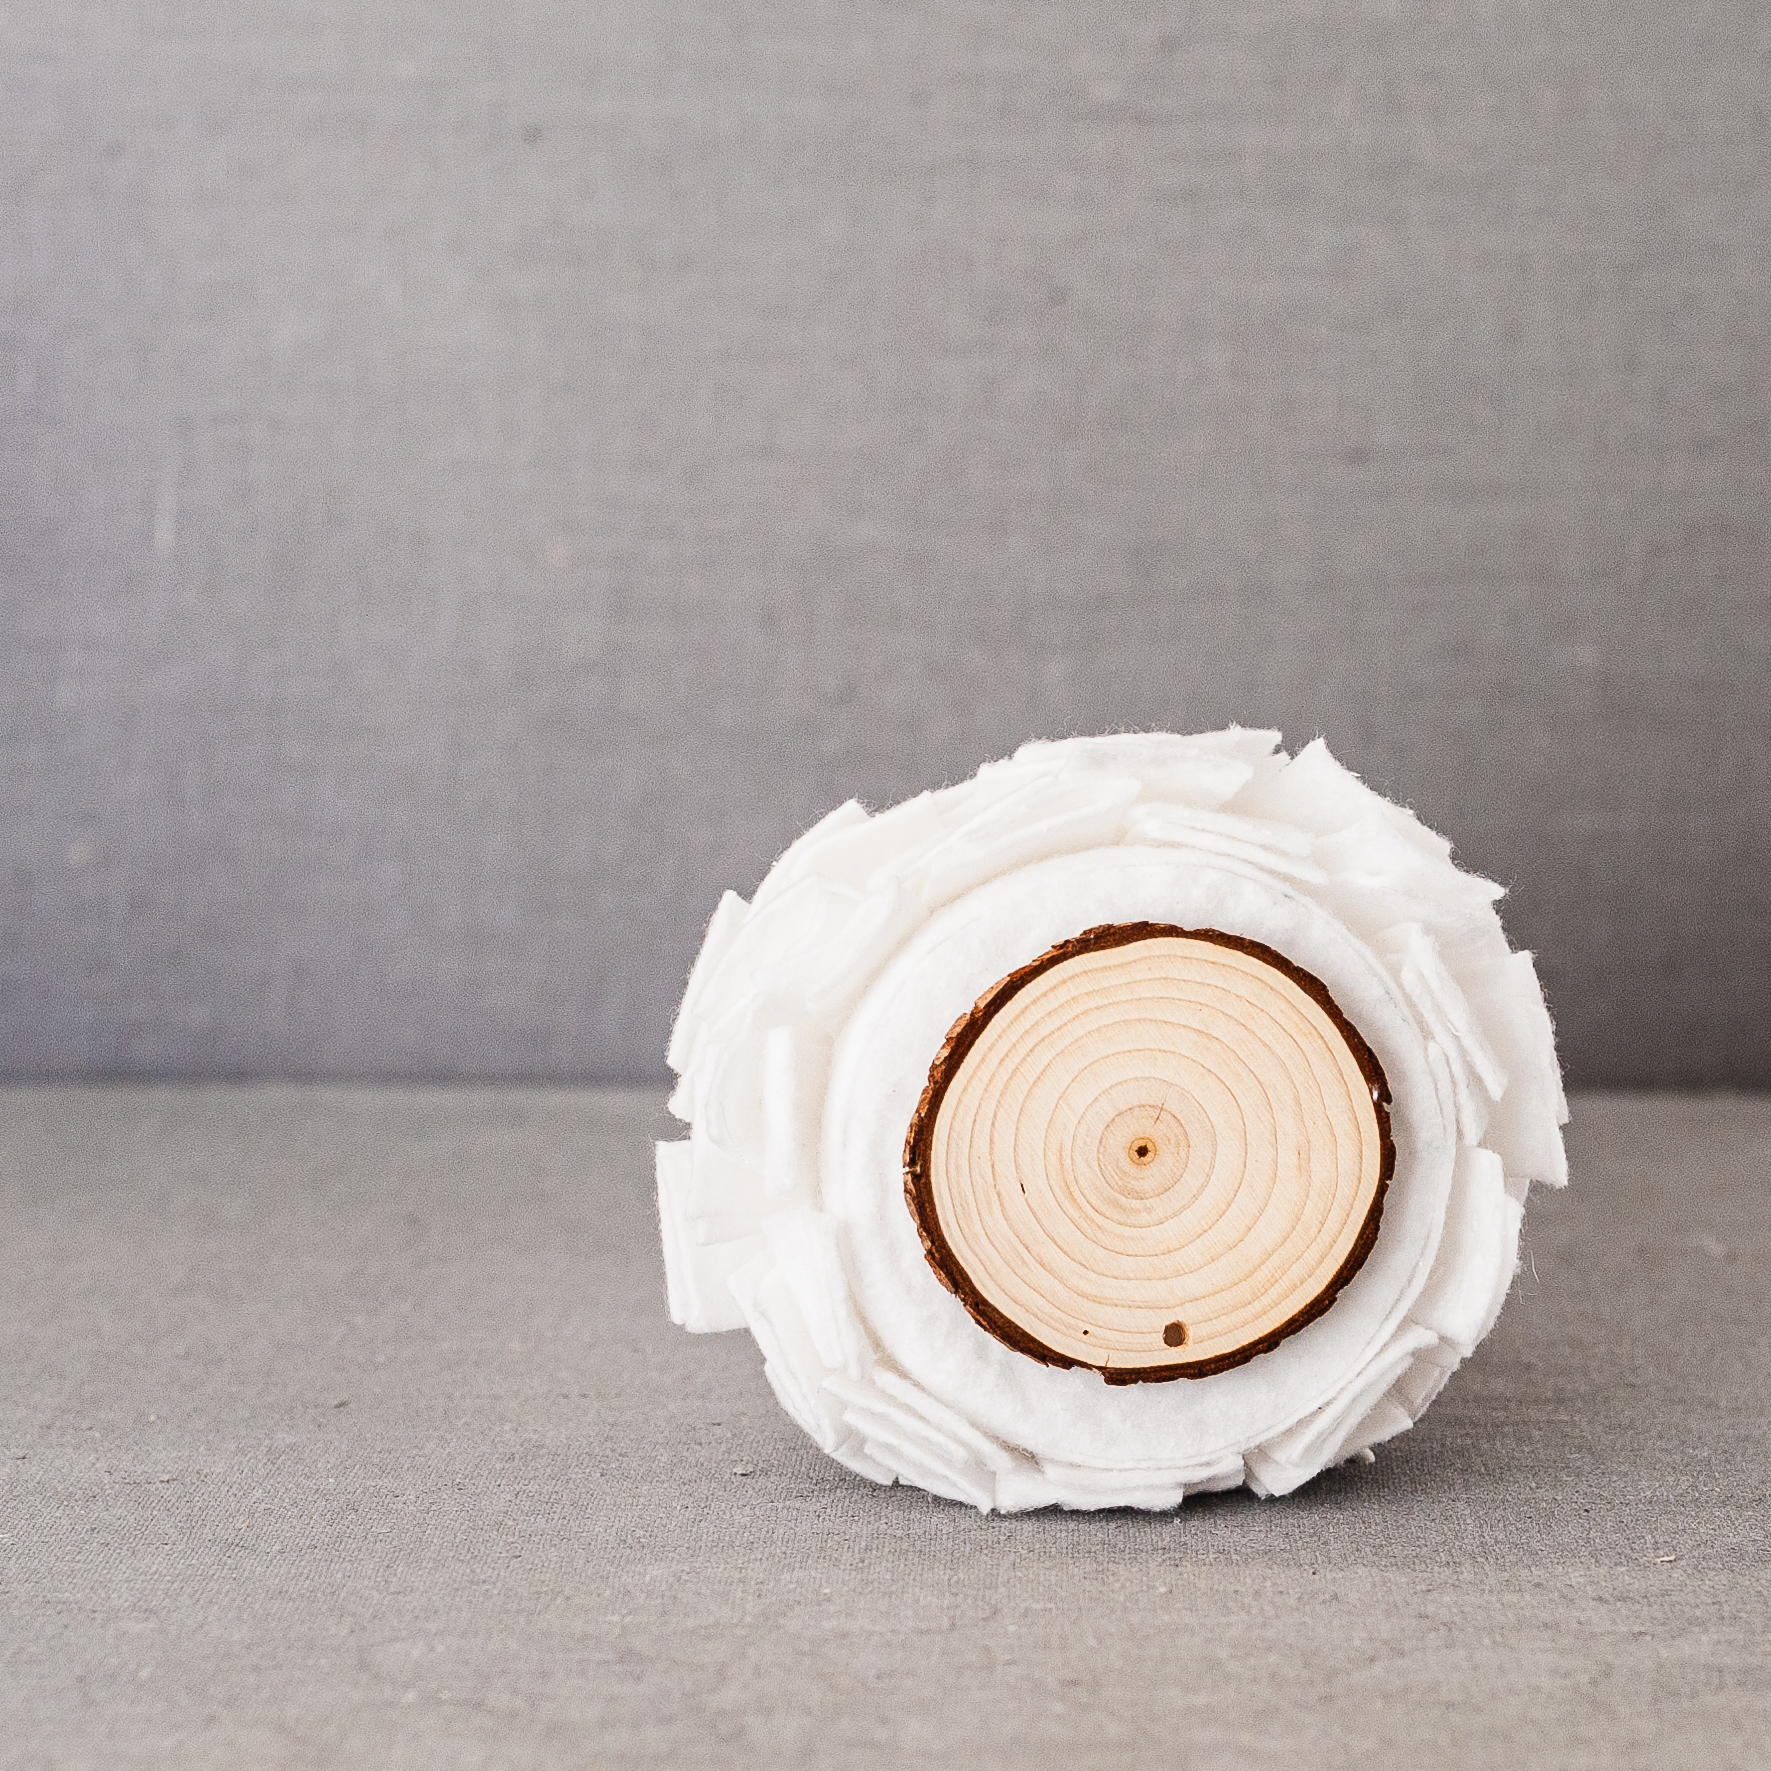
Let’s cover the bottom of the cone before we start adding our branches. Use the bottom of the cone as a template. Place the cone onto batting, trace with a pencil the perimeter of the cone. Cut out the shape and then glue it to the bottom of the cone.
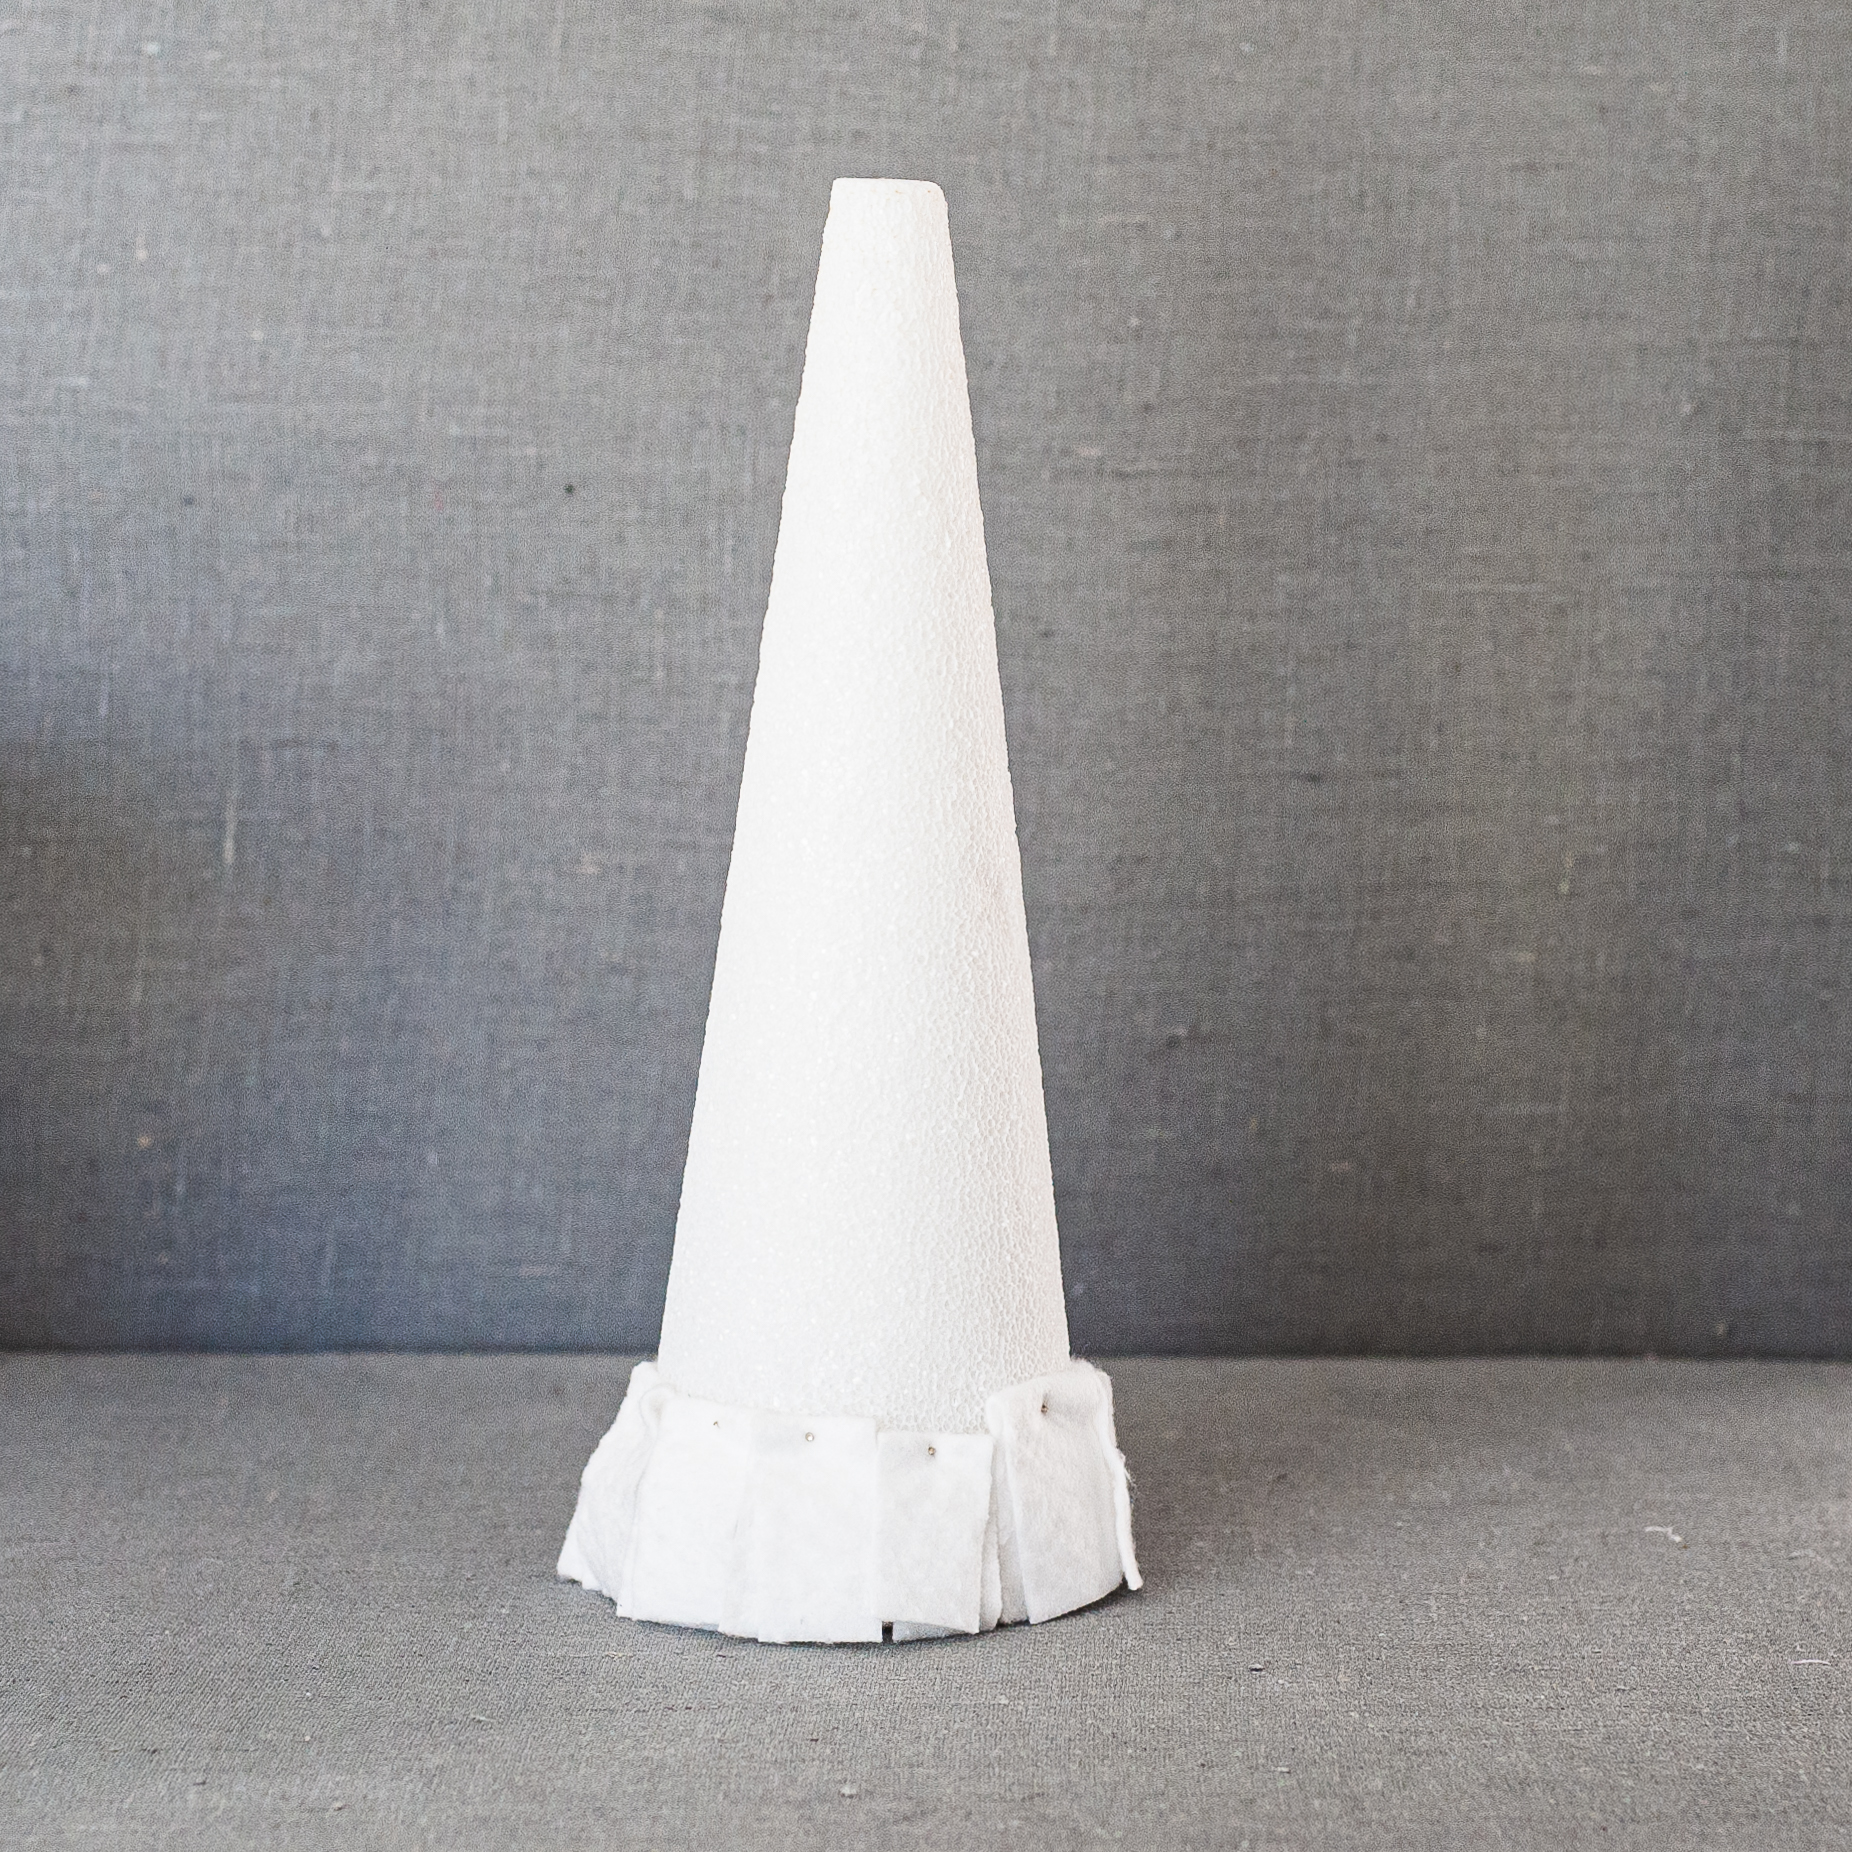
We are ready to
add the batting around and around from the bottom of the cone to the top. Fold
the batting strip in half and let the fold be a little off. Place the batting
at the bottom side of the cone, making sure to hang the batting edges just
slightly off the bottom, to make sure the styrofoam is covered up.
Take a pin and pin the batting in place at the fold. Select another strip of
batting, fold it in half, place it slightly over the previously attached
batting and then pin it into place at the fold. Continue going around the cone to
finish your row. There is no exact science on the placement of the batting.
This is where your creativity comes to play. Perhaps, your creative soul
wants to place batting in an entirely different way. Go for it. However, I’ll
continue to tell you how I made mine.
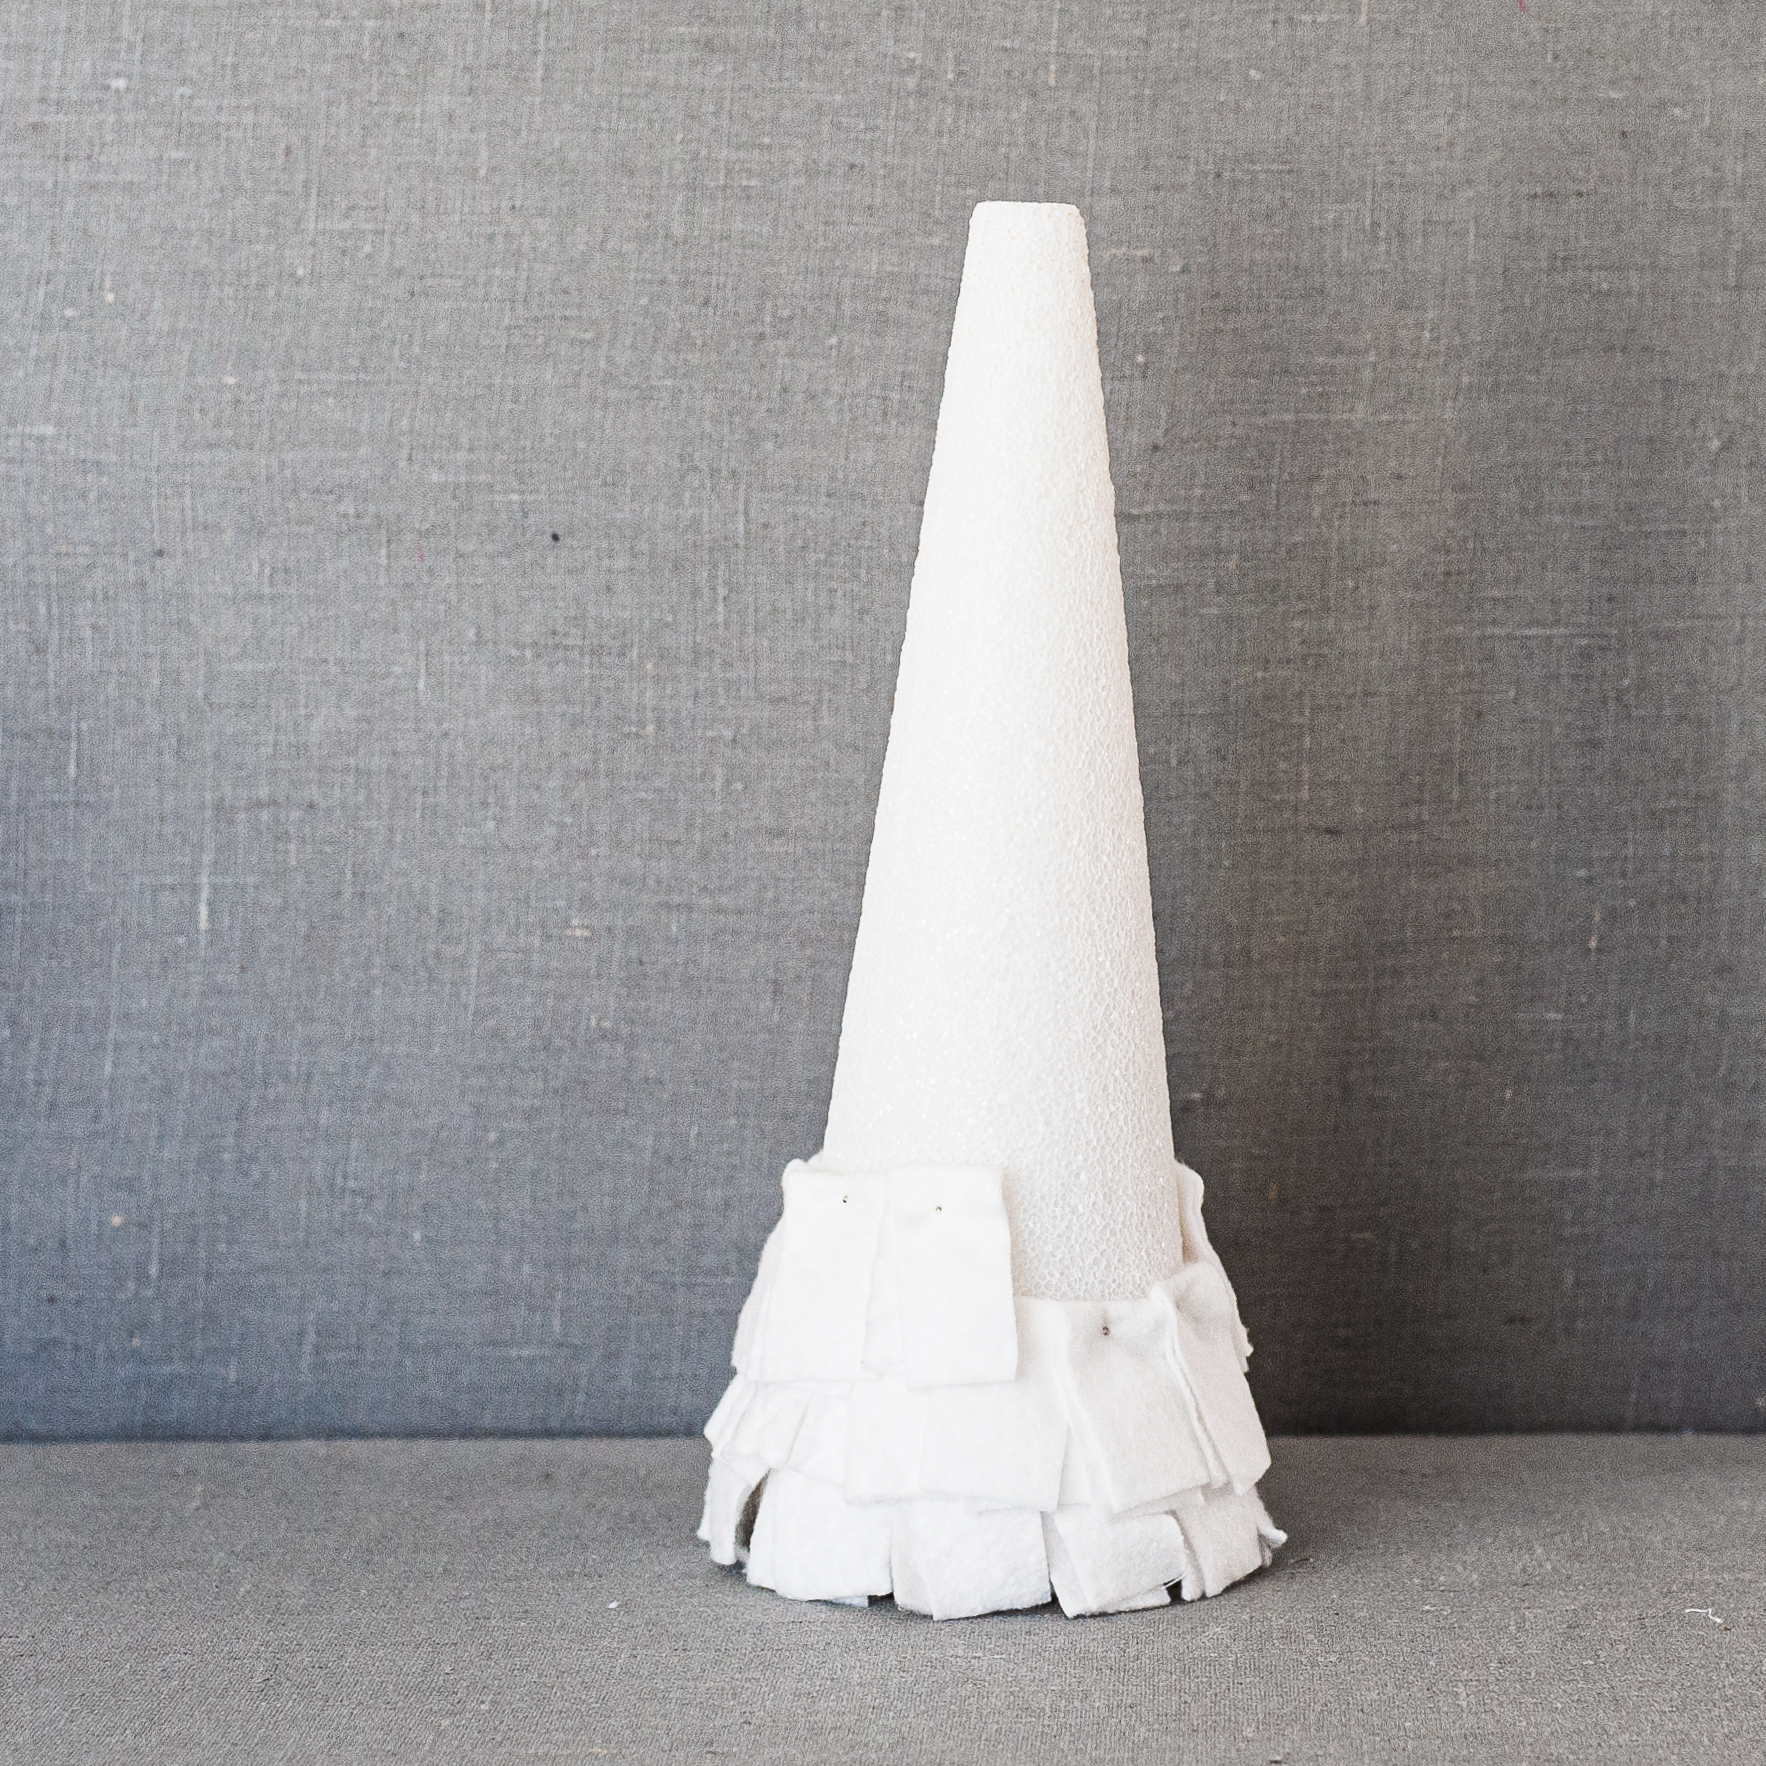
To start the next row, I pinned another batting strip, but this time I made sure it overlapped the
first row. I made adjustment so long as I was covering up the styrofoam.
Continue making rows and working your way up to the top.
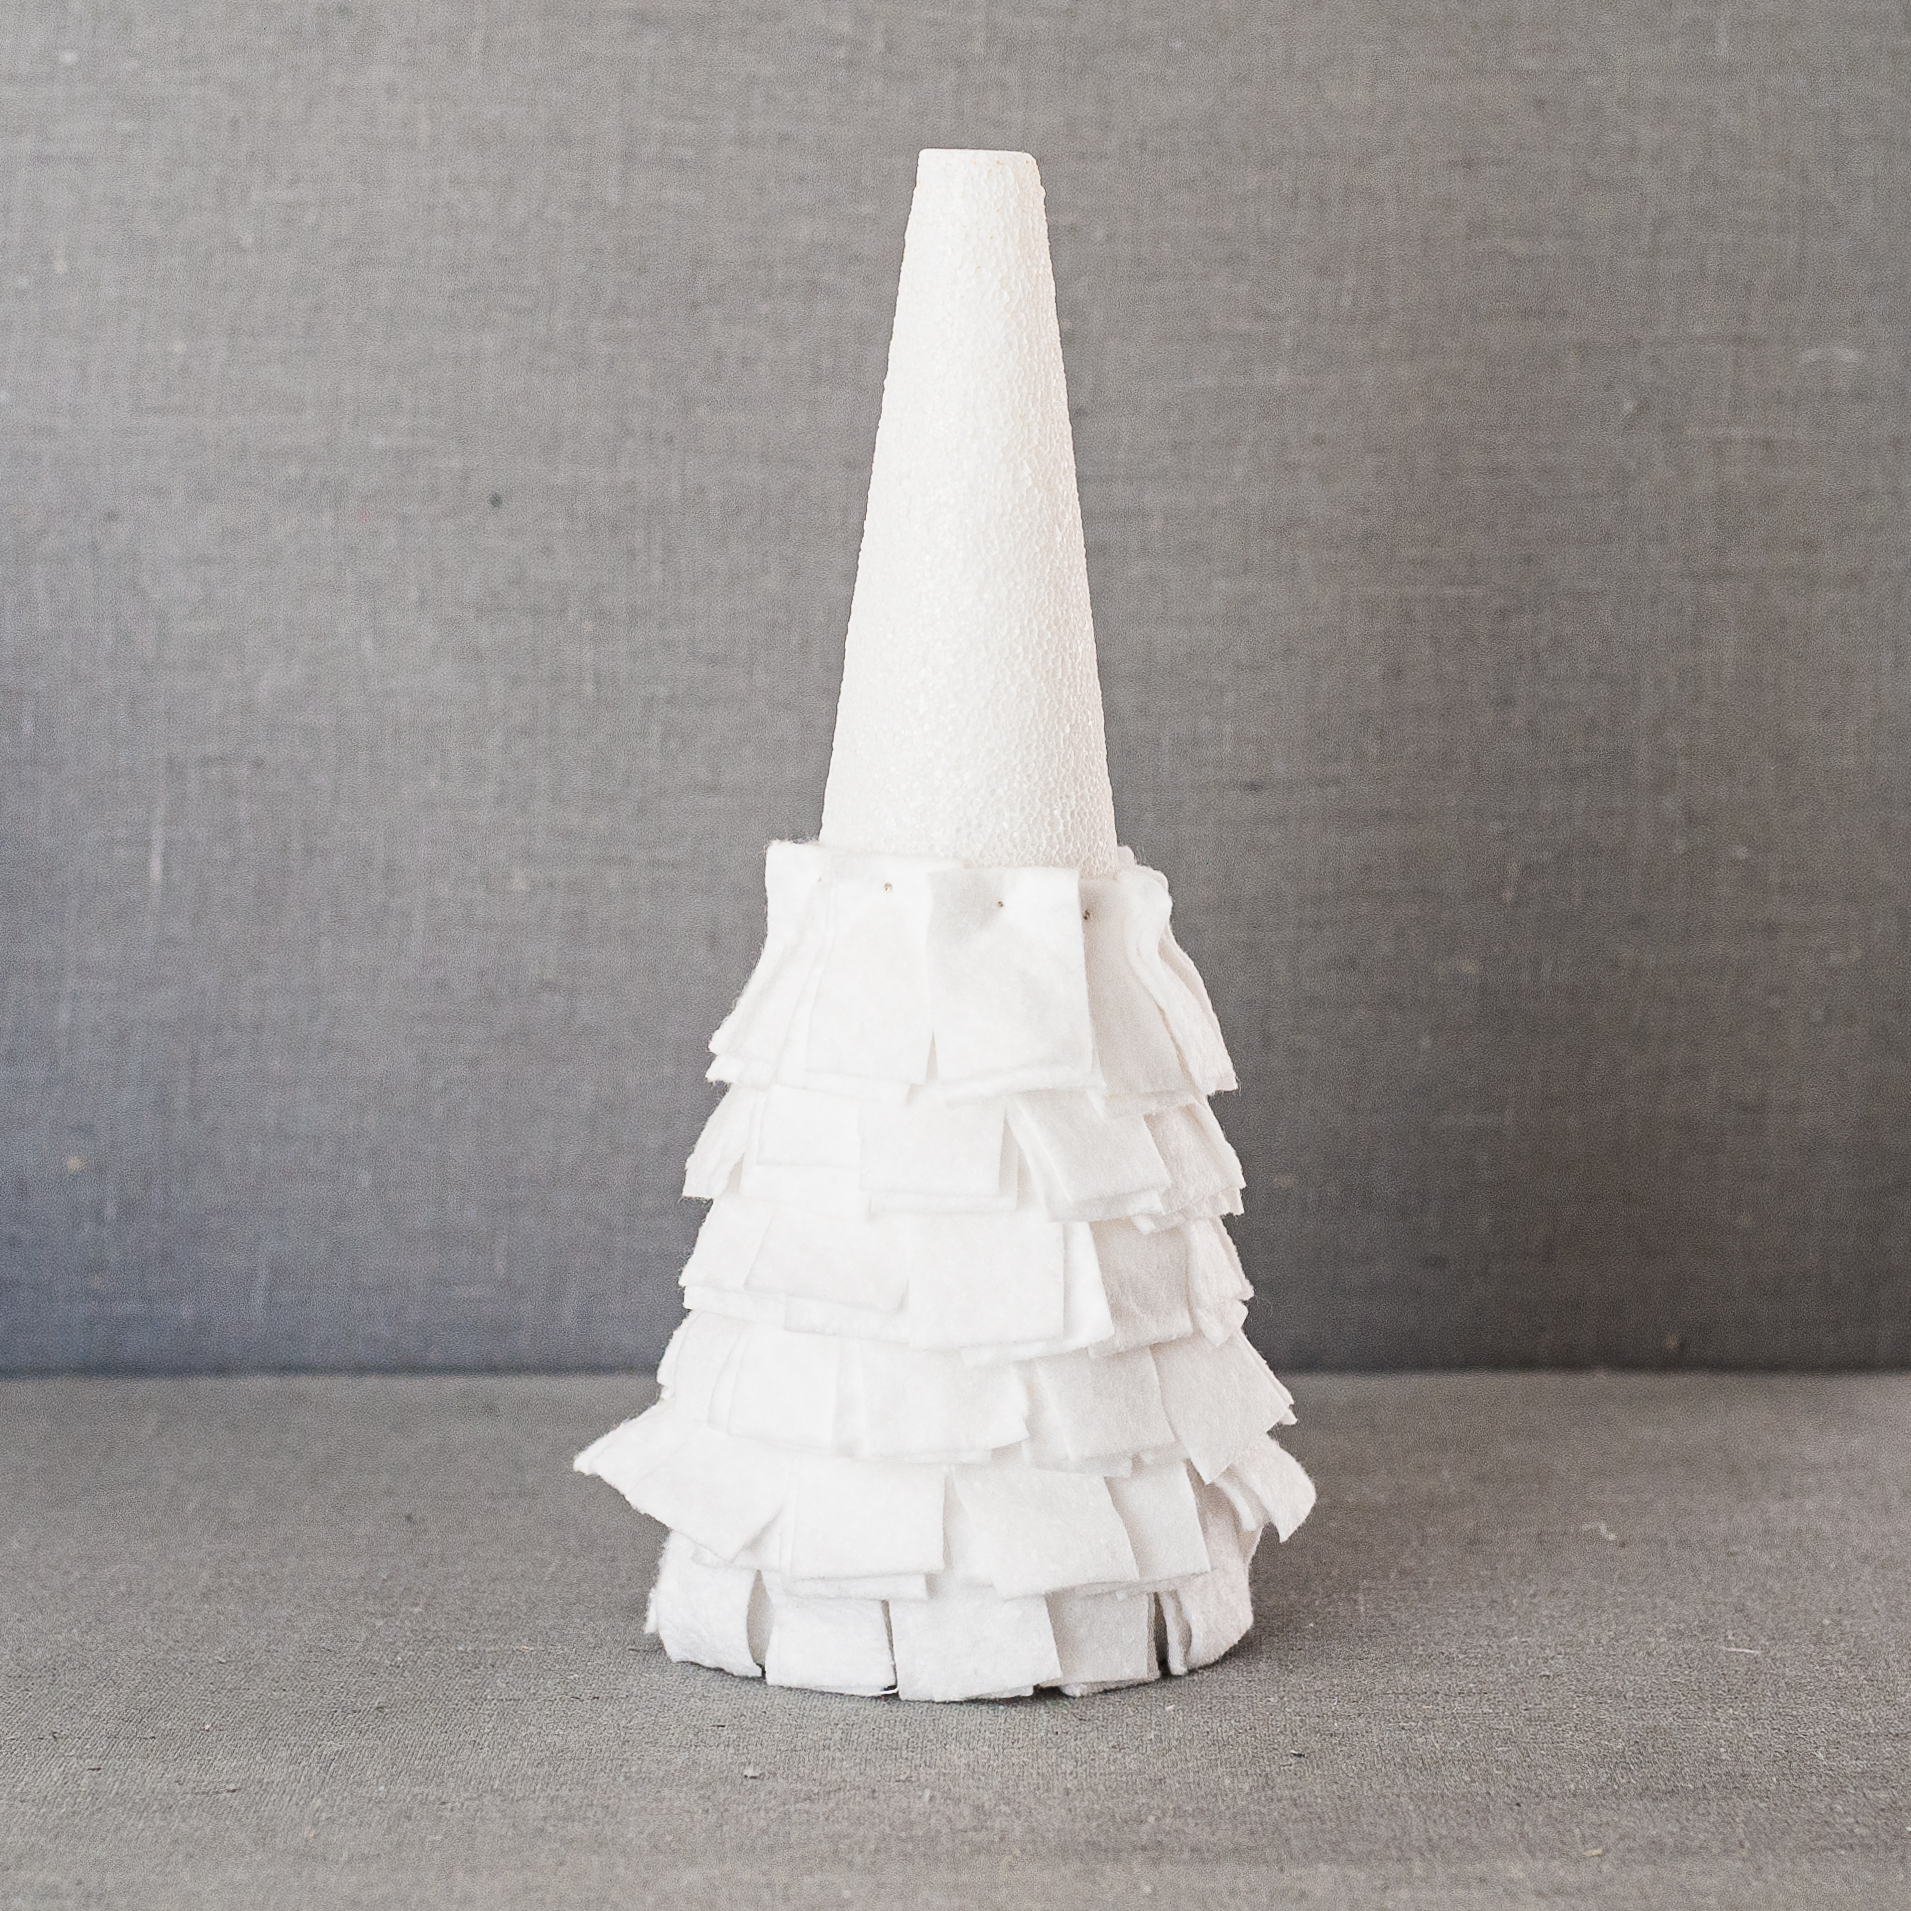
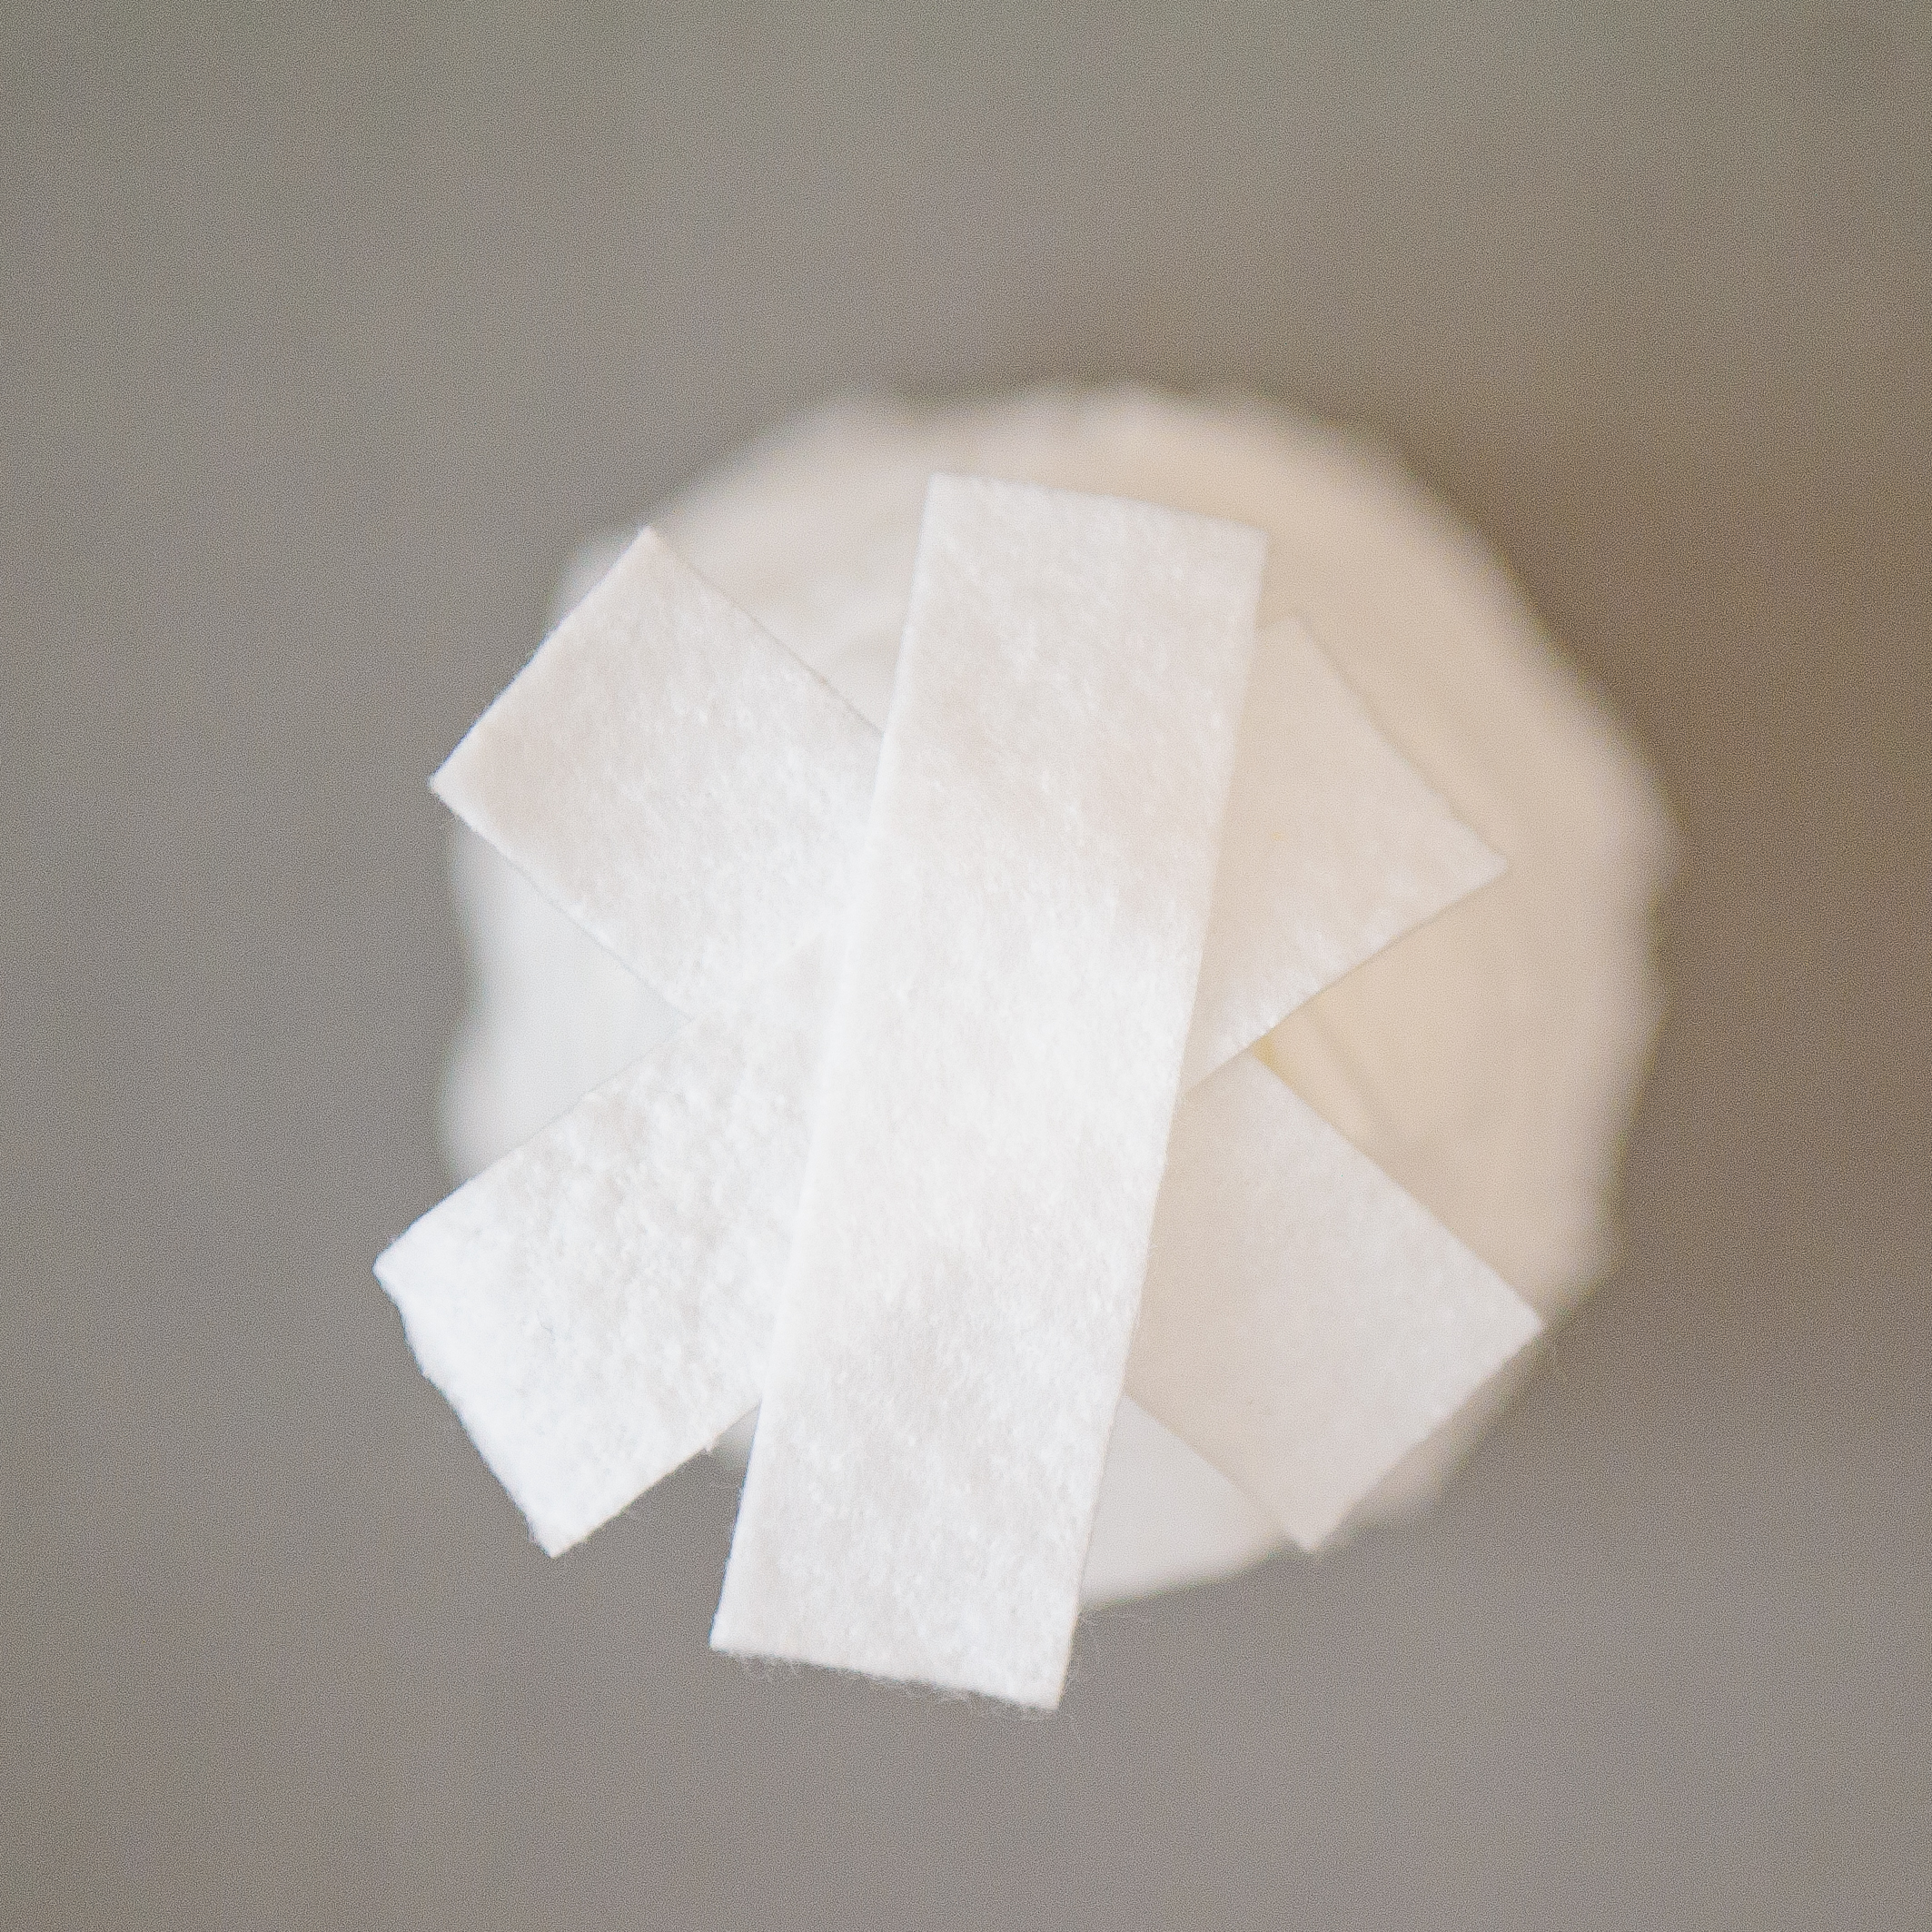
Once you’re
about an 1” from the top, stop making rows. Now, lay 3 strips of batting to the
top of the cone, like an asterisks.
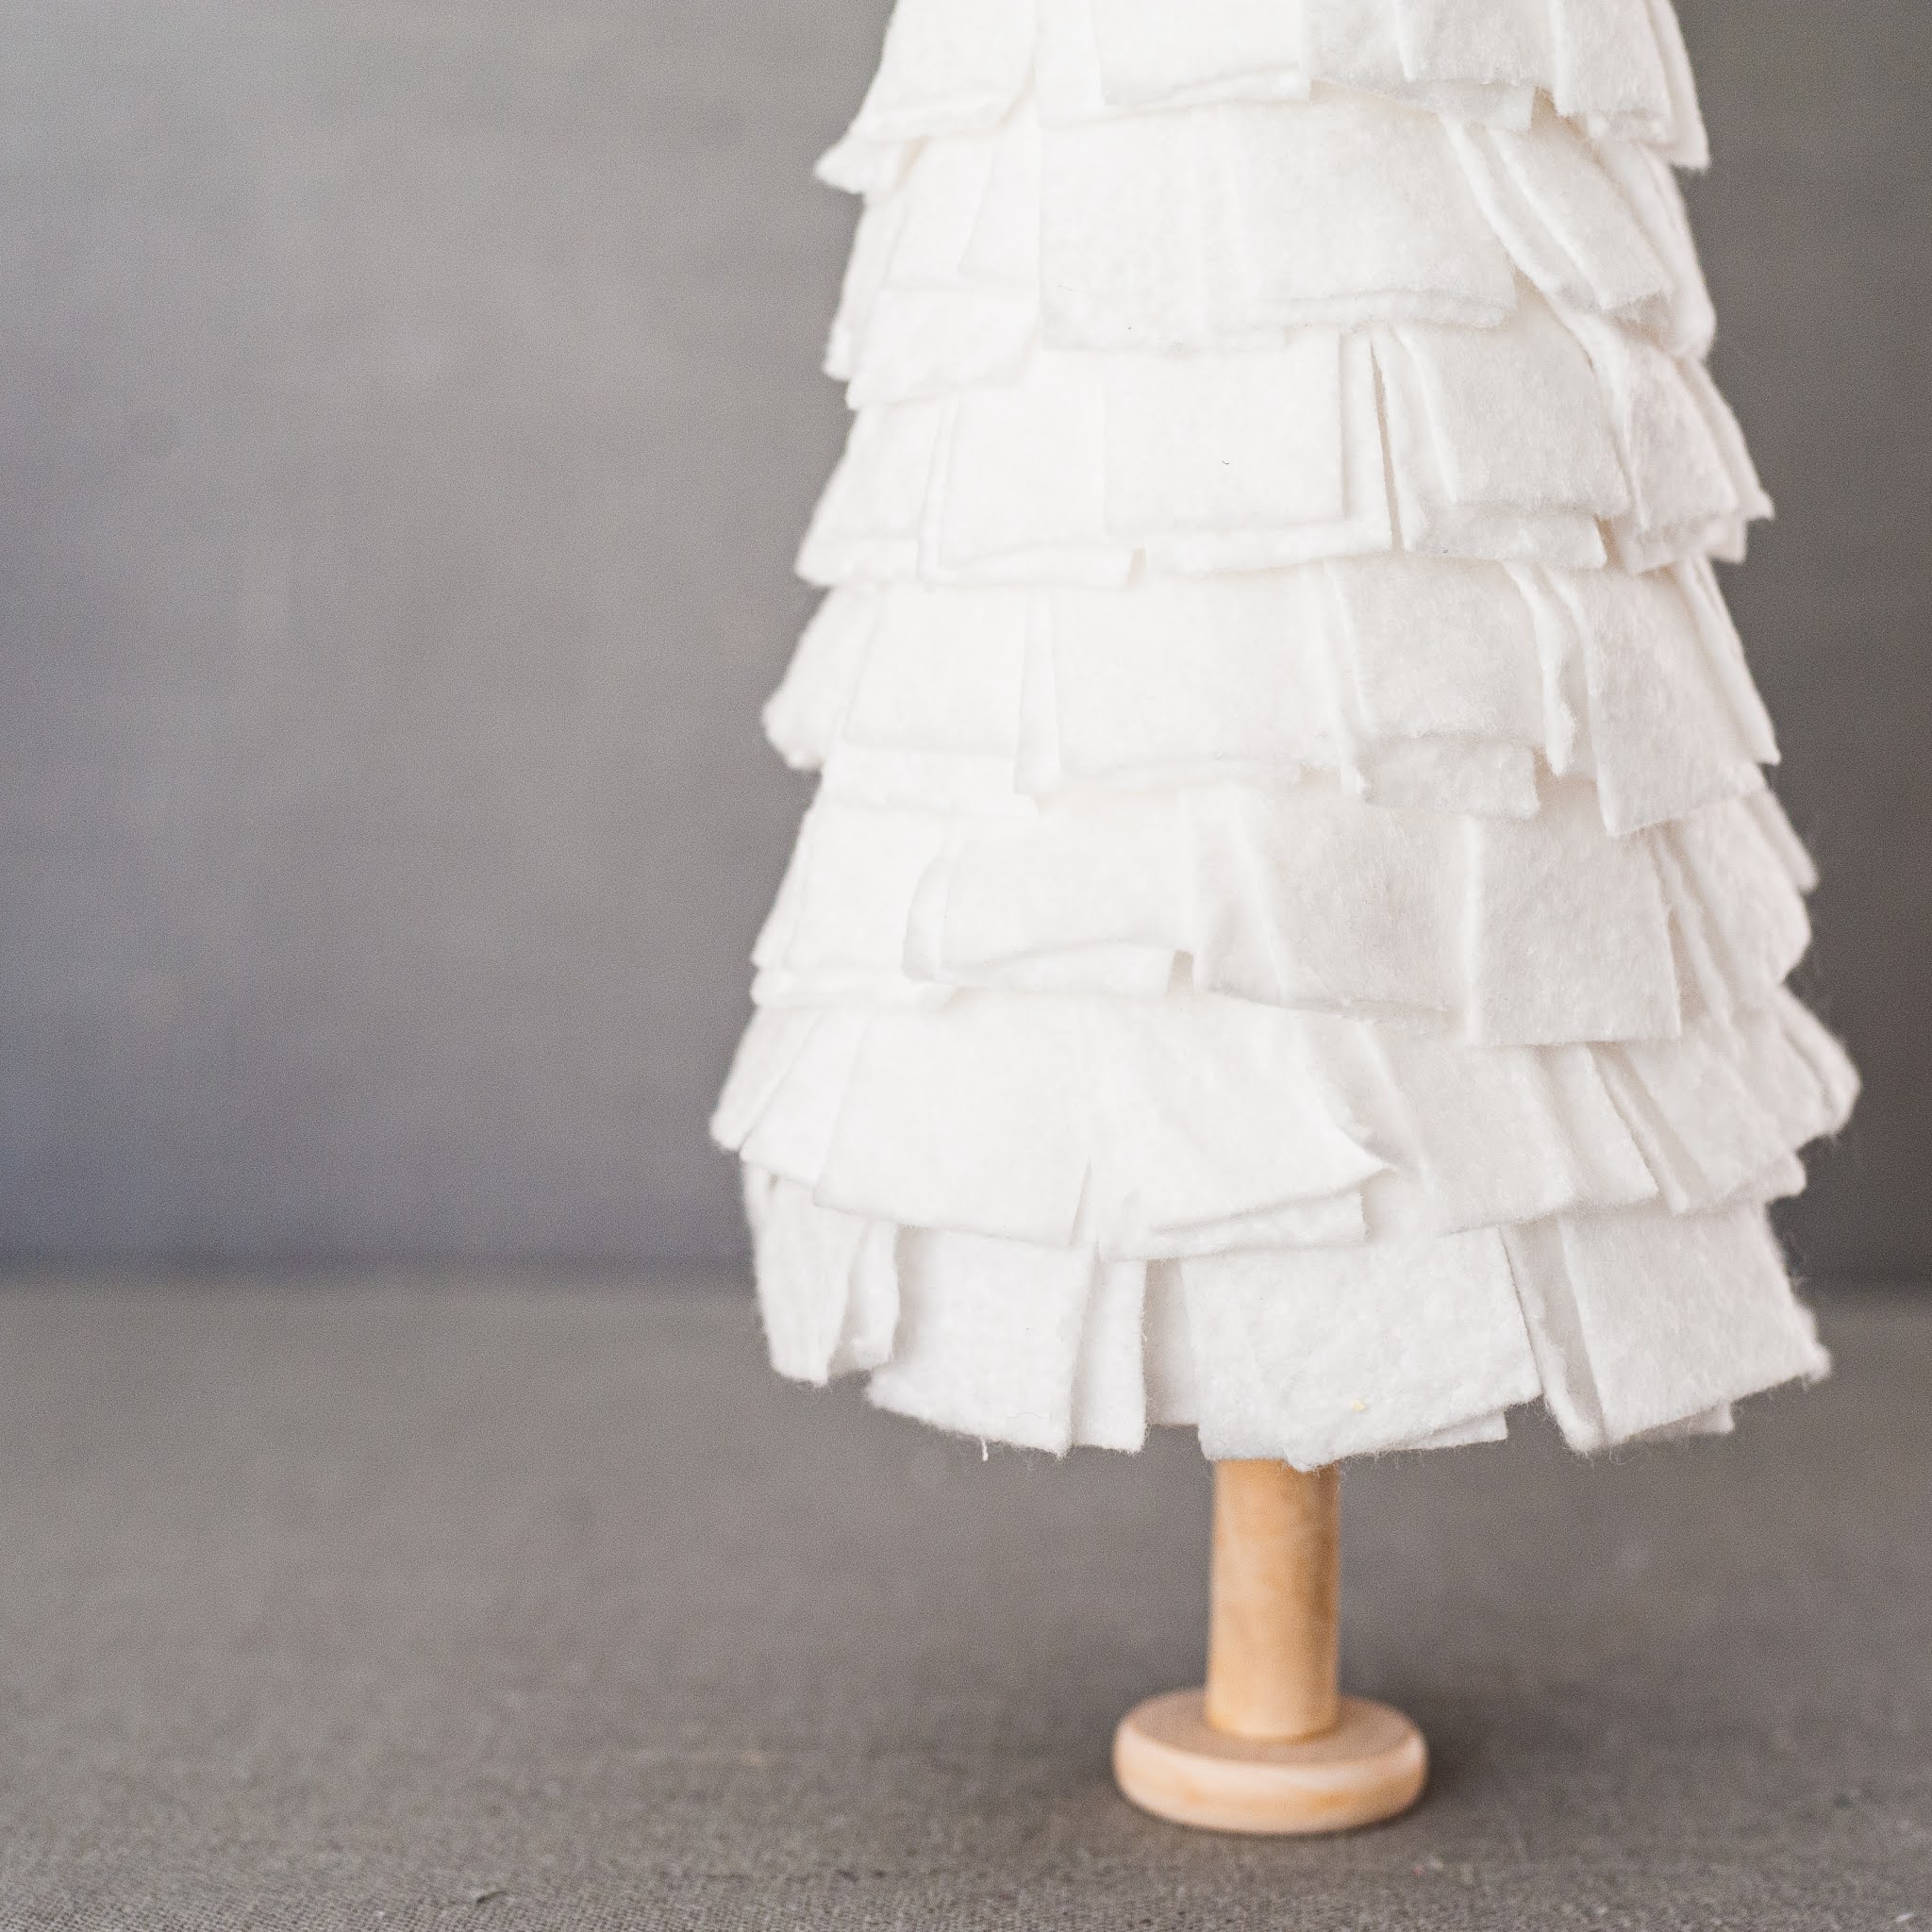
You can be done now or add a trunk to your tree, either add a wooden spool or a wood slice to the bottom of the tree.
This lets the first row of batting hang down freely or if you want the first
row to gently fall onto the table, then go for it too. Embellish your tree as
desired. This is your fun project and doesn’t it feel good to use up stuff you
already have laying around in the house? I had some old Angel ornaments from
Crate and Barrel from some 10 years ago and I thought, hey, these would look
great as a tree topper.
If you like
this free tutorial, then show me your appreciation by following me on my social
media. I also posted and shared some reels on my social media platforms. Be
sure to check them out. I’d love to see your version. Make sure to share a pic
of your tree by tagging me with @bysandraclemons on all social media outlets.
Merry Christmas,
everyone!
Sandra

No comments:
Post a Comment