Sunday, December 26, 2021

The Essential Quilting Supplies Checklist


Friends,
I've put together the Essential Quilting Supplies Checklist for everything you need to start and maintain for your quilting journey. While there are hundreds of quilting supplies and tools on the market these days, it can be tough to know just what tools are long lasting for your quilting projects. This checklist has all the information on the quilting supplies you need and some of what you will want to add to your wish list. 
These are my every day tools that I keep coming back to over and over in my projects. You can download a pretty print ready version of this checklist in my shop for free. Enjoy.


for sewing 

Basic Sewing Machine Under $500 - https://amzn.to/3H68zSJ

Basic Sewing Machine Under $1k - https://amzn.to/3qn8GTb

80/12 Universal Machine Needles, 20 Pack - https://amzn.to/31UQF6j

White Thread Cone - https://amzn.to/3qv73Vw

White Thread Spool - https://amzn.to/3neH82l

White Thread 3 Spools - https://amzn.to/3kshmpg

Dove Thread 3 Spools - https://amzn.to/3koLlyv

Dove Thread Cone - https://amzn.to/3koKKwL

Cone Thread Holder - https://amzn.to/3DfyJ4g

Pearlized Straight Pins - https://amzn.to/3moz51Z

Seam Ripper - https://amzn.to/3wQRRmN

Quality Fabrics - https://sandraclemons.com/products/

Ottlite Desk Lamp - https://amzn.to/3H6lFPT

Fiskars Fabric Shears - https://amzn.to/32u25hM

Curved Squeeze Scissors - https://amzn.to/3EpI0X8

Sewing Tweezers - https://amzn.to/3pmU2fx

Wool Pincushion - https://amzn.to/3ooHOkM

Water Soluble Pencils - https://amzn.to/3ejUUeB


for pressing fabrics 

Oliso TG1600 Pro Plus Smart Iron - https://amzn.to/3suW1Az

Ironing Board - https://amzn.to/3pn0hQB

Best Press Alternative Starch - https://amzn.to/3ySr4aD


for cutting fabrics


Rotary Cutter 45mm - https://amzn.to/3c1uTj1

45mm Blade Refills - https://amzn.to/3wDcTF0

Rotary Cutter 60mm - https://amzn.to/3wH5mVN

60mm Blade Refills - https://amzn.to/3F9aMMw

Self-Healing Mat 24” x 36” - https://amzn.to/3DtRQGQ

Rotating Mat 14” x 14” - https://amzn.to/3qioZ3W

Ruler 6” x 24” - https://amzn.to/3C78lYW

Ruler 12½” x 12½” - https://amzn.to/3moy5ef

Ruler 6 ½” x 6 - https://amzn.to/33TI1Gd

Ruler 6” x 12” - https://amzn.to/3FrbyES

Ruler 3” x 18” - https://amzn.to/3poYTNs

Ruler 4” x 14” - https://amzn.to/3qecQNi


for quilting

Dritz Spray Adhesive - https://amzn.to/3qsXsOM

Curved Safety Pins - https://amzn.to/3qot46m

Clover Wonder clips - https://amzn.to/3qot46m

Machingers Quilt Gloves - https://amzn.to/3wFkQtj

Warm & White Cotton Batting 45” x 60” - https://amzn.to/31vtnUJ

Warm & White Cotton Batting 72” x 90” - https://amzn.to/3Fcpy57

Warm & White Cotton Batting 90” x 96” - https://amzn.to/3wQIFPj

Warm & White Cotton Batting 120” x 124” - https://amzn.to/3wCGApS


Tuesday, December 14, 2021

TUTORIAL Scrap Batting Tree


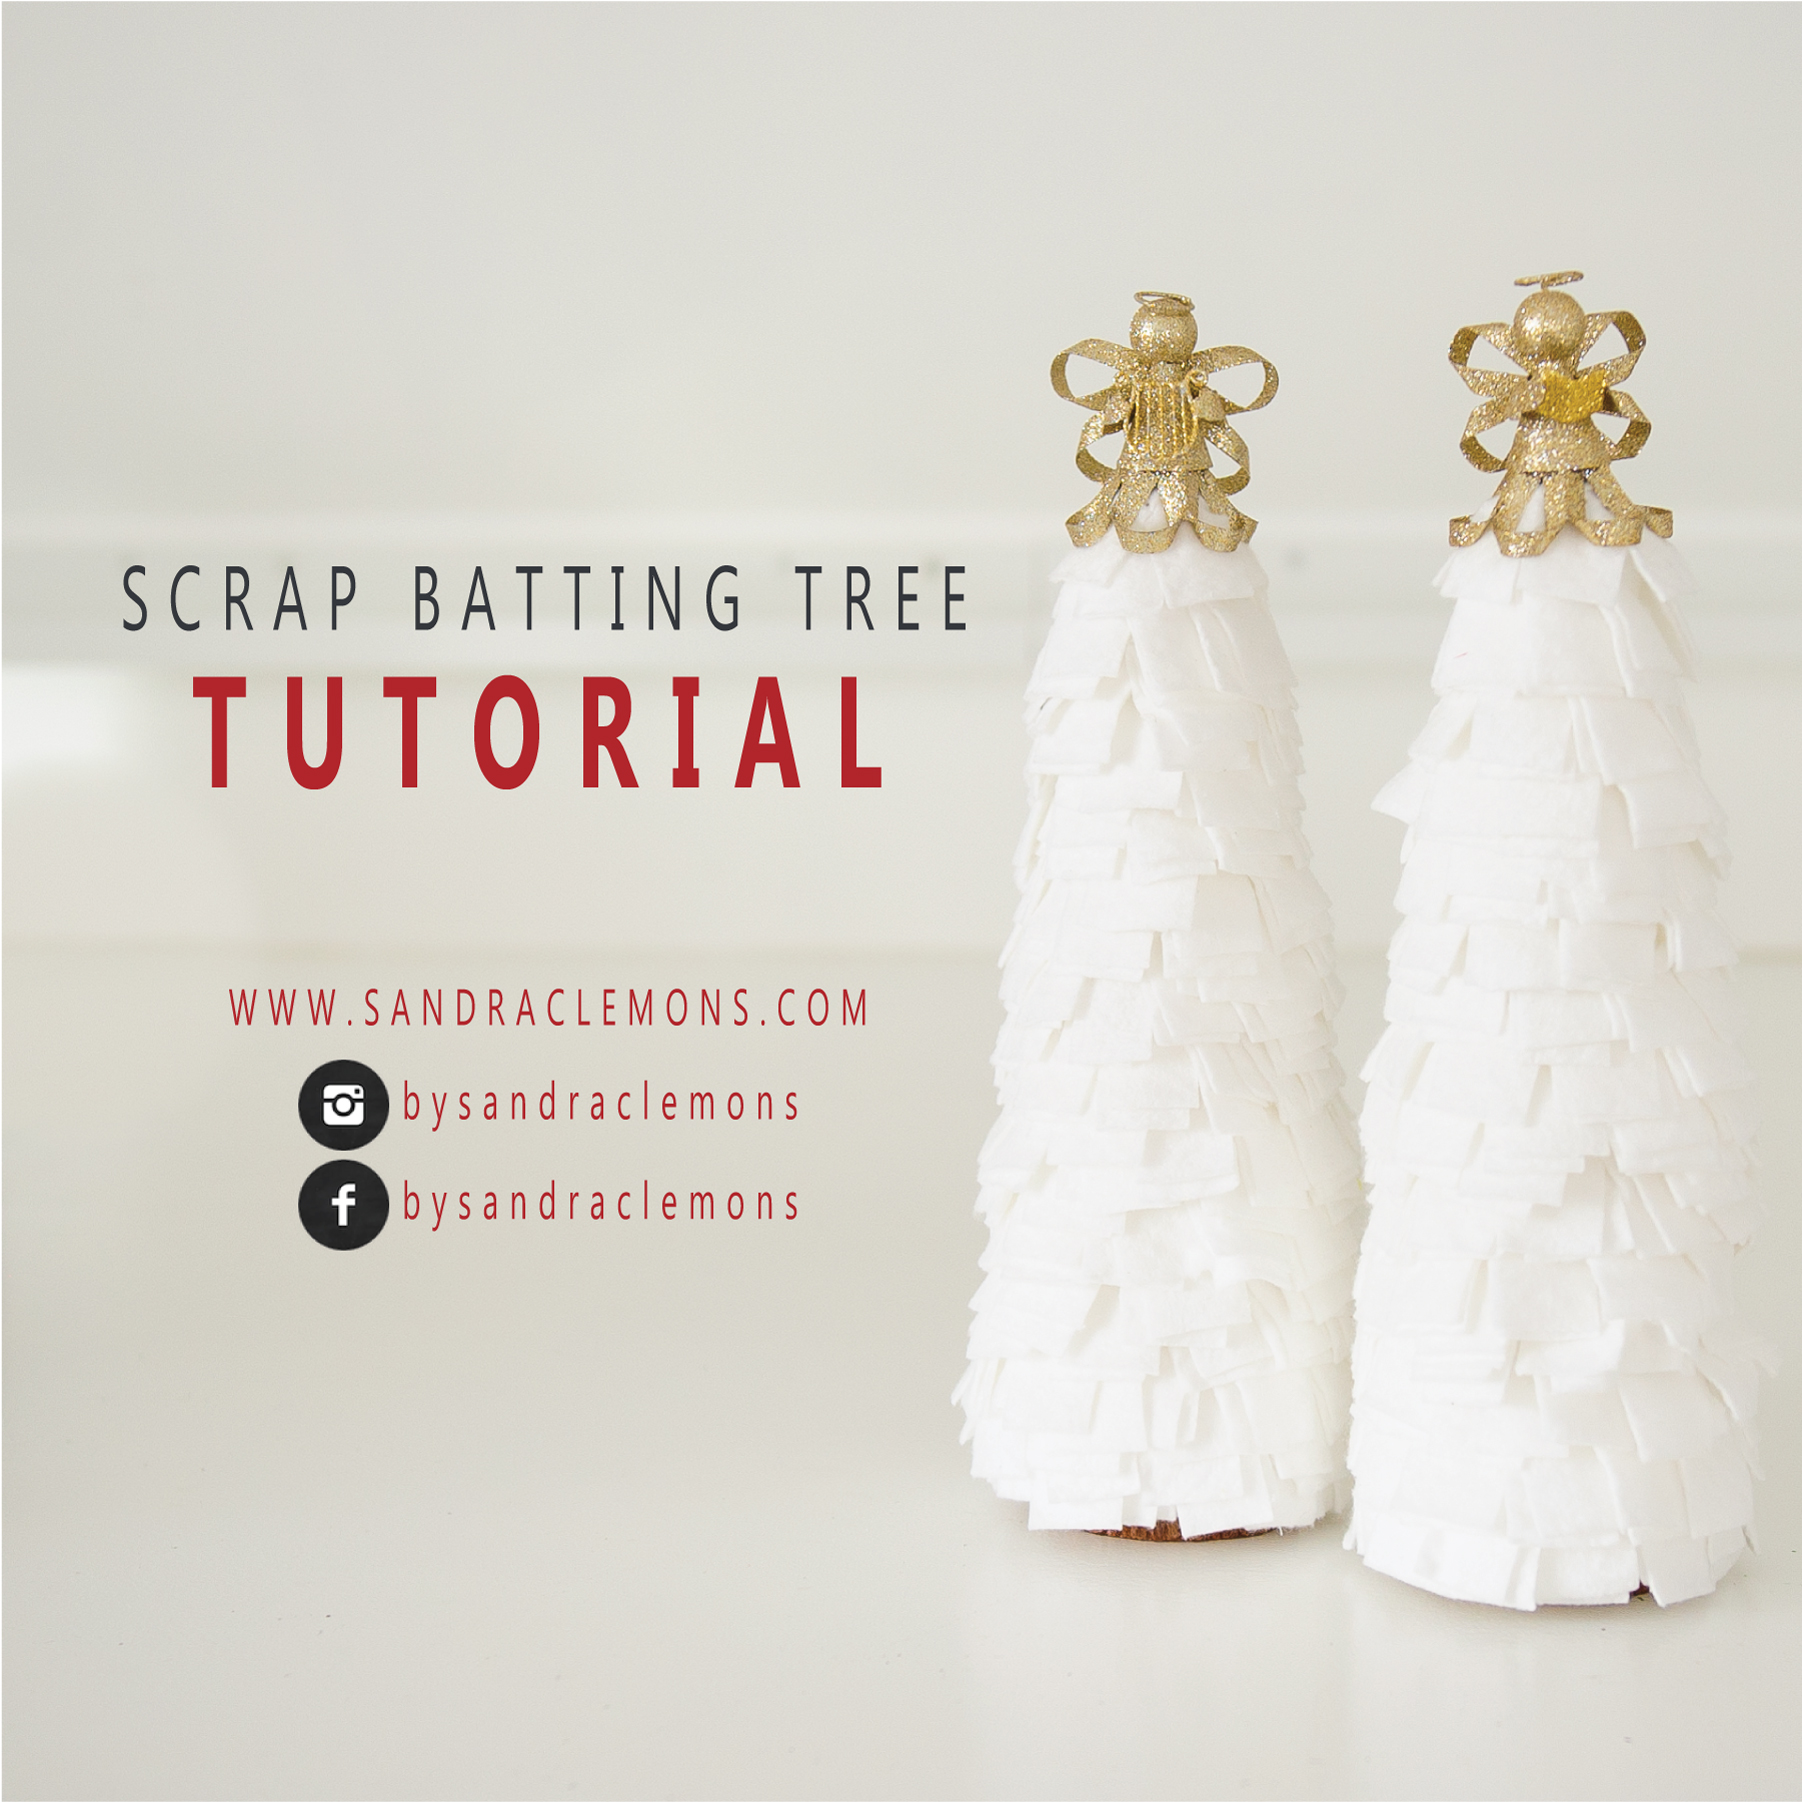
Today, let’s use up our scraps of batting to make table size Christmas trees. I have a ton of scrap batting from my quilts and I’m sure you do too. This is a super quick and cheap craft to use as holiday decorations for your home or perhaps a gift for a friend. Most of items on the material list are things you can find around your house. It’s great to make with kids, too.


M A T E R I A L S


Craft Cone 4.8” x 11.9” (https://amzn.to/3rHeNnU)

Scraps of Batting or Warm Company White Cotton Batting 45” x 60 (https://amzn.to/31vtnUJ)

Olfa Rotary Cutter 45mm (https://amzn.to/3c1uTj1)

Dritz Cutting Mat (https://amzn.to/3DtRQGQ)

Omnigrid Ruler 6” x 12” (https://amzn.to/3lFxQLc)

Straight Pins (https://amzn.to/3rHfNZc)

Tacky Glue (https://amzn.to/3y19MHL)

Natural Wood Slices (https://amzn.to/3yaTvQx) or Wooden Spools (https://amzn.to/3DuntQJ)

Optional Accessories Goodies - pompoms, buttons, bells, ribbons, etc.


A S S E M B L E   T R E E


Grab your scrap batting and cut it up to roughly 1” x 4”. There is no pressure to be exact. In fact, the slight variation in size can provide more interest to your tree.


Let’s cover the bottom of the cone before we start adding our branches. Use the bottom of the cone as a template. Place the cone onto batting, trace with a pencil the perimeter of the cone. Cut out the shape and then glue it to the bottom of the cone.


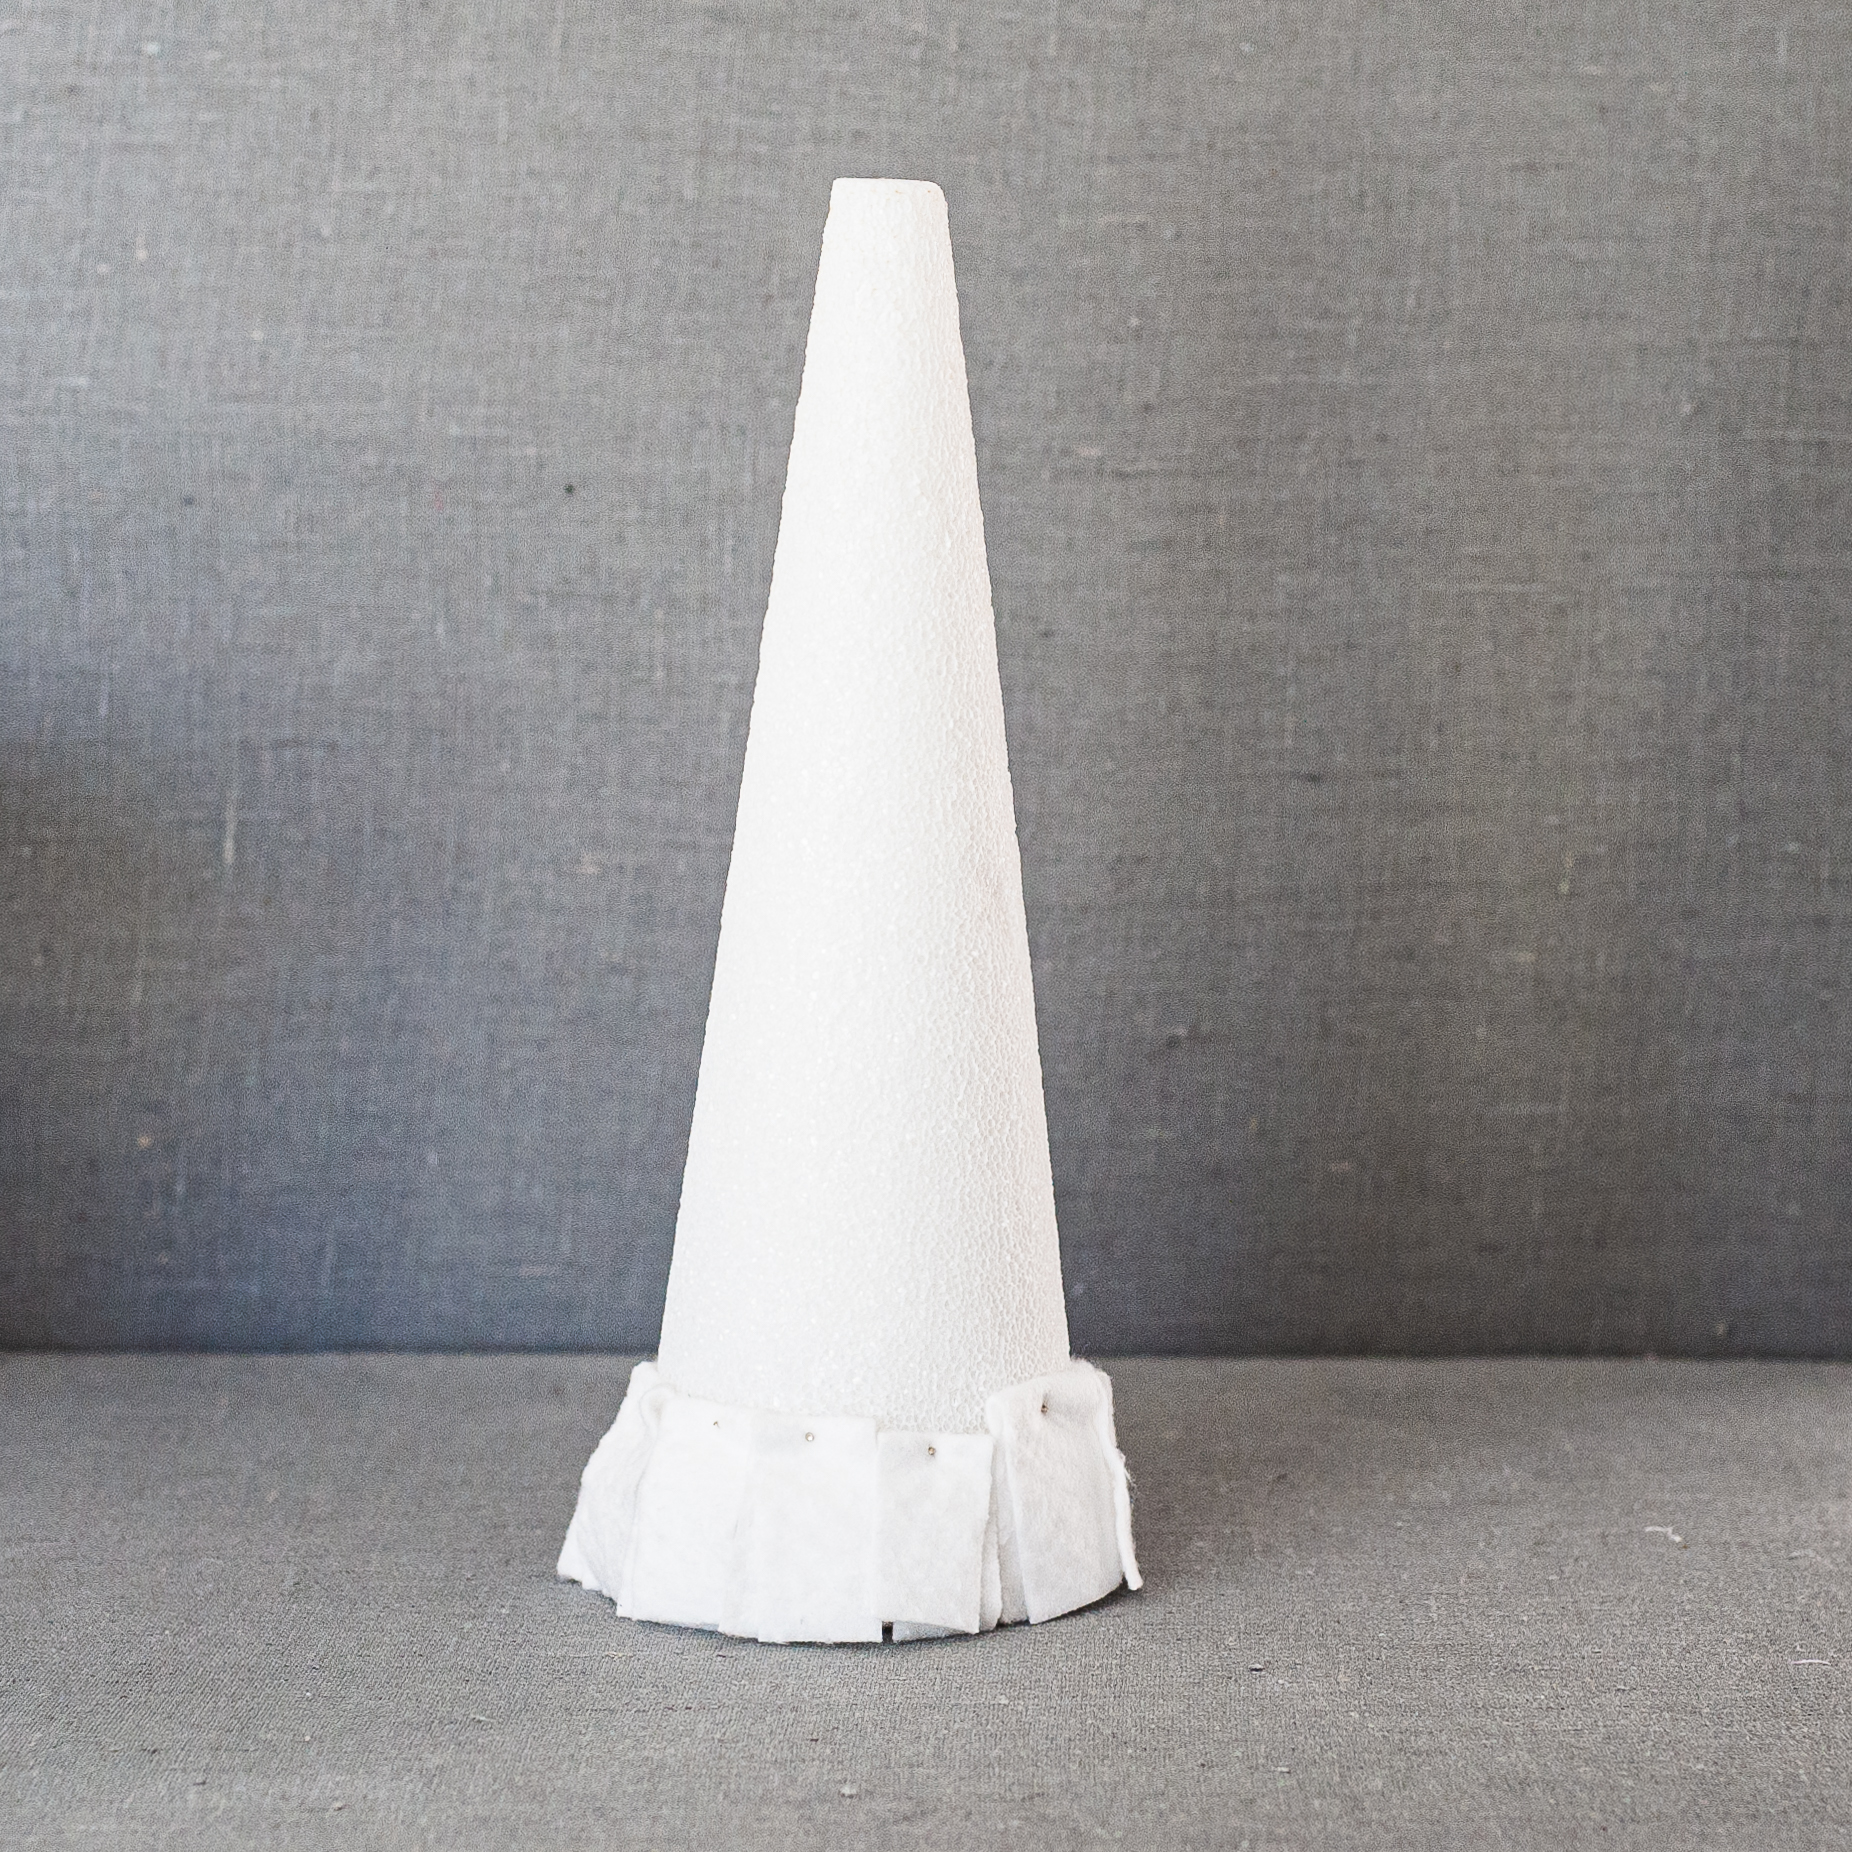
We are ready to add the batting around and around from the bottom of the cone to the top. Fold the batting strip in half and let the fold be a little off. Place the batting at the bottom side of the cone, making sure to hang the batting edges just slightly off the bottom, to make sure the styrofoam is covered up. Take a pin and pin the batting in place at the fold. Select another strip of batting, fold it in half, place it slightly over the previously attached batting and then pin it into place at the fold. Continue going around the cone to finish your row. There is no exact science on the placement of the batting. This is where your creativity comes to play. Perhaps, your creative soul wants to place batting in an entirely different way. Go for it. However, I’ll continue to tell you how I made mine.


To start the next row, I pinned another batting strip, but this time I made sure it overlapped the first row. I made adjustment so long as I was covering up the styrofoam. Continue making rows and working your way up to the top.


Once you’re about an 1” from the top, stop making rows. Now, lay 3 strips of batting to the top of the cone, like an asterisks.


 Add a few pins to hold down the batting in place at the top of the cone. Review your tree and feel free to add in more batting here and there around the tree as desired.


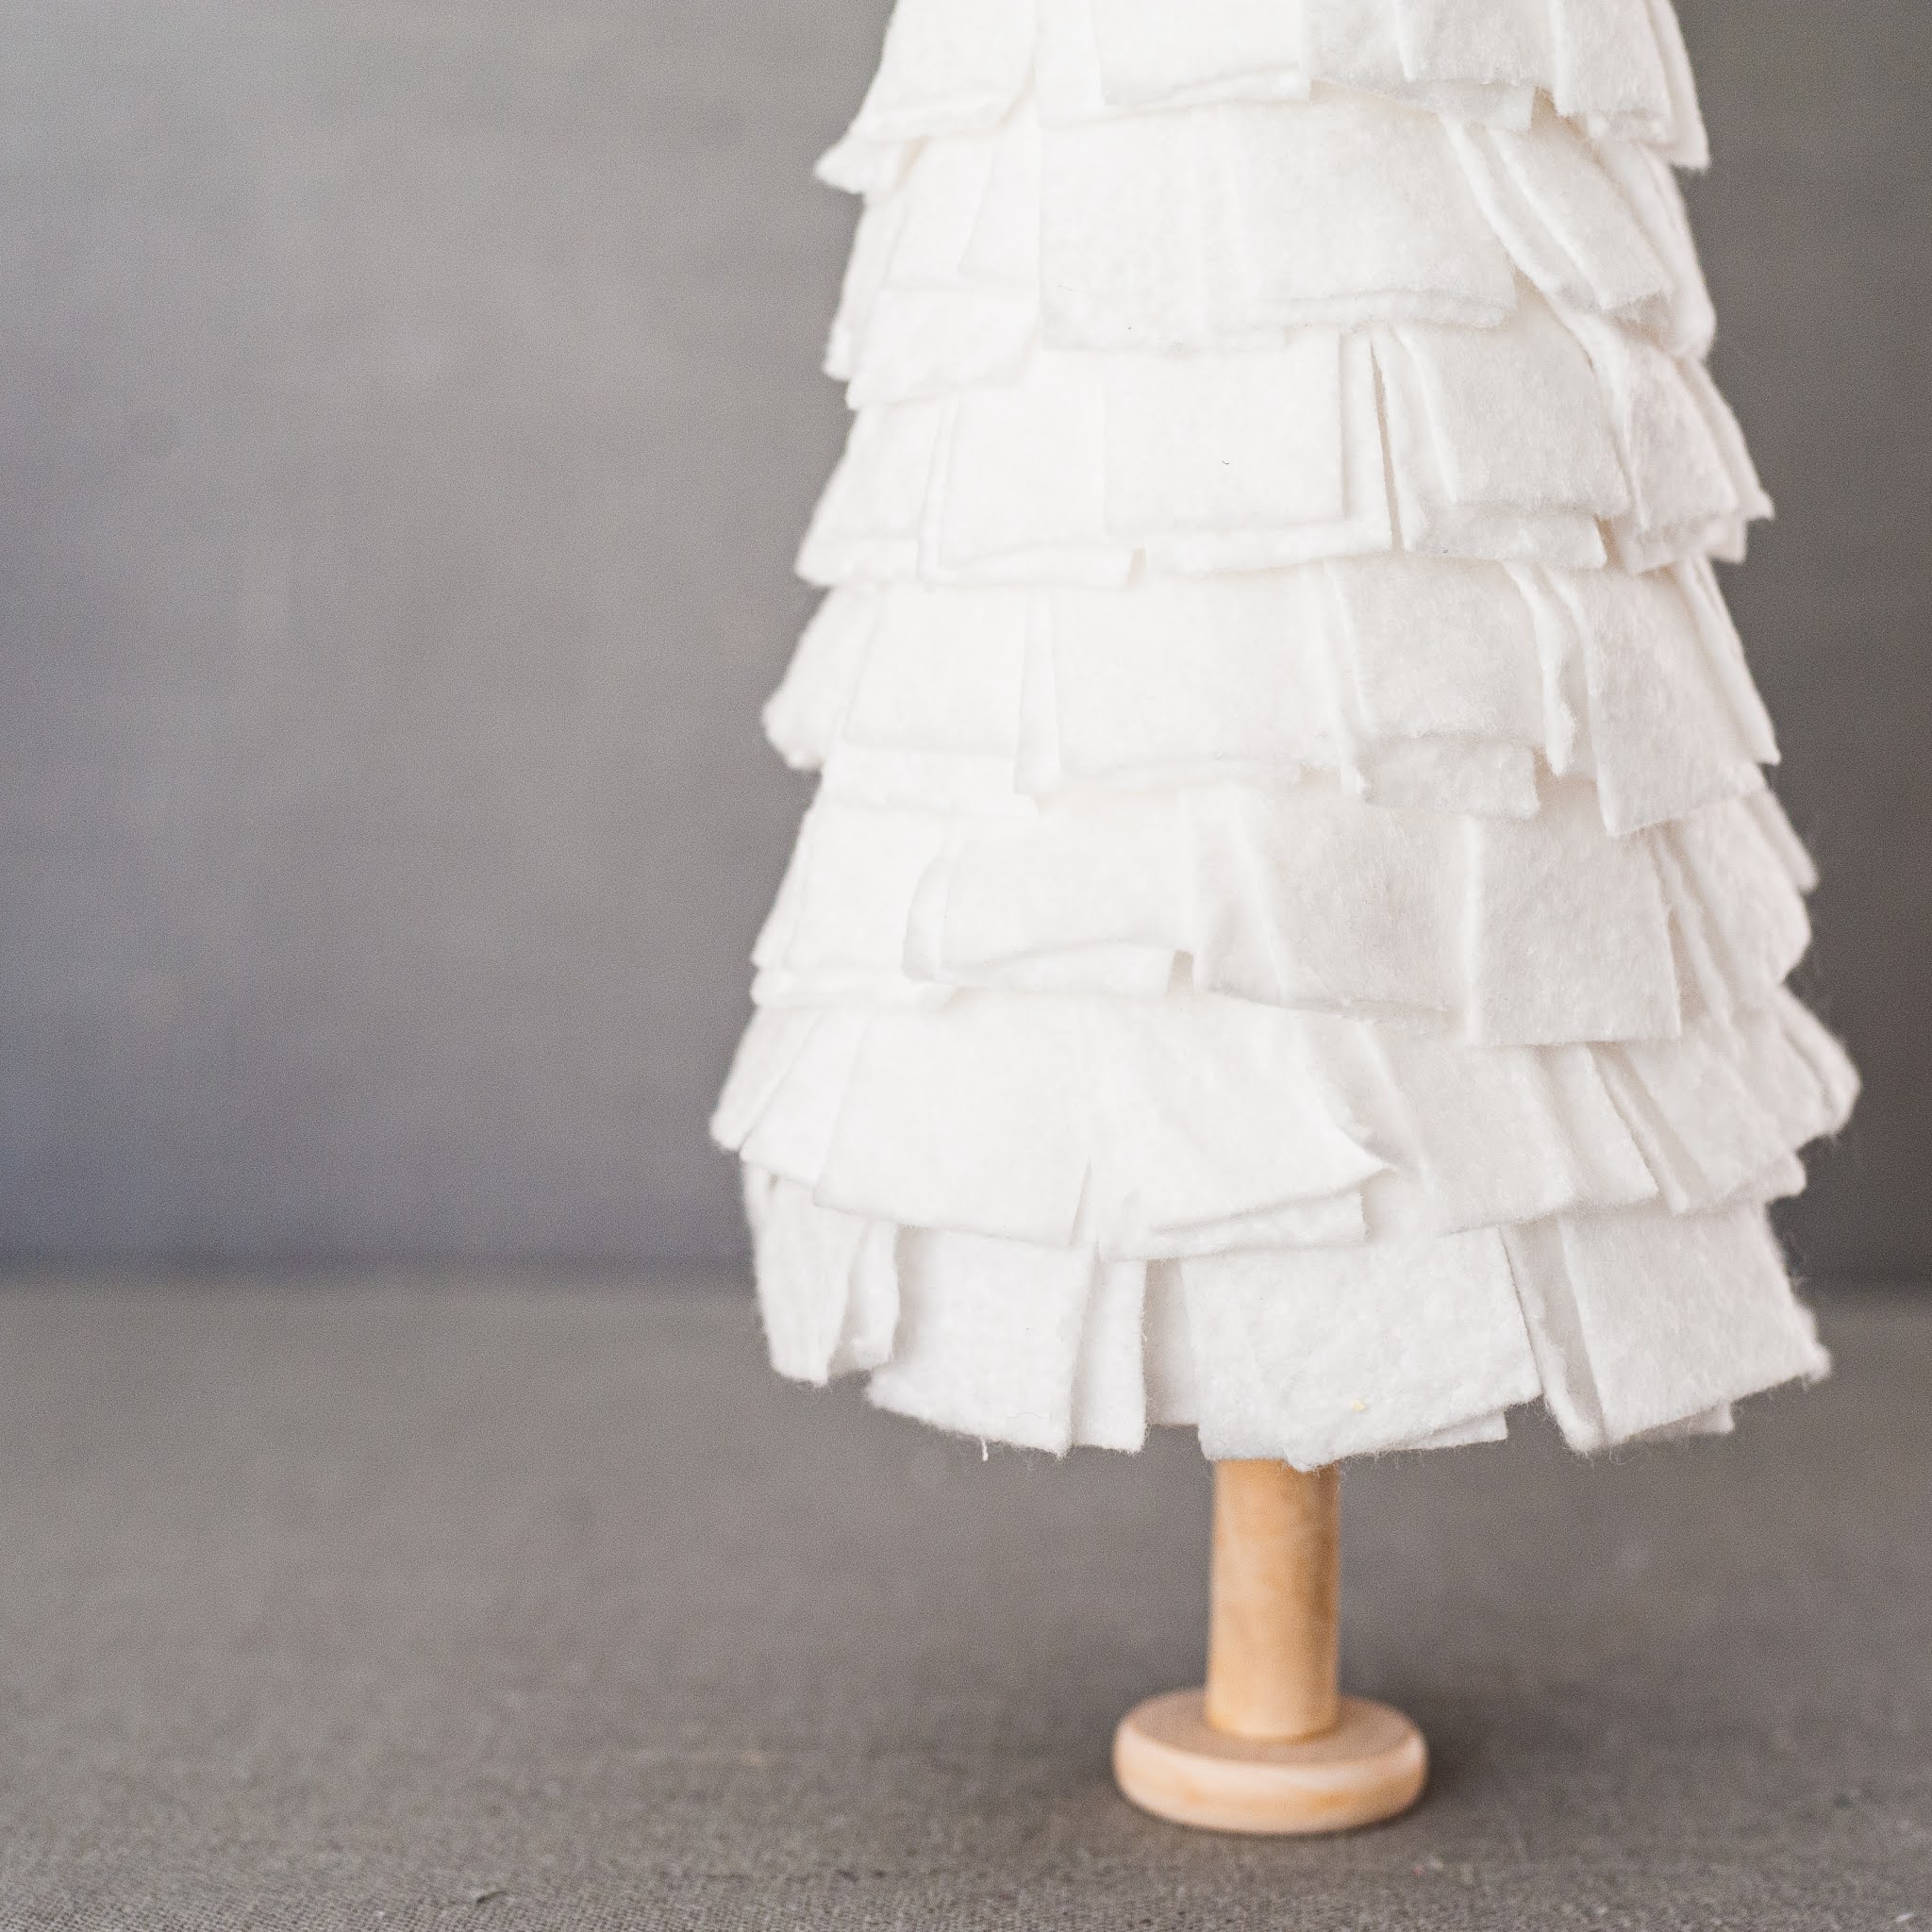
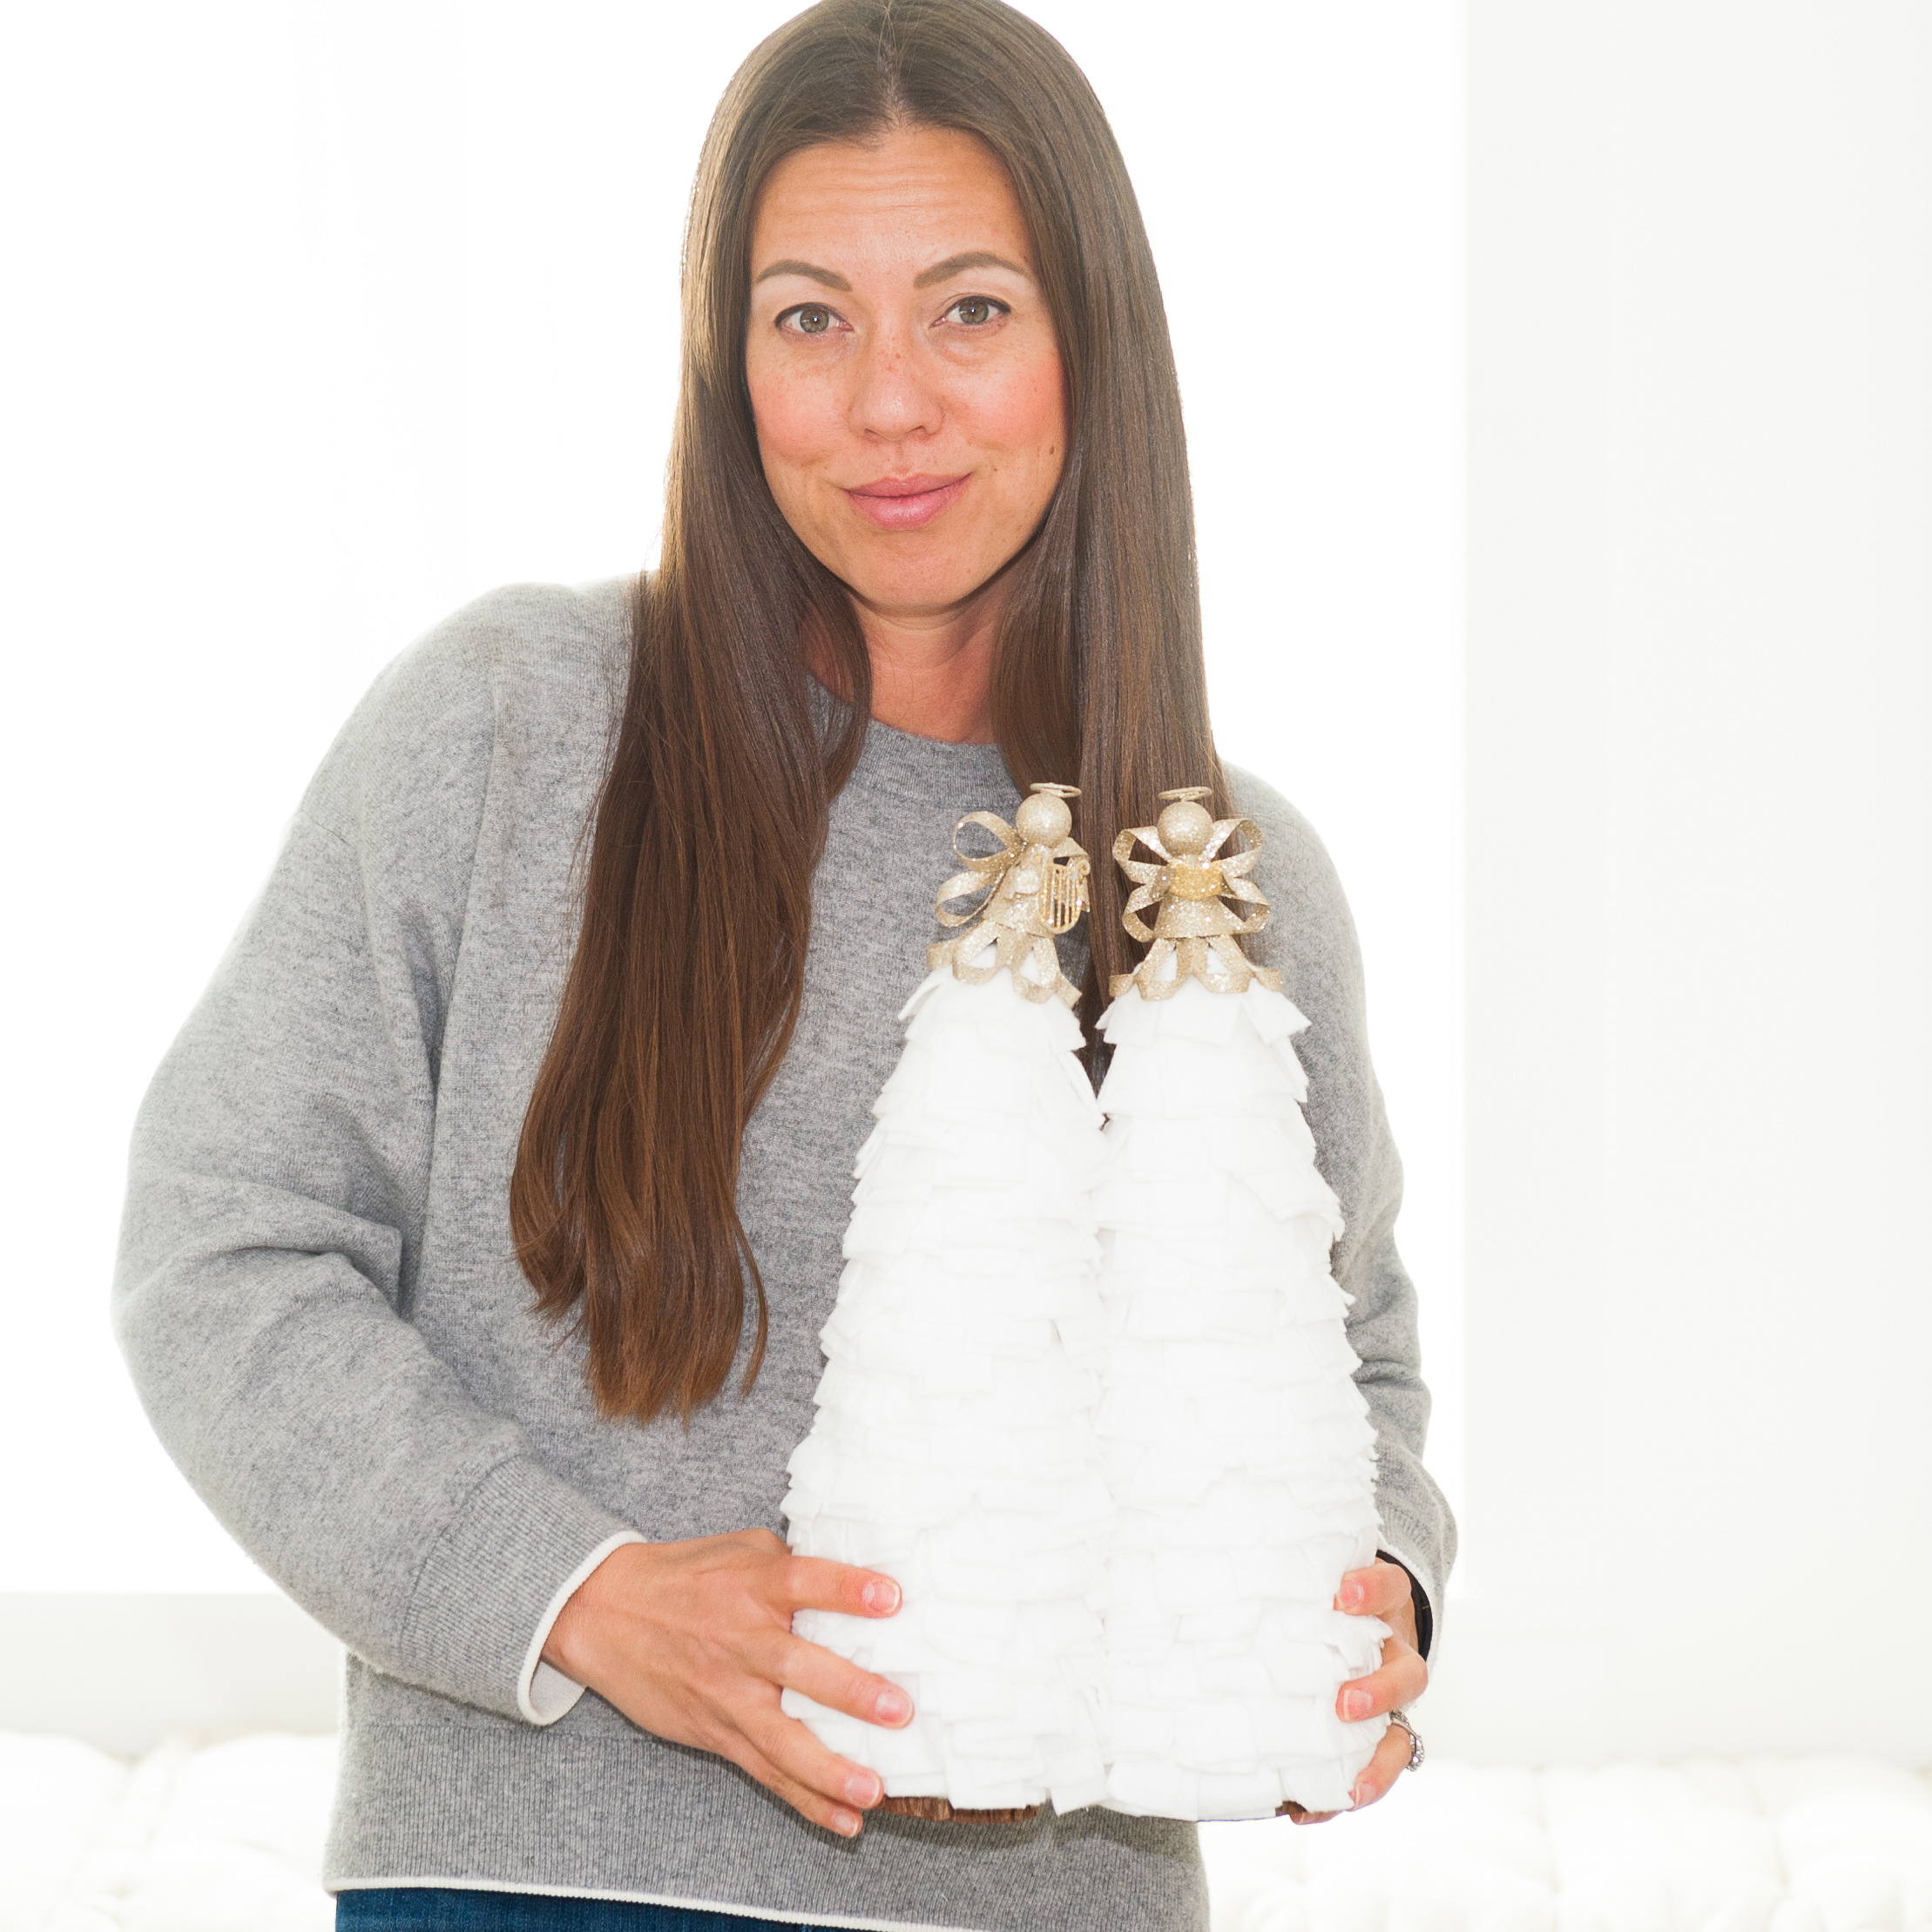
You can be done now or add a trunk to your tree, either add a wooden spool or a wood slice to the bottom of the tree. This lets the first row of batting hang down freely or if you want the first row to gently fall onto the table, then go for it too. Embellish your tree as desired. This is your fun project and doesn’t it feel good to use up stuff you already have laying around in the house? I had some old Angel ornaments from Crate and Barrel from some 10 years ago and I thought, hey, these would look great as a tree topper.


If you like this free tutorial, then show me your appreciation by following me on my social media. I also posted and shared some reels on my social media platforms. Be sure to check them out. I’d love to see your version. Make sure to share a pic of your tree by tagging me with @bysandraclemons on all social media outlets.


Merry Christmas, everyone!

Sandra


Thursday, December 9, 2021

TUTORIAL Snowman Sock Ornament


Are you ready to make an easy and so adorable snowman ornament? Let’s do this. These ornaments are great for presents, to adorn on gift wrapped presents, or keep for yourself to adorn on your own tree. Grab the kids, put on some Christmas tunes, and let’s make snowman ornaments.


M A T E R I A L S

Gerber Baby Socks 0-3 Months - https://amzn.to/3lRgBH8

Head - Styrofoam 2” Balls - https://amzn.to/3GuB8sV

Body - Styrofoam 1.5” Balls - https://amzn.to/3ELaWK4

Eyes – Dritz Long Sewing Pins - https://amzn.to/3rSCV7a

Nose – Dritz Short Sewing Pins - https://amzn.to/3DCF9tn

Orange Sharpie Marker - https://amzn.to/3EFWy5R

Black Sharpie Marker - https://amzn.to/3dBEgGZ

Scarf - Scraps of 100% Cotton Fabrics

Pompoms - https://amzn.to/336jE7G

Black and White Twine - https://amzn.to/3ELgTGU

Tacky Glue - https://amzn.to/3y19MHL

White String - https://amzn.to/33hISQL

Olfa Rotary Cutter 45mm - https://amzn.to/3c1uTj1

Dritz Cutting Mat - https://amzn.to/3DtRQGQ

Omnigrid Ruler 6” x 12” - https://amzn.to/3lFxQLc

Alphabet Beads - https://amzn.to/3oEcyzy

Flexible 22 Gauge Wire - https://amzn.to/31K2T1V


A S S E M B L E   O R N A M E N T S

Since the baby socks come in pairs of 6 socks, let’s make 12 snowmen. These assembly instructions are written to make 12 snowmen. The Gerber brand of socks has terrycloth on the inside which is perfect for these snowmen.


Open up the socks and Styrofoam packages. Insert the 2” ball first, followed by the 1.5” ball into each sock. Repeat for all 12 socks.


Next, cut 6” of white string to tie off the opening of the sock. Then, cut another length of string to tie off the sock between the 1.5” and 2” balls. Fold over the top of the sock onto the 1.5” ball. Repeat for all 12 socks.


Let’s move on to the face of the snowman. Each snowman needs 2 eyes and one nose.  The shorter sewing pins has a pinhead slightly smaller than the longer pins. Use the orange sharpie to color the pinhead for each snowman. Use the black sharpie marker to color two pinheads for each snowman. In total, color 12 short sewing pins orange and 24 long sewing pins black.


Once the pins are dry, push in two black and one orange pins into the head of the snowman to make a face with two eyes and one nose. Repeat for all 12 snowmen.


If you are making these snowmen as ornaments, then cut the black and white twine to about 8” long. Tie together the ends. Place tacky glue at the top of the snowman hat. Place the knot of the twine on the glue and then a pompom on top of the knot. Press and hold for a few second. If you’re not using these snowmen as ornaments, then simply glue on the pompom to the top of the hat. Repeat for 12 snowmen.


My daughter and I used some of these snowmen as gifts to our friends. To make them extra special, we used alphabet beads to spell out names of our friends, beaded them onto 22 gauge wire, and then tied it onto the snowman.


Now we are ready to make the scarf. Use scraps of 100% cotton fabric to cut into strips of 1” x 10”. This doesn’t need to be perfect, so adjust as desired. Cut a total of 12 fabric strips.


Fold and press the strips of fabrics in half by the width with wrong sides together. Either glue the wrong side together or edge stitch with a sewing machine. Tie the scarves onto all 12 snowmen.


You may want to color in 3 more long sewing pins for buttons. If so, then insert them into the body of the snowman. Color as many pins as desired for the number of snowmen as desired. Congratulations. You have made 12 adorable snowmen.


If you like this free tutorial, then show me your appreciation by following me on my social media. I also posted and shared some reels on my social media platforms. Be sure to check them out. I’d love to see your version. Make sure to share a pic of your tree by tagging me with @bysandraclemons.


Merry Christmas, everyone!

Sandra


Thursday, December 2, 2021

Sandra's DECEMBER Newsletter Recap

 H E L L O  +  R E C A P


Hello Creators. Thanksgiving has a special meaning for me. It is an opportunity to pause for a moment and to reflect on our many blessings. This community has been so kind to me. It has given me reason to be grateful for you. Thank you for supporting me.

Last month, I introduced the Discover quilt. I shared my progress on social media and even made a few more reels. Everyday, I'm learning more about reels and I'm improving my content every day. You can now find my reels on Instagram and Facebook. The Discover quilt pattern is now for sale on my website, sandraclemons.com.


As we switch gears and head into the holiday season, for my family, it's Christmas. I love this time of year. I'm on crafting overdrive. I'll be sharing my crafts on social media, so be sure to follow me on Instagram and/or Facebook so you don't miss out. 

This month's free quilt pattern is called Continuity. See more about Continuity below.

I'm so thankful for you joining me on this journey. 


Let's make something beautiful together,
Sandra


 F R E E   Q U I L T   P A T T E R N

Say hi to this month's quilt pattern, called Continuity. It's inspired by the traditional Irish Chain quilt, however my design has a modern spin. This month, I'm making the same quilt but with Christmas theme fabrics. We will be utilizing the Strip Sets technique to whip up this quilt the fast and easy way. I have plenty of pictures and diagrams to help you along the way. They will post on social media.

For the first week of December, this quilt pattern will be a free download on my website, sandraclemons.com. Grab the free download now! 


 F R E E   O R N A M E N T   P A T T E R N
 
 
The Santa's Hat Ornament Pattern

For this month, let's make some adorable ornaments for our tree and gift away. You can find the pattern for this Santa's Hat ornament on my website, sandraclemons.com. It's free. 


 F R E E   P R I N T A B L E

This month's free art printable is called Be Filled With Joy. You can find this art on my website, sandraclemons.com. Feel free to download and print it off. Tape or frame it to your wall to decorate for the holiday. I hope you enjoy. 


Tuesday, November 2, 2021

Sandra's NOVEMBER Newsletter Recap

 H E L L O  +  R E C A P


Hello Creators. How was your Halloween? We spent ours trick-or-treating with friends. I sometimes wonder how many more Halloweens I'll have with my daughter.

Last month, I introduced the beautiful Rotation quilt. I shared my progress on Instagram of a Halloween version of the quilt. (If you didn't get a chance to pick it up for free, then you can find it on my website for a nominal amount.) I don't typically work with orange and black, but it was nice to go outside my comfort zone and explore unchartered territories to grow my creative process. I won't say the orange and black color palette helped me explore new possibilities, but it surely did confirm my style and preferred color palettes.


This month, we are making the Discover quilt. I'm excited for this one, because I'm working with yellow. I love, love, and love yellow. The kind of yellow that reminds you of the bright mid day sun. It will be really easy to pick your color palette for this quilt, just pick two colors. See the next section for more information.

I'm so thankful for you joining me on this journey. Another way to show your thanks is simply by following me on Instagram, sandra.clemons.


Let's make something beautiful together,
Sandra


 F R E E   Q U I L T   P A T T E R N


Say hi to this month's quilt pattern, called Discover. Let's make this quilt together during the month of November. My journey will be evenly spaced out throughout the month. Join me and/or follow along. I'll share about my progress on Instagram and hope you'll share your progress too. It's important to me to hear your voices. You are motivating and inspiring.

I'm not entirely sure how you feel about the difficulty of this quilt, but I have a bunch of reels and posts planned out to show you how I constructed this quilt successfully. In addition, the pattern is extra wordy to explain in detail how to make this quilt with ease. Come on, take this ride with me.

For November, this quilt pattern will be a free download for the next week or so on my website, sandraclemons.com. Grab the free download now! 


 Q U I L T   T I P


The Right Side of Solid Fabric

For printed fabrics, it's easier to identify the right side of fabric by sight. The brighter side is the right side of the fabric, because fabric is printed on the right side. However, it is trickier to identify the right side for solid colored fabrics. I have good news for you, there is a way to tell the right and wrong side of solid fabric without looking for brightness.

I chose a solid yellow fabric for the Discover quilt. Although it doesn't matter much to track the right and wrong side of solid colored fabric, it might occur to you to consider what is the right side of solid colored fabrics during the construction process.

During the fabric manufacturing process, the fabrics are put on rollers. The rollers leave tiny little holes along the selvage of the fabric. The holes punch through from the wrong side of the fabric. When you touch the holes, the holes from the wrong side of the fabric will feel smooth while the holes will feel bumpy or indented on the right side of the fabric. That's it. 

This tip will help you identify the right and wrong side of solid colored fabrics. 


 F R E E   A R T   P R I N T A B L E

This month's free art printable is Thanksgiving themed. You can find this art on my website, sandraclemons.com. Feel free to download and print it off. Tape or frame it to your wall to decorate for the holiday. I hope you enjoy. 


Monday, October 4, 2021

Sandra's OCTOBER Newsletter Recap

 H E L L O  +  R E C A P


Hello Creators. Are you ready for Halloween? I can't believe that it's already here. This school year seems to be flying by. But I'm committed to you. I promised to deliver you a free beautiful quilt pattern every month and for that month, I'll be posting my construction of said quilt throughout the month. I started the newsletter about 6 months ago and it has become my little safe haven from the worries of the world and family duties. I'm so thankful for you joining me on this journey. Another way to show your thanks is simply by following me on Instagram.

Speaking of Instagram, I started posting reels, oh my. I have been in fear of posting videos, but I will post more reels to show you my quilt assembly process. Stay tuned.

Last month, we made the Windowpane Quilt. You can head over to my Instagram page (sandra.clemons) to see the progress photos. The pattern is now available for sale on my website, sandraclemons.com. Thank you for saying hey and sharing your thoughts with me. I do appreciate it. 


This month, we are making the Rotation Quilt. I love, love how it turned out and I'm excited to see your interpretation as well.

I appreciate your support and encouragement.

Let's make something beautiful together,
Sandra


 F R E E   Q U I L T   P A T T E R N

Say hi to this month's quilt pattern, called Rotation. Let's make this quilt together during the month of October. My journey will be evenly spaced out throughout the month. Join me and/or follow along. I'll share about my progress on Instagram and I hope you'll share your progress too. It's important to me to hear your voices. You are motivating and inspiring.

What will you choose for the fabrics of this quilt? I'm choosing a Halloween theme fabric to get me and you into the spooky spirit this month.

For October, this quilt pattern will be a free download for the next week or so on my website, sandraclemons.com. Grab the free download now! 


Q U I L T I N G   T I P


Rulers Lines

The Rotation Quilt requires cutting squares on a diagonal to create right angle triangles. These triangles are utilized to make a square-in-a-square unit for this month's quilt pattern. It is critical to make sure your triangles are cut accurately to ensure the assembly of your square-in-a-square units are constructed with ease. You'll notice on your rulers, there are diagonal lines labeled as 45 and 60 degrees. These lines are a life saver and reassurance in cutting triangles precisely.

When you're ready to cut a square diagonally which will make two triangles, use the 45 degree line on your ruler to align it to the edge of the square and make sure the straight edge of the ruler is laid directly through the diagonal corners of the square as shown above. You'll want to double check that the 45 degree line is right on the edge of the square while at the same time the ruler edge is straight through the corners. Hold your ruler with your hand and cut. 

This tip will help you cut accurate triangles that will in turn build up your precision when assembling your square-in-a-square units for the Rotation Quilt.

Thursday, September 2, 2021

Sandra's SEPTEMBER Newsletter Recap

 H E L L O  +  R E C A P


Hello Creators. If you're new here, then welcome. This newsletter comes out the second weekday of every month.

It has been a full month. My family and I had some crushing setbacks that were dished out one after another. So the decision was made to take a last minute family trip to Maui the week before school started to celebrate and be grateful for what we have and for what we've achieved. We came back refreshed but right back into school mode. My daughter started 4th grade and has a full schedule of ballet and tennis for the school year. Geez, the pressure sports puts on kids just seems to me 3 years too early, but she wants to keep up. She has passion and drive. I'm adjusting to the new school schedule and hope to find more efficiencies in my day in order to make more time to create and share more with you.

Last month, we made the Solidarity Quilt. You can head over to my Instagram page (sandra.clemons) to see the progress photos. The pattern is now available for sale on my website. Thank you for saying hey and sharing your thoughts with me. I do appreciate it. You can find the pattern on my website, sandraclemons.com.


This month, we are making the Windowpane Quilt. I love, love how it turned out and I'm excited to see your interpretation as well.

I appreciate your support and encouragement.

Let's make something beautiful together,
Sandra


 F R E E   Q U I L T   P A T T E R N
Say hi to this month's quilt pattern, called Windowpane. Let's make this quilt together during the month of September. My journey will be evenly spaced out throughout the month. Join me and/or follow along. I'll share about my progress on Instagram and I hope you'll share your progress too. It's important to me to hear your voices. You are motivating and inspiring.

What will you choose for this quilt? The pattern is fat quarter friendly, which makes this pattern versatile to choose from those large scale prints that tend to stay in our fabric stash.

For September, this quilt pattern will be a free download for the next week on my website, sandraclemons.com. Grab the free download now! 


 Q U I L T I N G   T I P


Sew With A Quarter Inch Seam Allowance

The Windowpane Quilt is a super duper easy quilt to make for a beginner quilter but quite the eye candy to capture the interest of an experienced quilter who needs a reason to use up those large scale fabrics. All the cutting and sewing for the Windowpane Quilt is made on the straight of grain. No bias. You're welcome.

That said, this month's quilting tip is to make sure you are sewing with an accurate 1/4" seam allowance. There are many products out there to help you achieve an accurate seam allowance, however, I am going to share with you my favorite two tips.

I'd recommend over anything else, buy a 1/4"  inch foot for your sewing machine. Many sewing machines do not come with a 1/4" inch foot. You'll need to buy one that fits your machine. Once you have one, then use some scrap fabric to test your seam allowance. You may notice when you're sewing with the foot, you'll need to be exactly under the 1/4" foot, or perhaps, you'll need just a hair of the fabric showing from your foot. These little differences can compact over time when building out your quilt top. 

If you're not quite ready to spend more money for your sewing machine, then you can do what I did when I first started quilting. Measure an accurate 1/4" distance to the right of your sewing machine needle, then make a mark. Use a piece of thick paper, place it under your sewing machine foot and line up with the mark. Use painter's tape to closely lay along the length of the paper or draw a line with sharpie marker onto the flat bed. Use this line to feed your fabric through your machine. 

For experienced quilters, this is the time to double check your seam allowance. It is a good habit to check it every now and then, just to make sure you are accurate.

I hope these tips were helpful to you.


F R E E   A R T   P R I N T A B L E


If you're following me on Instagram, then you know by now we are a ballet and tennis family. My daughter is actively pursuing both. She tends to be a perfectionistic and we are developing her mindset to accept mistakes and enjoy the process of improvement. This quote by Jesse Owens is very relevant for her and perhaps for you too. 

As quilters, perfectionism can quickly creep into our mindset, filling ourselves with doubt and comparison. However, we should feel a sense of accomplishment and happiness when we finish a quilt, regardless of mistakes. Most times, no one notices a missed point, ya know. Anyhow, if you are struggling with quilter's perfectionism, then download this printable and tape it next to your sewing machine to remind yourself why you really enjoy quilting.


 G I V E A W A Y


This month I'm giving away forty 8" hexies by Me + You for Hoffman Fabrics. The hexies include Indah Solids and Batiks. Next month, I'll be using these batiks in my next free quilt pattern. To enter, follow me on Instagram, sandra.clemons. Sometime this month, I'll post the giveaway along with instructions detailing how to enter.

If you'd like to collaborate on next month's giveaway, then shoot me an email at sandypan28@gmail.com and we can discuss next steps.


Related Posts Plugin for WordPress, Blogger...