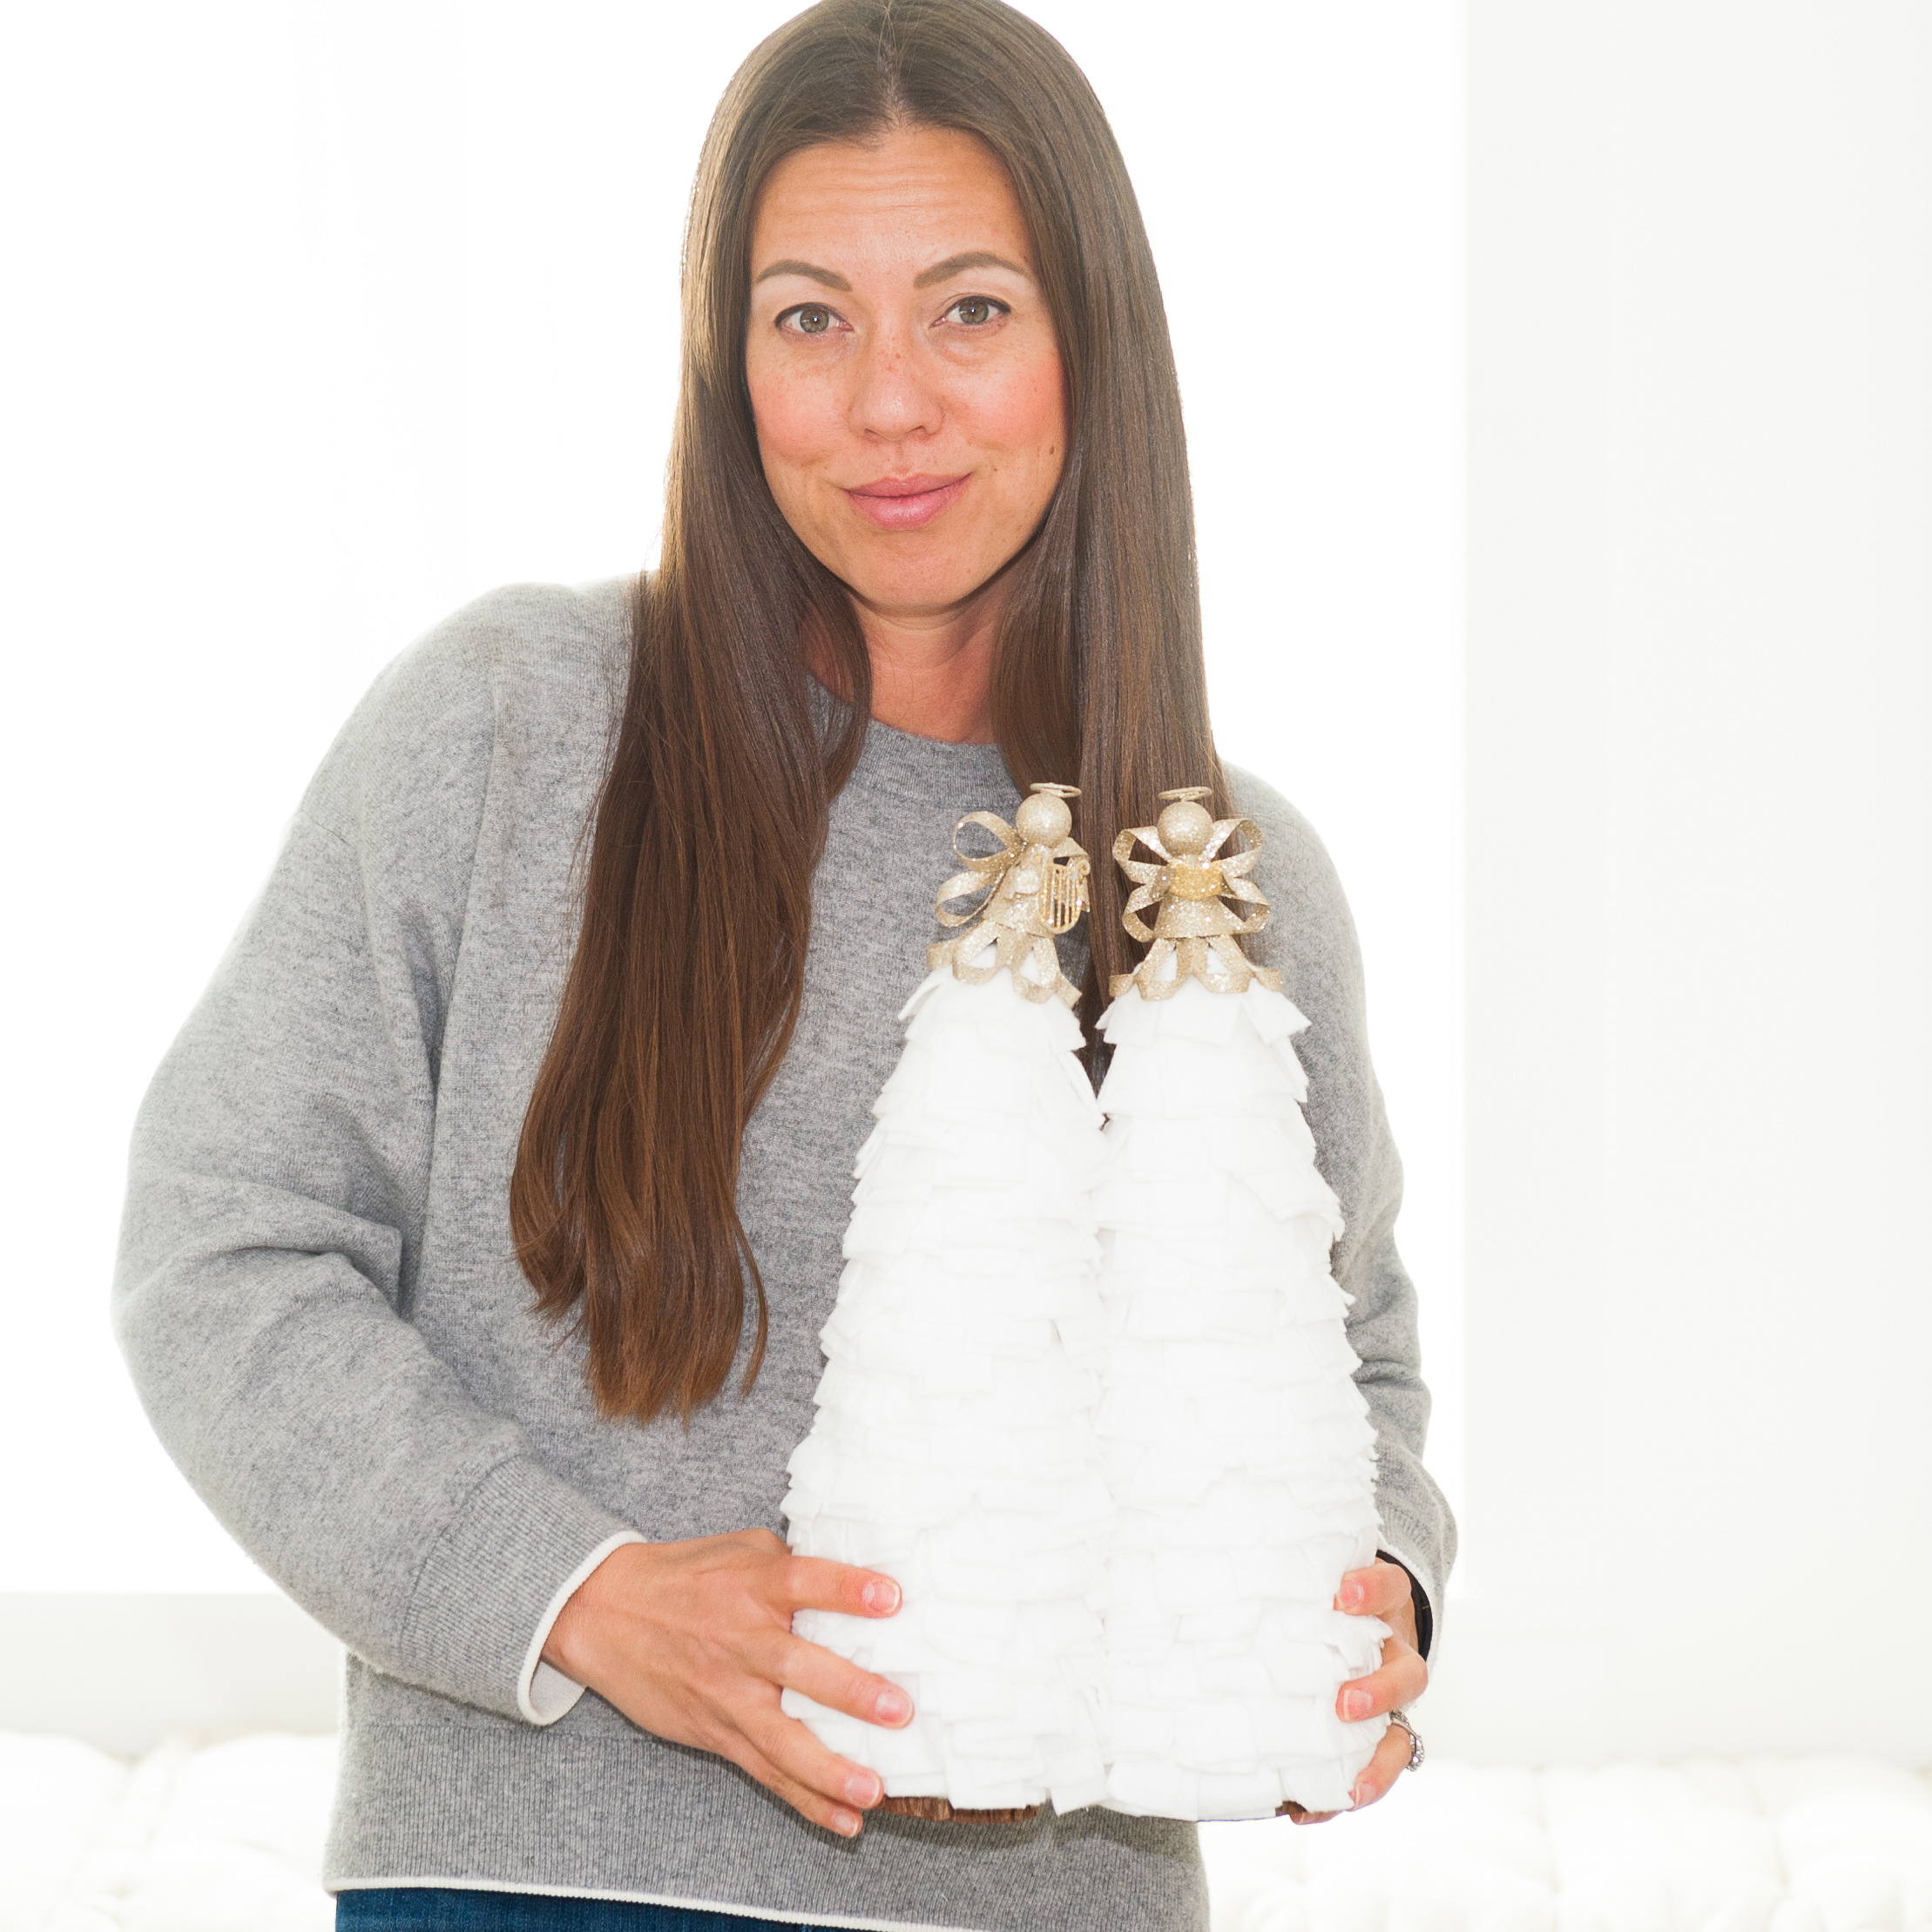
Wednesday, February 2, 2022

Free Valentine's Day Cards


Friends, I have a free Valentine's Day cards printable for you as a download on my website. There are 4 types of card to choose from. Each page has the same design duplicated 4 times. Print as many as you need onto card stock at home, then cut them apart. Do all 4 or just one, it is up to you.


Product Listings:

Red Starbursts - https://amzn.to/35Lsd9t
Cute Pencils - https://amzn.to/35DemSl
Valentine Washi Tape - https://amzn.to/34cI2FF
White cardstock - https://amzn.to/3AT1B1I
Epson EcoTank ET-2760 Printer - https://amzn.to/35JzZRb
Epson EcoTank ET-2760 Ink - https://amzn.to/3HDcHKZ
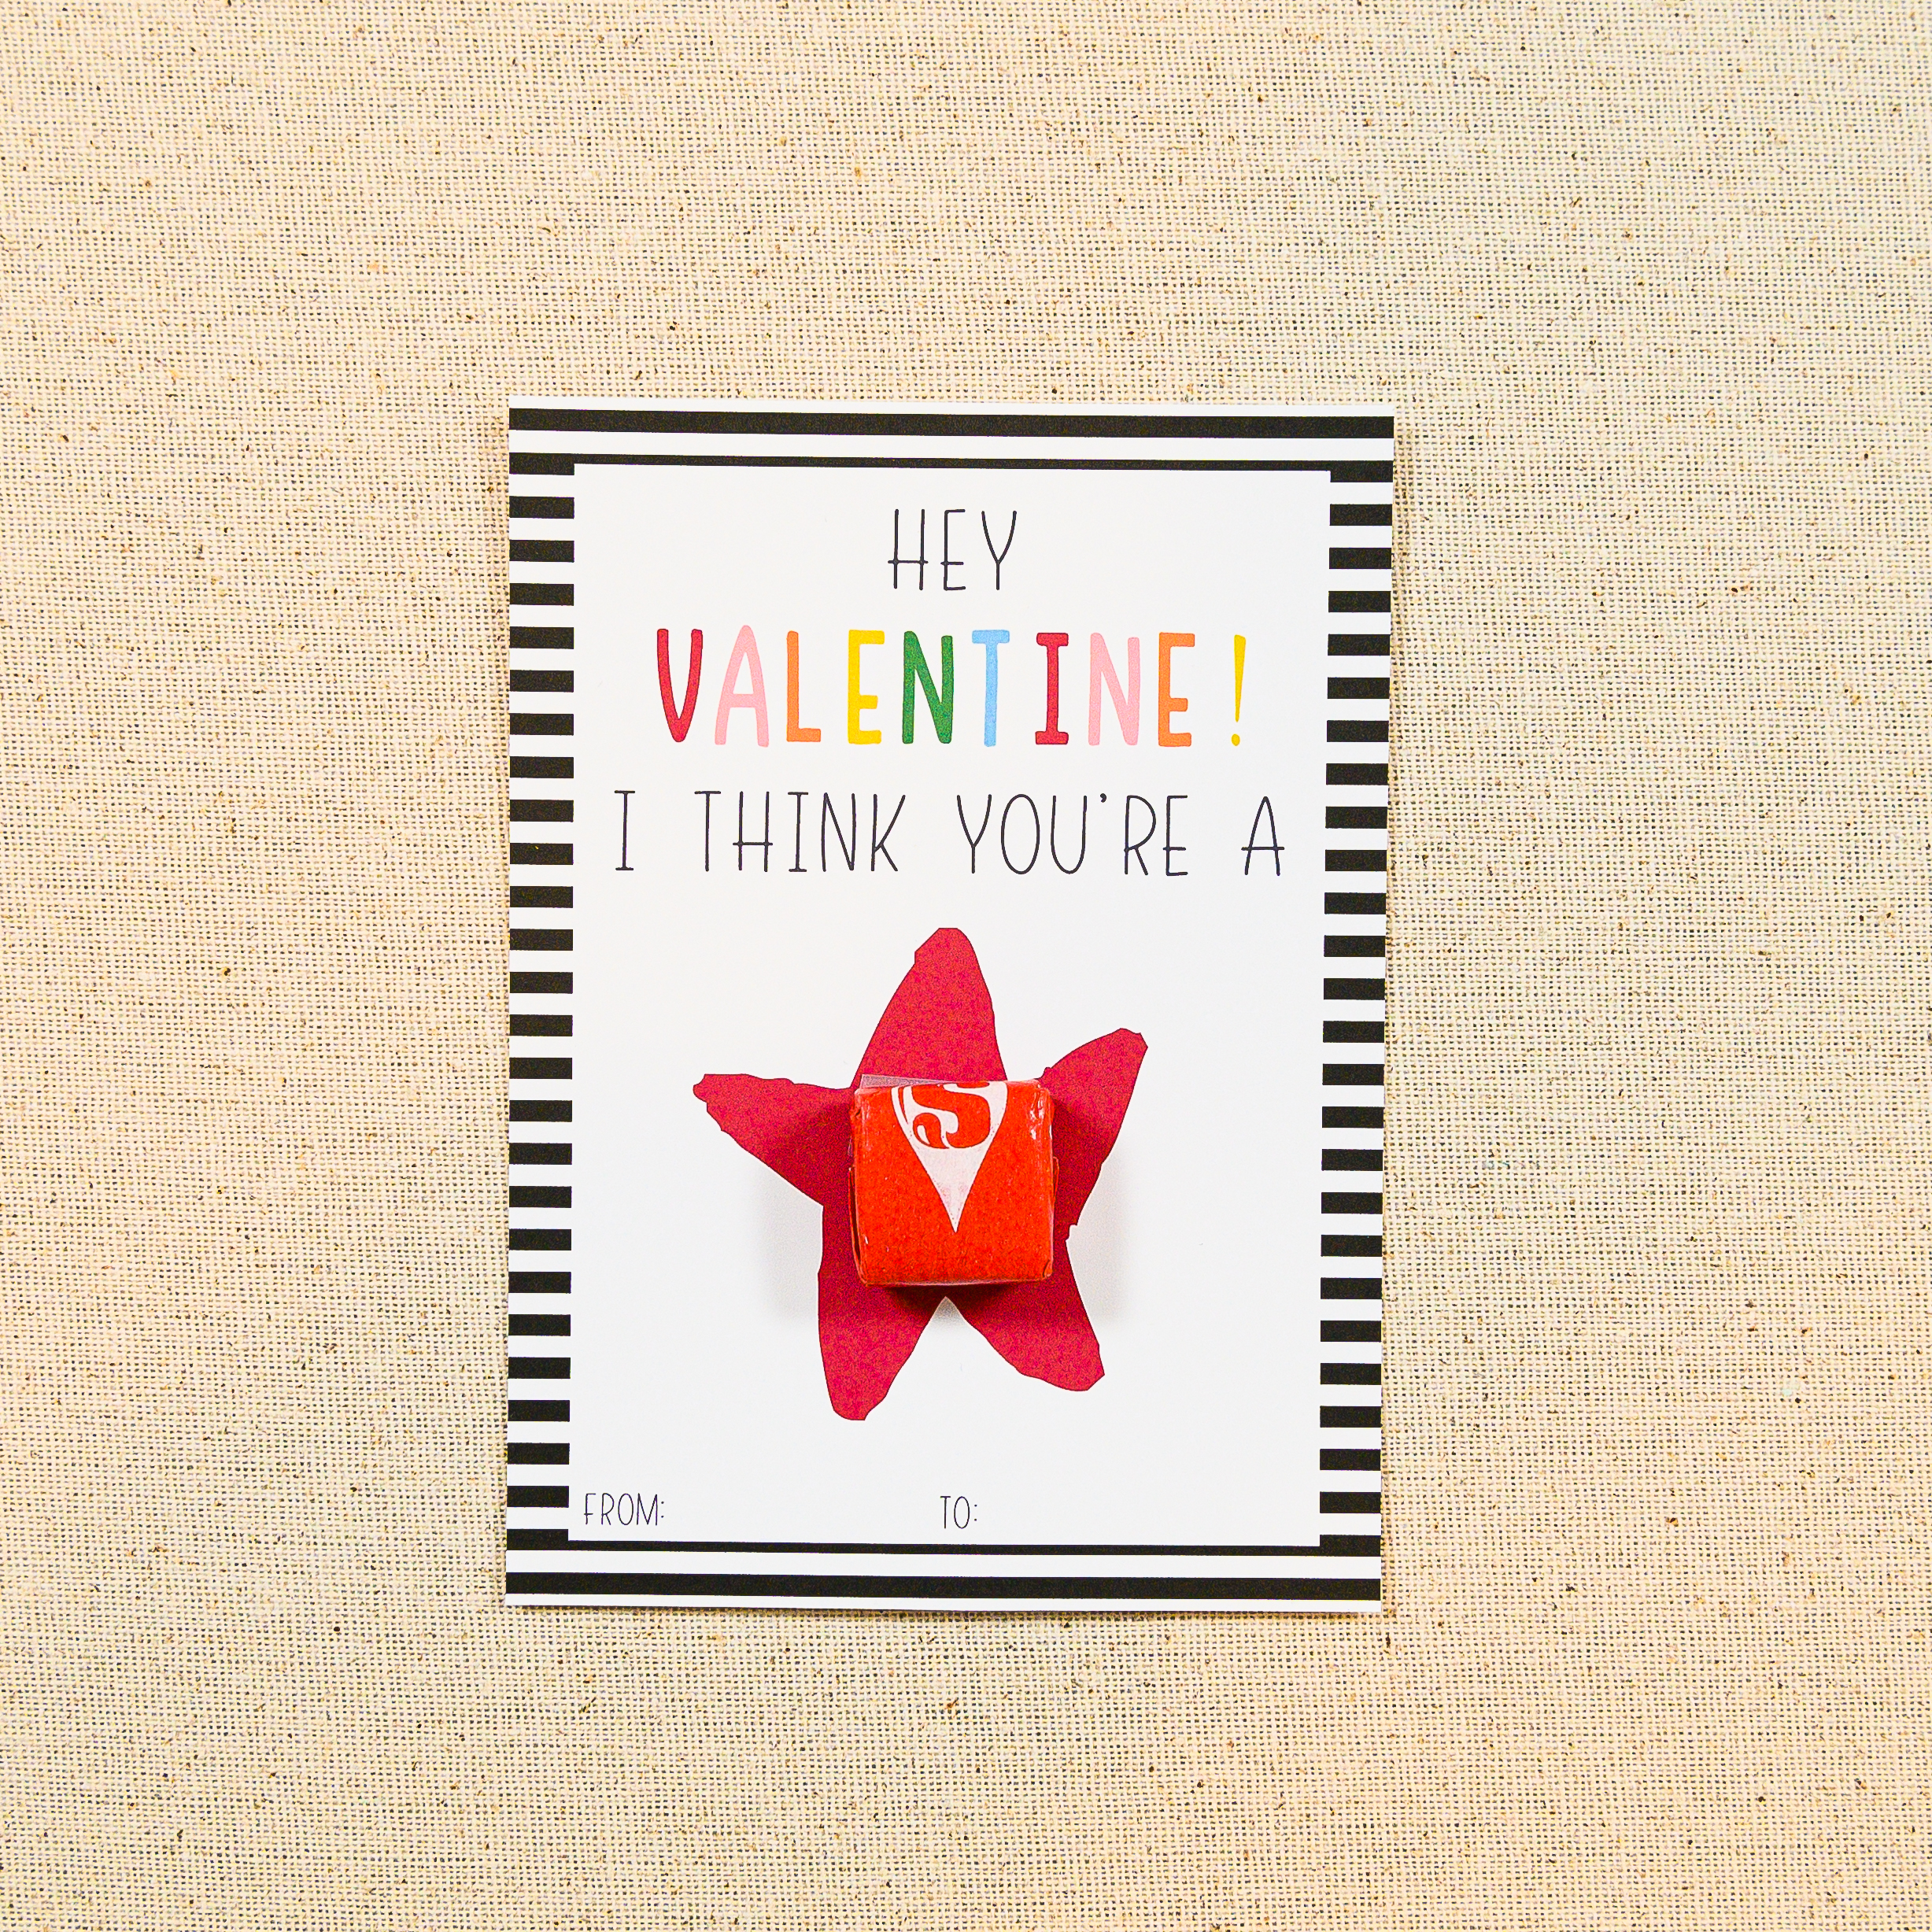


When you have downloaded the pdf, you'll notice each type of card is duplicated 4 times for each page. Choose to print four types or just one. Print as many pages as you need and be sure to select "fit" in page setup.


For this card, all you need is a bag of red Starburst. After you have printed and cut out the cards, then glue or tape a starburst onto each card.


For this card, you'll need a package or two (depending on how many cards you're making) of pencils or pens. After you have printed and cut out the cards, I used my rotary blade cutter to make two 1" cuts to insert and hold the pencil. I have a rotary blade cutter for paper use only. I keep my nice one for fabrics. 


After you have printed and cut out the desired number of cards, then simply buy a bag of squishies. Simple glue or tape a squishy on each card.
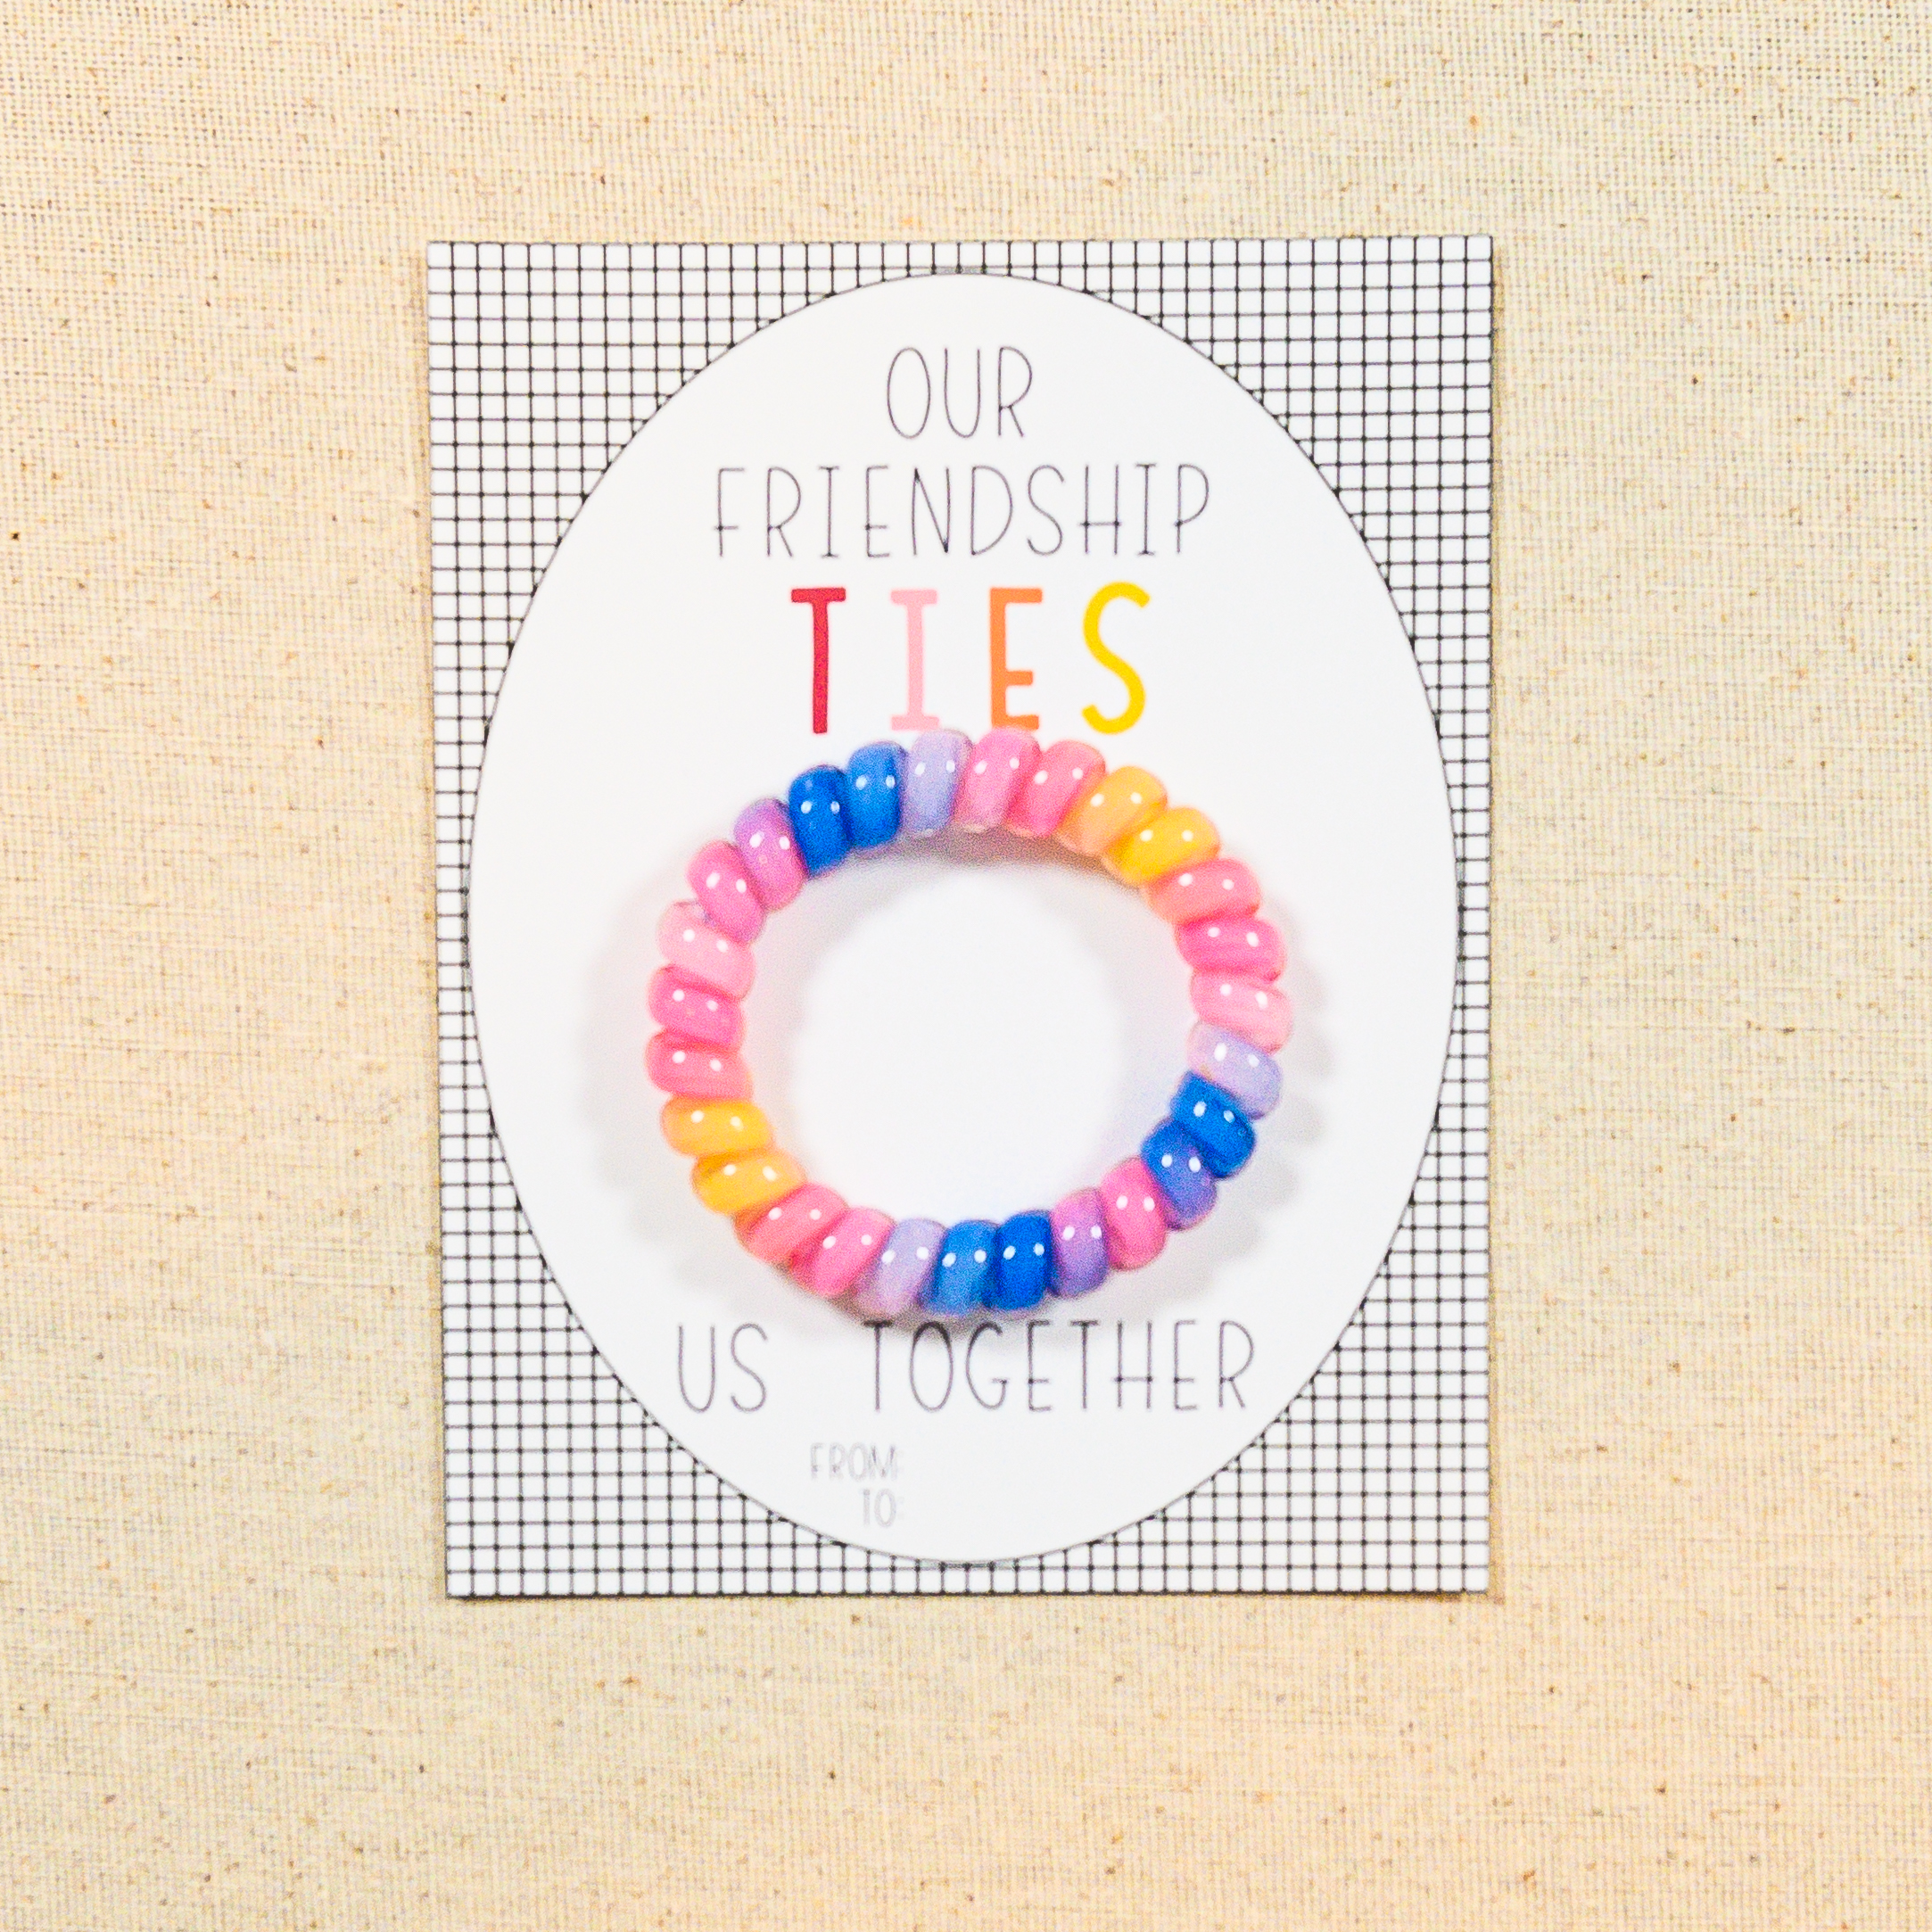


For this final card, buy a bag of hair ties. Use washi tape to attach the hair tie to the card.


When you have made your desired number of cards, fill in the "from" and "to." Now you're ready to deliver this adorable card to friends.


When you use these product links, you are showing me an appreciation of the content I provide for you. That means if you buy something through one of my links, then I make a very small percentage of the revenue. This revenue helps me pay for quilting supplies and technology required to continue to provide you with ongoing free content. Thank you for supporting me and my passion to share my love of quilting to you. 


Which Valentine's Day card is favorite? Starburst, Pencil, Squishy, and/or Hair ties. Share in the comment below. You can subscribe to my monthly newsletter here to receive awesome freebies.


Let's make something beautiful together,
Sandra


Tuesday, February 1, 2022

Radial Quilt Pattern


Friends,


Say hi to this month's quilt pattern, called Radial.

To complete the Radial quilt pattern, we will make 952 flying geese units for a queen size quilt. However, if that's way to many units, I also provides instructions for a full size quilt. For the color palette, I'd encourage you to scan through your scraps. Your scraps say a lot about you and your favorite colors. Pick 1 or 2 colors and use them for this quilt. 

I'll be sharing my assembly process on social media during the month. If this resonates with you, then make sure you are following me on either Facebook, Instagram, Twitter, TikTok, and/or Snapchat. You can find me on all of those platforms as @bysandraclemons.

Also, if you'd like shopping suggestions to fulfill the material requirements for this quilt pattern, then see below for my product listings.


Fabrics for the Radial Quilt

Fabrics

Kona Cotton White


Basic Supplies Radial Quilt

If you need more supplies, such as batting and thread, then you can find these product links below. 

Quilt Batting - Full
Warm Company White Cotton Batting, 90” x 96”
https://amzn.to/3gkvz52

Quilt Batting - Queen
Warm Company White Cotton Batting, 90” x 108”

100% Cotton Thread
Aurifil 50 Wt Cotton Thread, Natural White Cone
https://amzn.to/3mPS99m


Head over to this blog post for the Essential Quilting Supplies Checklist.


When you use these product links, you are showing me an appreciation of the content I provide for you. That means if you buy something through one of my links, then I make a very small percentage of the revenue. This revenue helps me pay for quilting supplies and technology required to continue to provide you with ongoing free content. Thank you for supporting me and my passion to share my love of quilting to you. 


What color would your choose for the Radial quilt? Share in the comment below. You can subscribe to my monthly newsletter here to receive awesome freebies.


Let's make something beautiful together,
Sandra


Monday, January 3, 2022

Sandra's JANUARY Newsletter Recap

 H E L L O  +  R E C A P


Dear Friends,

Happy New Year. I'm so grateful for your encouragement and support when I refocused my business to deliver you free quilt patterns in May of 2021. With thoughtful content and careful planning, I've been able to produce for you, monthly quilt patterns and assembly content on my social media outlets. During December, I was able to reflect on all that we've accomplished and created. Look at all of the beautiful quilts we made this year. (Quilt patterns are available for sale through my website.)


Now is the time to look ahead, for my newsletter subscribers, I'll continue to provide you with  free quilt patterns. I'm looking seriously at starting up a YouTube channel to help you assemble with visuals. Stayed tuned. In addition, I'll provide monthly art printables and weekly words of encouragement. 

This month's free quilt pattern is called Sanctuary. See more about Sanctuary below.

Thank you for joining me on this journey. 

Let's make something beautiful together,
Sandra


 F R E E   Q U I L T   P A T T E R N

Say hi to this month's quilt pattern, called Sanctuary.

Hello. The Sanctuary quilt pattern was inspired by the Red Cross organization and volunteerism. The pattern is an easy peasy quilt to assemble. We will cut and sew with the straight of grain. The quilt is set on point. Think about going through your scraps to increase your variety of fabrics to add more interest to your quilt. I’d encourage you to think of a color palette of 3 colors to harmonize your quilt. Read through the instructions carefully before beginning. 

I'll be sharing my assembly process on social media during the month. If this resonates with you, then make sure you are following me on either Facebook, Instagram, Twitter, TikTok, and/or Snapchat. You can find me on all of those platforms as @bysandraclemons.


Also, if you'd like shopping suggestions to fulfill the material requirements for this quilt pattern, then head over to my blog for product listings.

During the first week of January, this quilt pattern will be a free download on my website, sandraclemons.com. Grab the free download now! 


 F R E E   A R T   P R I N T A B L E

This month's free art printable is called Beautiful Things Come Together. You can find this art on my website, sandraclemons.com. Feel free to download and print it off. Tape or frame it to your wall for home decorations. I hope you enjoy. 

Sanctuary Quilt Pattern


Friends,


Say hello to the Sanctuary quilt. This beautiful quilt is simple to assemble, yet has a powerful impact for the crosses adds a pop and consistency to the quilt. This quilt can definitely make a dent into your stash as well, as it is fat quarter friendly. 


For the month of January, I'll be sharing my entire quiltmaking process for the Sanctuary quilt pattern on Instagram, Facebook, and Tiktok (@bysandraclemons). Find and follow me there so you don't miss out on incredible content in your feed.


In the meantime, if you like to duplicate the pink or blue version of the quilt, then I have found similar to same products for you on Amazon. You can find those product links below or head over to my shop to curate your own.


Pink Version of the Sanctuary Quilt

15 Fat Quarters for blocks
Sunday Stroll by Bonnie & Camille for Moda Fabrics, Fat Quarter Bundle
https://amzn.to/3EQKgXF
 
3/4 yard of fabric for blocks
Kona Cotton Solid Red Quilting Fabric
https://amzn.to/3eGoMlE
 
3 1/4 yards of fabric for setting squares, triangles, and borders
Pure Solids Candy Light Pink by Art Gallery
https://amzn.to/3qMJ2Yr
 
5 1/4 yards of fabric for backing
Sunday Stroll by Bonnie & Camille for Moda Fabrics, 55222 21 Red
https://amzn.to/31k67Jc
 
3/4 yards of fabric for binding
Pure Solids Candy Light Pink by Art Gallery
https://amzn.to/3qMJ2Yr


Blue Version of the Sanctuary Quilt


15 Fat Quarters for blocks
Make Time by Aneela Hoey for Moda Fabric, Fat Quarter Bundle
https://amzn.to/3pLw9yh
 
3/4 yard of fabric for blocks
Kona Cotton Solid Indigo Blue Quilting Fabric
https://amzn.to/3zm5ew9
 
3 1/4 yards of fabric for setting squares, triangles, and borders
Brussels Washer Linen Blend Yarn Dye Chambray by Robert Kaufman
https://amzn.to/3eLn3eY
 
5 1/4 yards of fabric for backing
Brussels Washer Linen Blend Yarn Dye Chambray by Robert Kaufman
https://amzn.to/3eLn3eY
 
3/4 yards of fabric for binding
Brussels Washer Linen Blend Yarn Dye Chambray by Robert Kaufman
https://amzn.to/3eLn3eY


Basic Supplies Sanctuary Quilt

If you need more supplies, such as batting and thread, then you can find these product links below. 

Quilt Batting
Warm Company Natural Cotton Batting, Full 90” x 96”
https://amzn.to/3FSE8zc
 
100% Cotton Thread
Aurifil 50 Wt Cotton Thread, Natural White Cone
https://amzn.to/3mPS99m


Head over to this blog post for the Essential Quilting Supplies Checklist.


When you use these product links, you are showing me an appreciation of the content I provide for you. That means if you buy something through one of my links, then I make a very small percentage of the revenue. This revenue helps me pay for quilting supplies and technology required to continue to provide you with ongoing free content. Thank you for supporting me and my passion to share my love of quilting to you. 

Are you team Blue or team Pink? Which do you prefer? I'm both. Share in the comment below. You can subscribe to my monthly newsletter here to receive awesome freebies.


Let's make something beautiful together,
Sandra


Sunday, December 26, 2021

The Essential Quilting Supplies Checklist


Friends,
I've put together the Essential Quilting Supplies Checklist for everything you need to start and maintain for your quilting journey. While there are hundreds of quilting supplies and tools on the market these days, it can be tough to know just what tools are long lasting for your quilting projects. This checklist has all the information on the quilting supplies you need and some of what you will want to add to your wish list. 
These are my every day tools that I keep coming back to over and over in my projects. You can download a pretty print ready version of this checklist in my shop for free. Enjoy.


for sewing 

Basic Sewing Machine Under $500 - https://amzn.to/3H68zSJ

Basic Sewing Machine Under $1k - https://amzn.to/3qn8GTb

80/12 Universal Machine Needles, 20 Pack - https://amzn.to/31UQF6j

White Thread Cone - https://amzn.to/3qv73Vw

White Thread Spool - https://amzn.to/3neH82l

White Thread 3 Spools - https://amzn.to/3kshmpg

Dove Thread 3 Spools - https://amzn.to/3koLlyv

Dove Thread Cone - https://amzn.to/3koKKwL

Cone Thread Holder - https://amzn.to/3DfyJ4g

Pearlized Straight Pins - https://amzn.to/3moz51Z

Seam Ripper - https://amzn.to/3wQRRmN

Quality Fabrics - https://sandraclemons.com/products/

Ottlite Desk Lamp - https://amzn.to/3H6lFPT

Fiskars Fabric Shears - https://amzn.to/32u25hM

Curved Squeeze Scissors - https://amzn.to/3EpI0X8

Sewing Tweezers - https://amzn.to/3pmU2fx

Wool Pincushion - https://amzn.to/3ooHOkM

Water Soluble Pencils - https://amzn.to/3ejUUeB


for pressing fabrics 

Oliso TG1600 Pro Plus Smart Iron - https://amzn.to/3suW1Az

Ironing Board - https://amzn.to/3pn0hQB

Best Press Alternative Starch - https://amzn.to/3ySr4aD


for cutting fabrics


Rotary Cutter 45mm - https://amzn.to/3c1uTj1

45mm Blade Refills - https://amzn.to/3wDcTF0

Rotary Cutter 60mm - https://amzn.to/3wH5mVN

60mm Blade Refills - https://amzn.to/3F9aMMw

Self-Healing Mat 24” x 36” - https://amzn.to/3DtRQGQ

Rotating Mat 14” x 14” - https://amzn.to/3qioZ3W

Ruler 6” x 24” - https://amzn.to/3C78lYW

Ruler 12½” x 12½” - https://amzn.to/3moy5ef

Ruler 6 ½” x 6 - https://amzn.to/33TI1Gd

Ruler 6” x 12” - https://amzn.to/3FrbyES

Ruler 3” x 18” - https://amzn.to/3poYTNs

Ruler 4” x 14” - https://amzn.to/3qecQNi


for quilting

Dritz Spray Adhesive - https://amzn.to/3qsXsOM

Curved Safety Pins - https://amzn.to/3qot46m

Clover Wonder clips - https://amzn.to/3qot46m

Machingers Quilt Gloves - https://amzn.to/3wFkQtj

Warm & White Cotton Batting 45” x 60” - https://amzn.to/31vtnUJ

Warm & White Cotton Batting 72” x 90” - https://amzn.to/3Fcpy57

Warm & White Cotton Batting 90” x 96” - https://amzn.to/3wQIFPj

Warm & White Cotton Batting 120” x 124” - https://amzn.to/3wCGApS


Tuesday, December 14, 2021

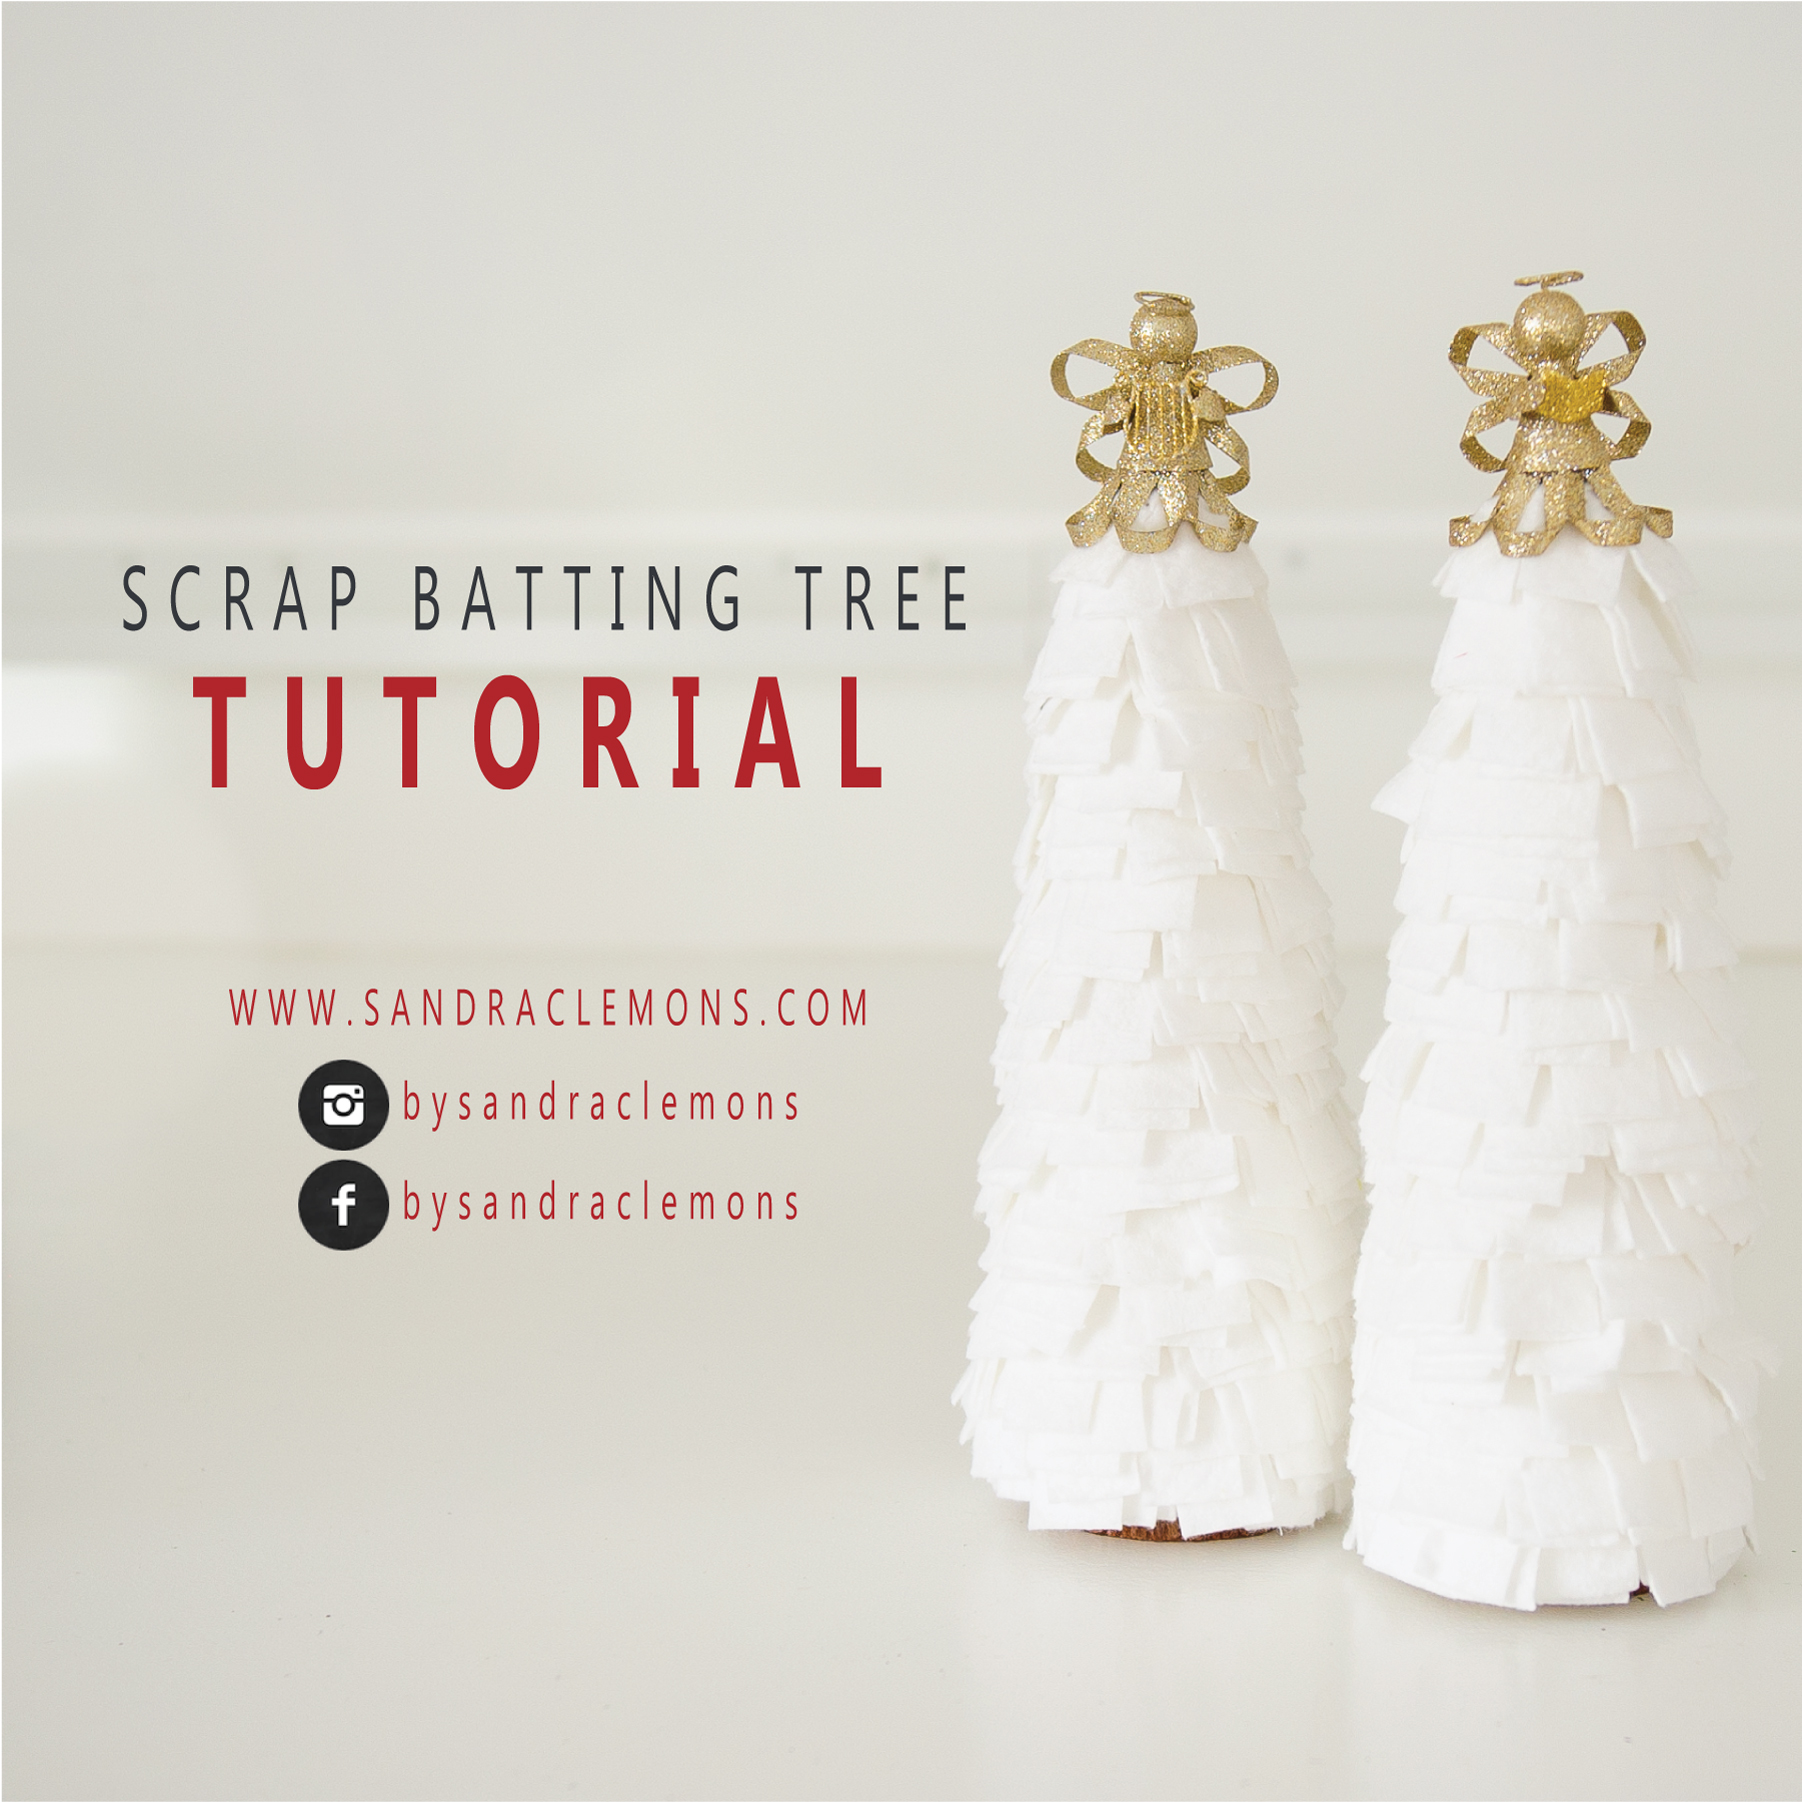
TUTORIAL Scrap Batting Tree


Today, let’s use up our scraps of batting to make table size Christmas trees. I have a ton of scrap batting from my quilts and I’m sure you do too. This is a super quick and cheap craft to use as holiday decorations for your home or perhaps a gift for a friend. Most of items on the material list are things you can find around your house. It’s great to make with kids, too.


M A T E R I A L S


Craft Cone 4.8” x 11.9” (https://amzn.to/3rHeNnU)

Scraps of Batting or Warm Company White Cotton Batting 45” x 60 (https://amzn.to/31vtnUJ)

Olfa Rotary Cutter 45mm (https://amzn.to/3c1uTj1)

Dritz Cutting Mat (https://amzn.to/3DtRQGQ)

Omnigrid Ruler 6” x 12” (https://amzn.to/3lFxQLc)

Straight Pins (https://amzn.to/3rHfNZc)

Tacky Glue (https://amzn.to/3y19MHL)

Natural Wood Slices (https://amzn.to/3yaTvQx) or Wooden Spools (https://amzn.to/3DuntQJ)

Optional Accessories Goodies - pompoms, buttons, bells, ribbons, etc.


A S S E M B L E   T R E E


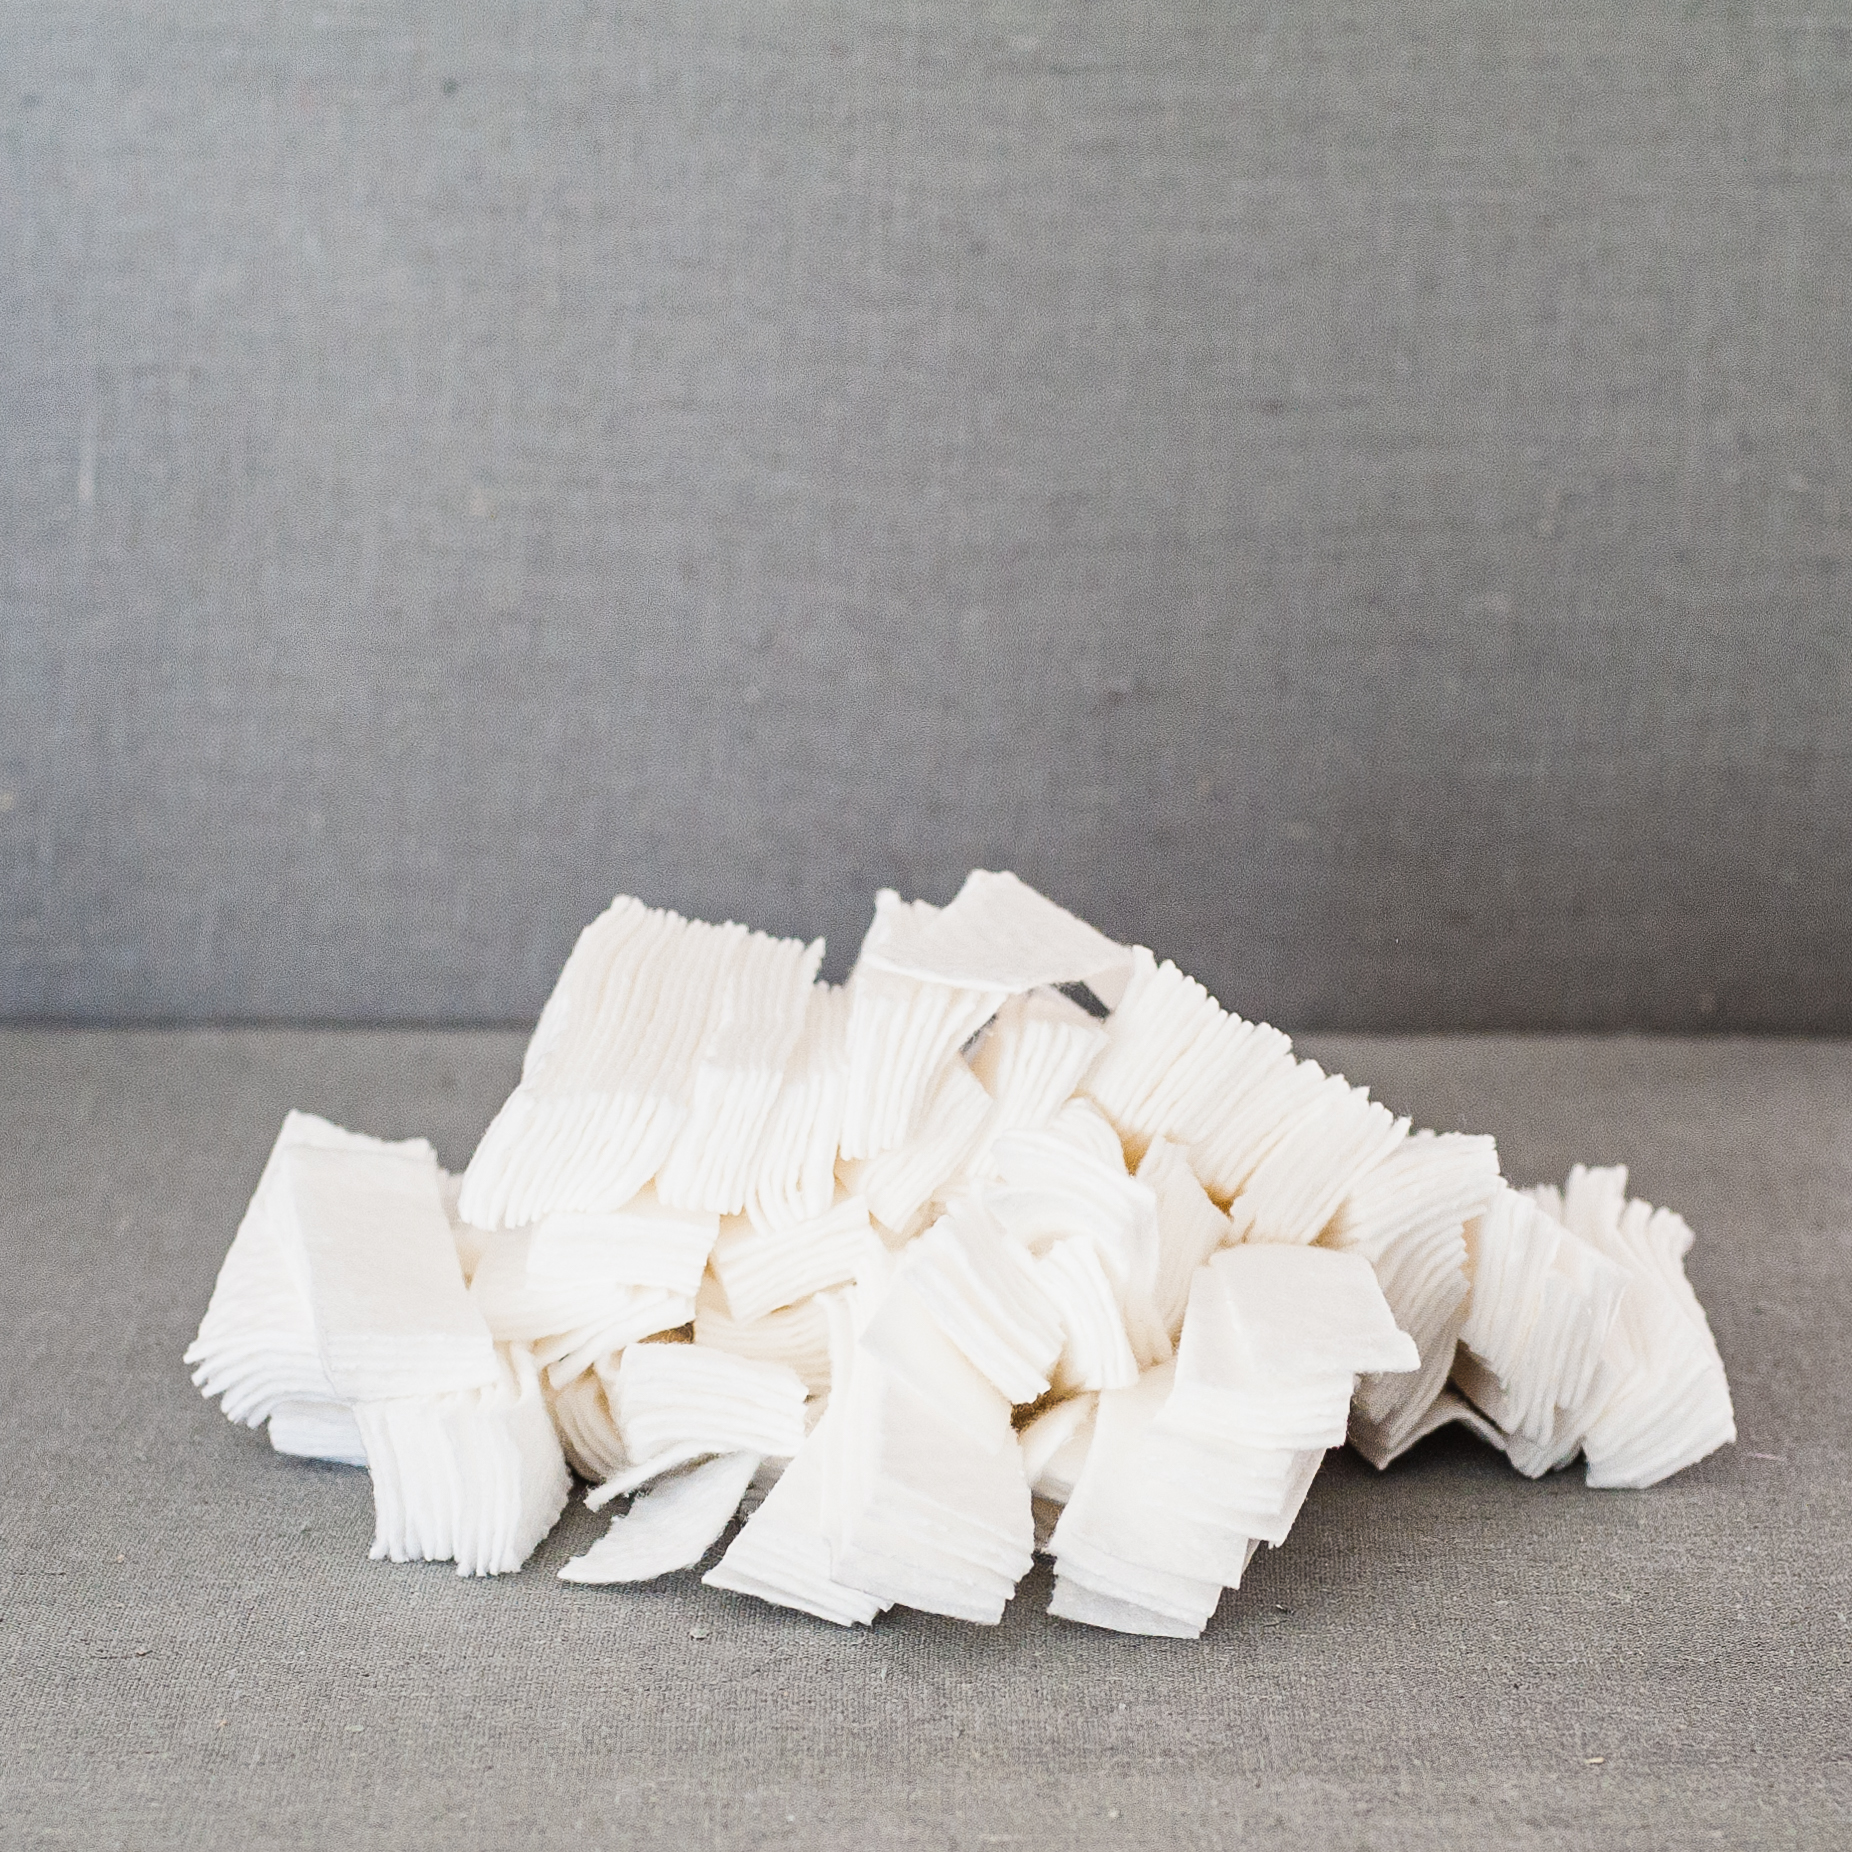
Grab your scrap batting and cut it up to roughly 1” x 4”. There is no pressure to be exact. In fact, the slight variation in size can provide more interest to your tree.


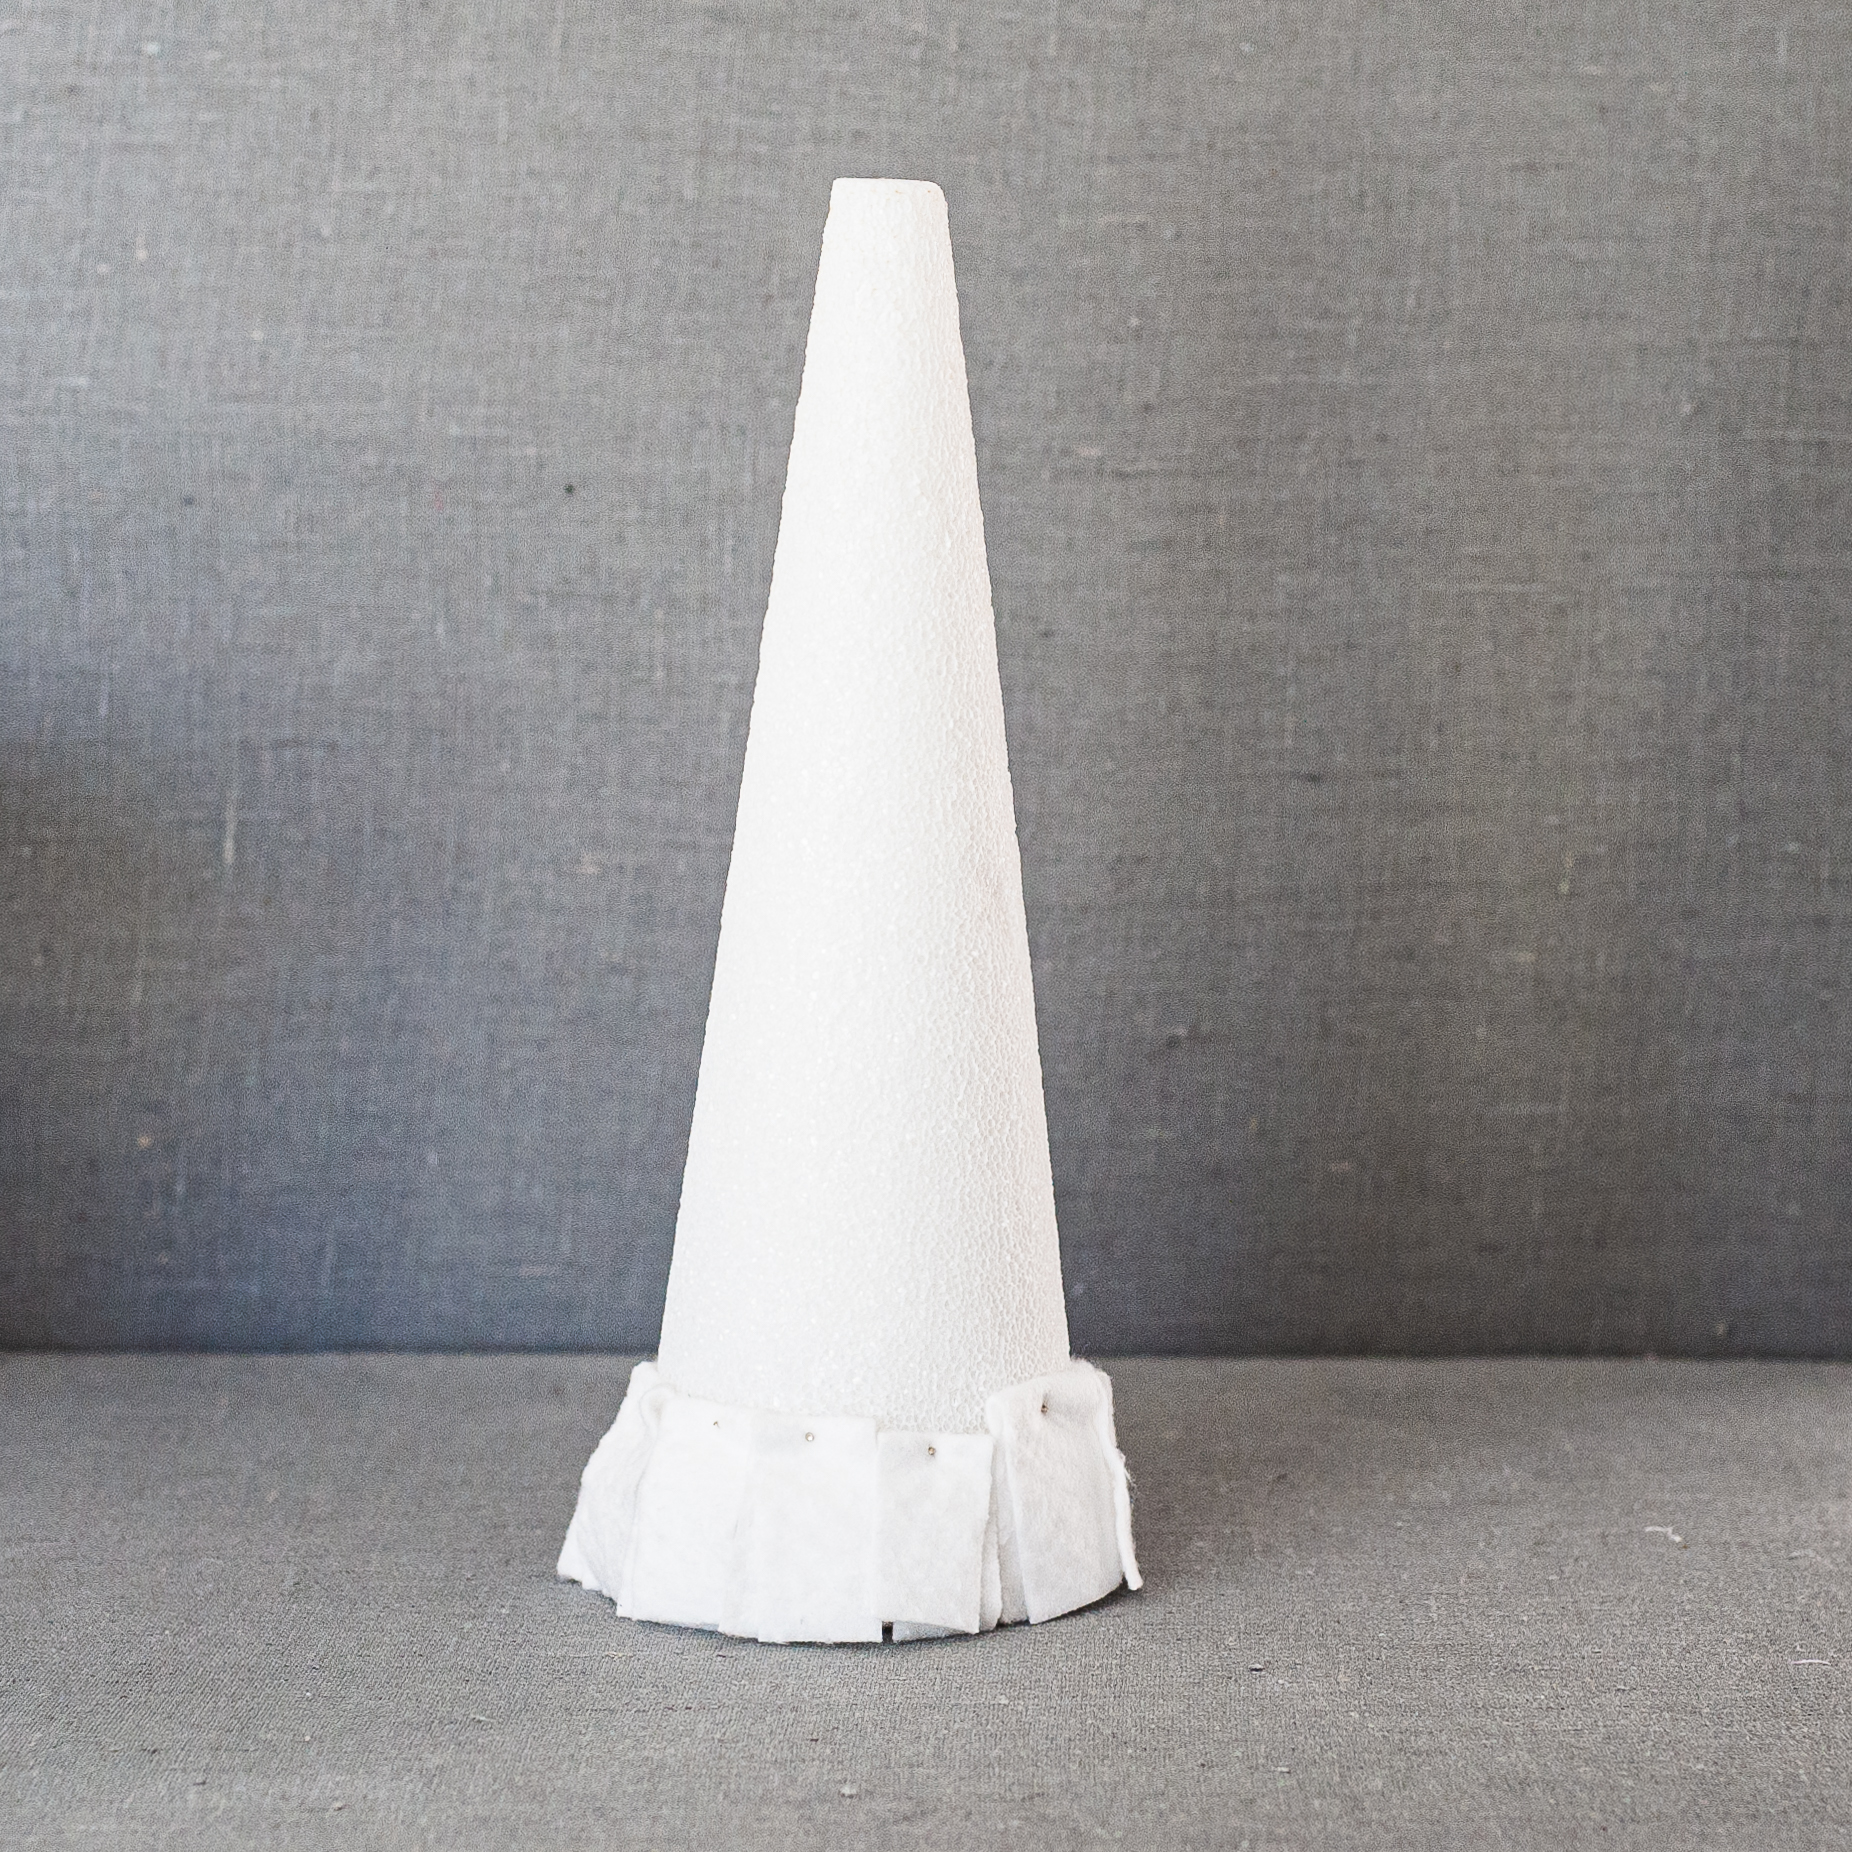
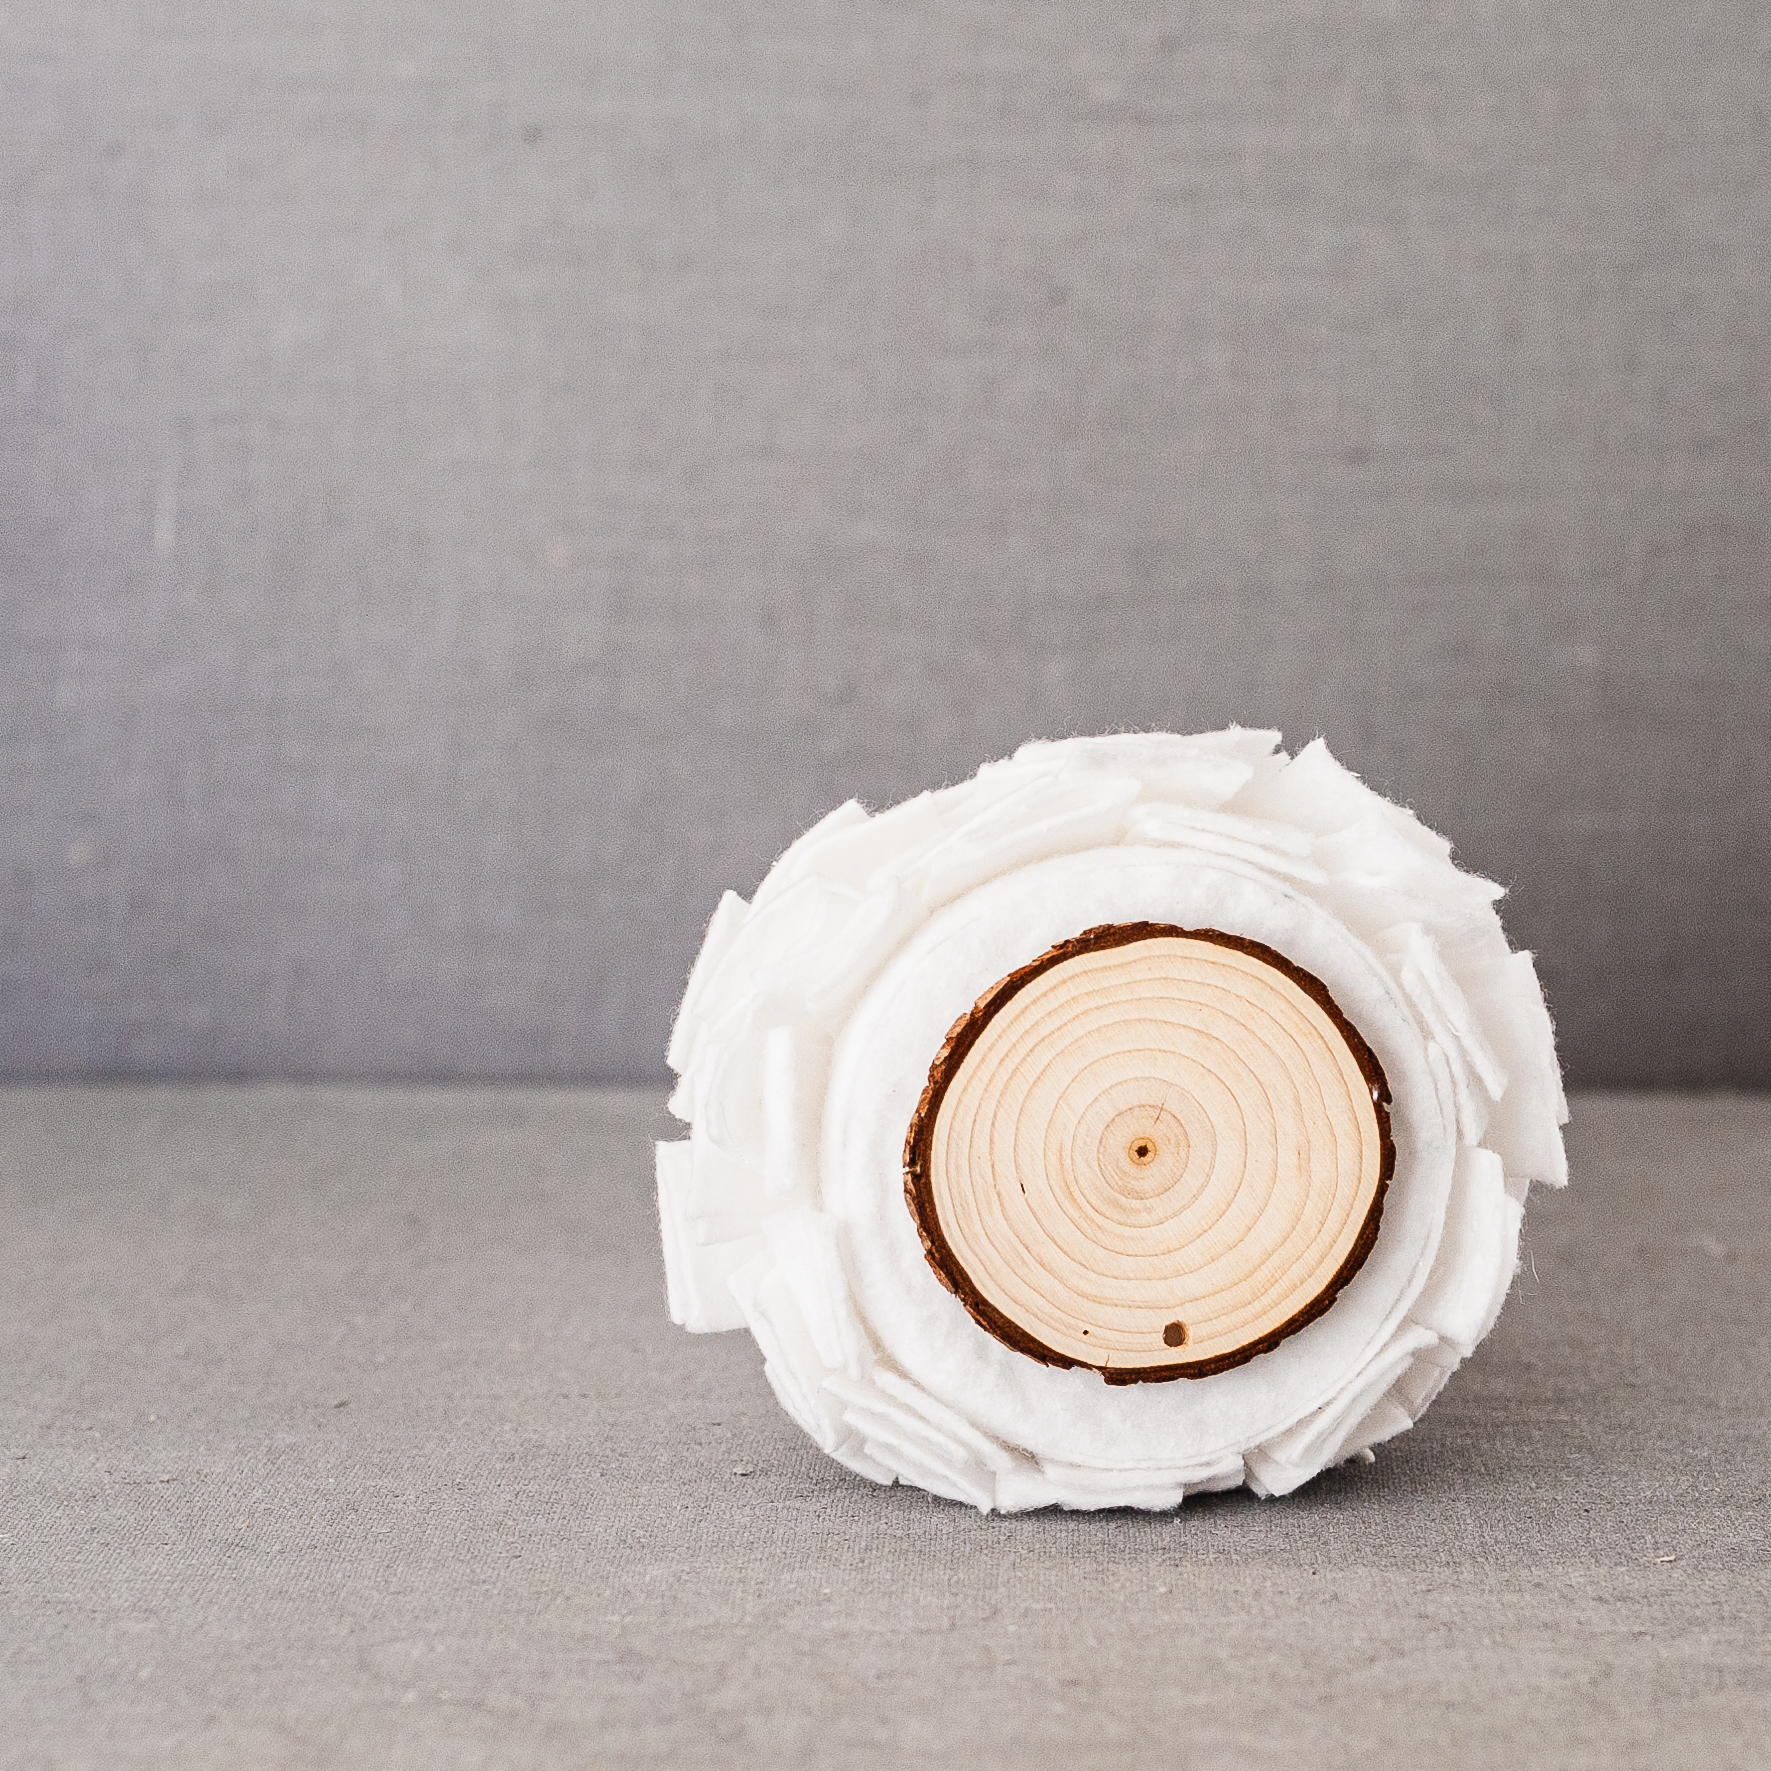
Let’s cover the bottom of the cone before we start adding our branches. Use the bottom of the cone as a template. Place the cone onto batting, trace with a pencil the perimeter of the cone. Cut out the shape and then glue it to the bottom of the cone.


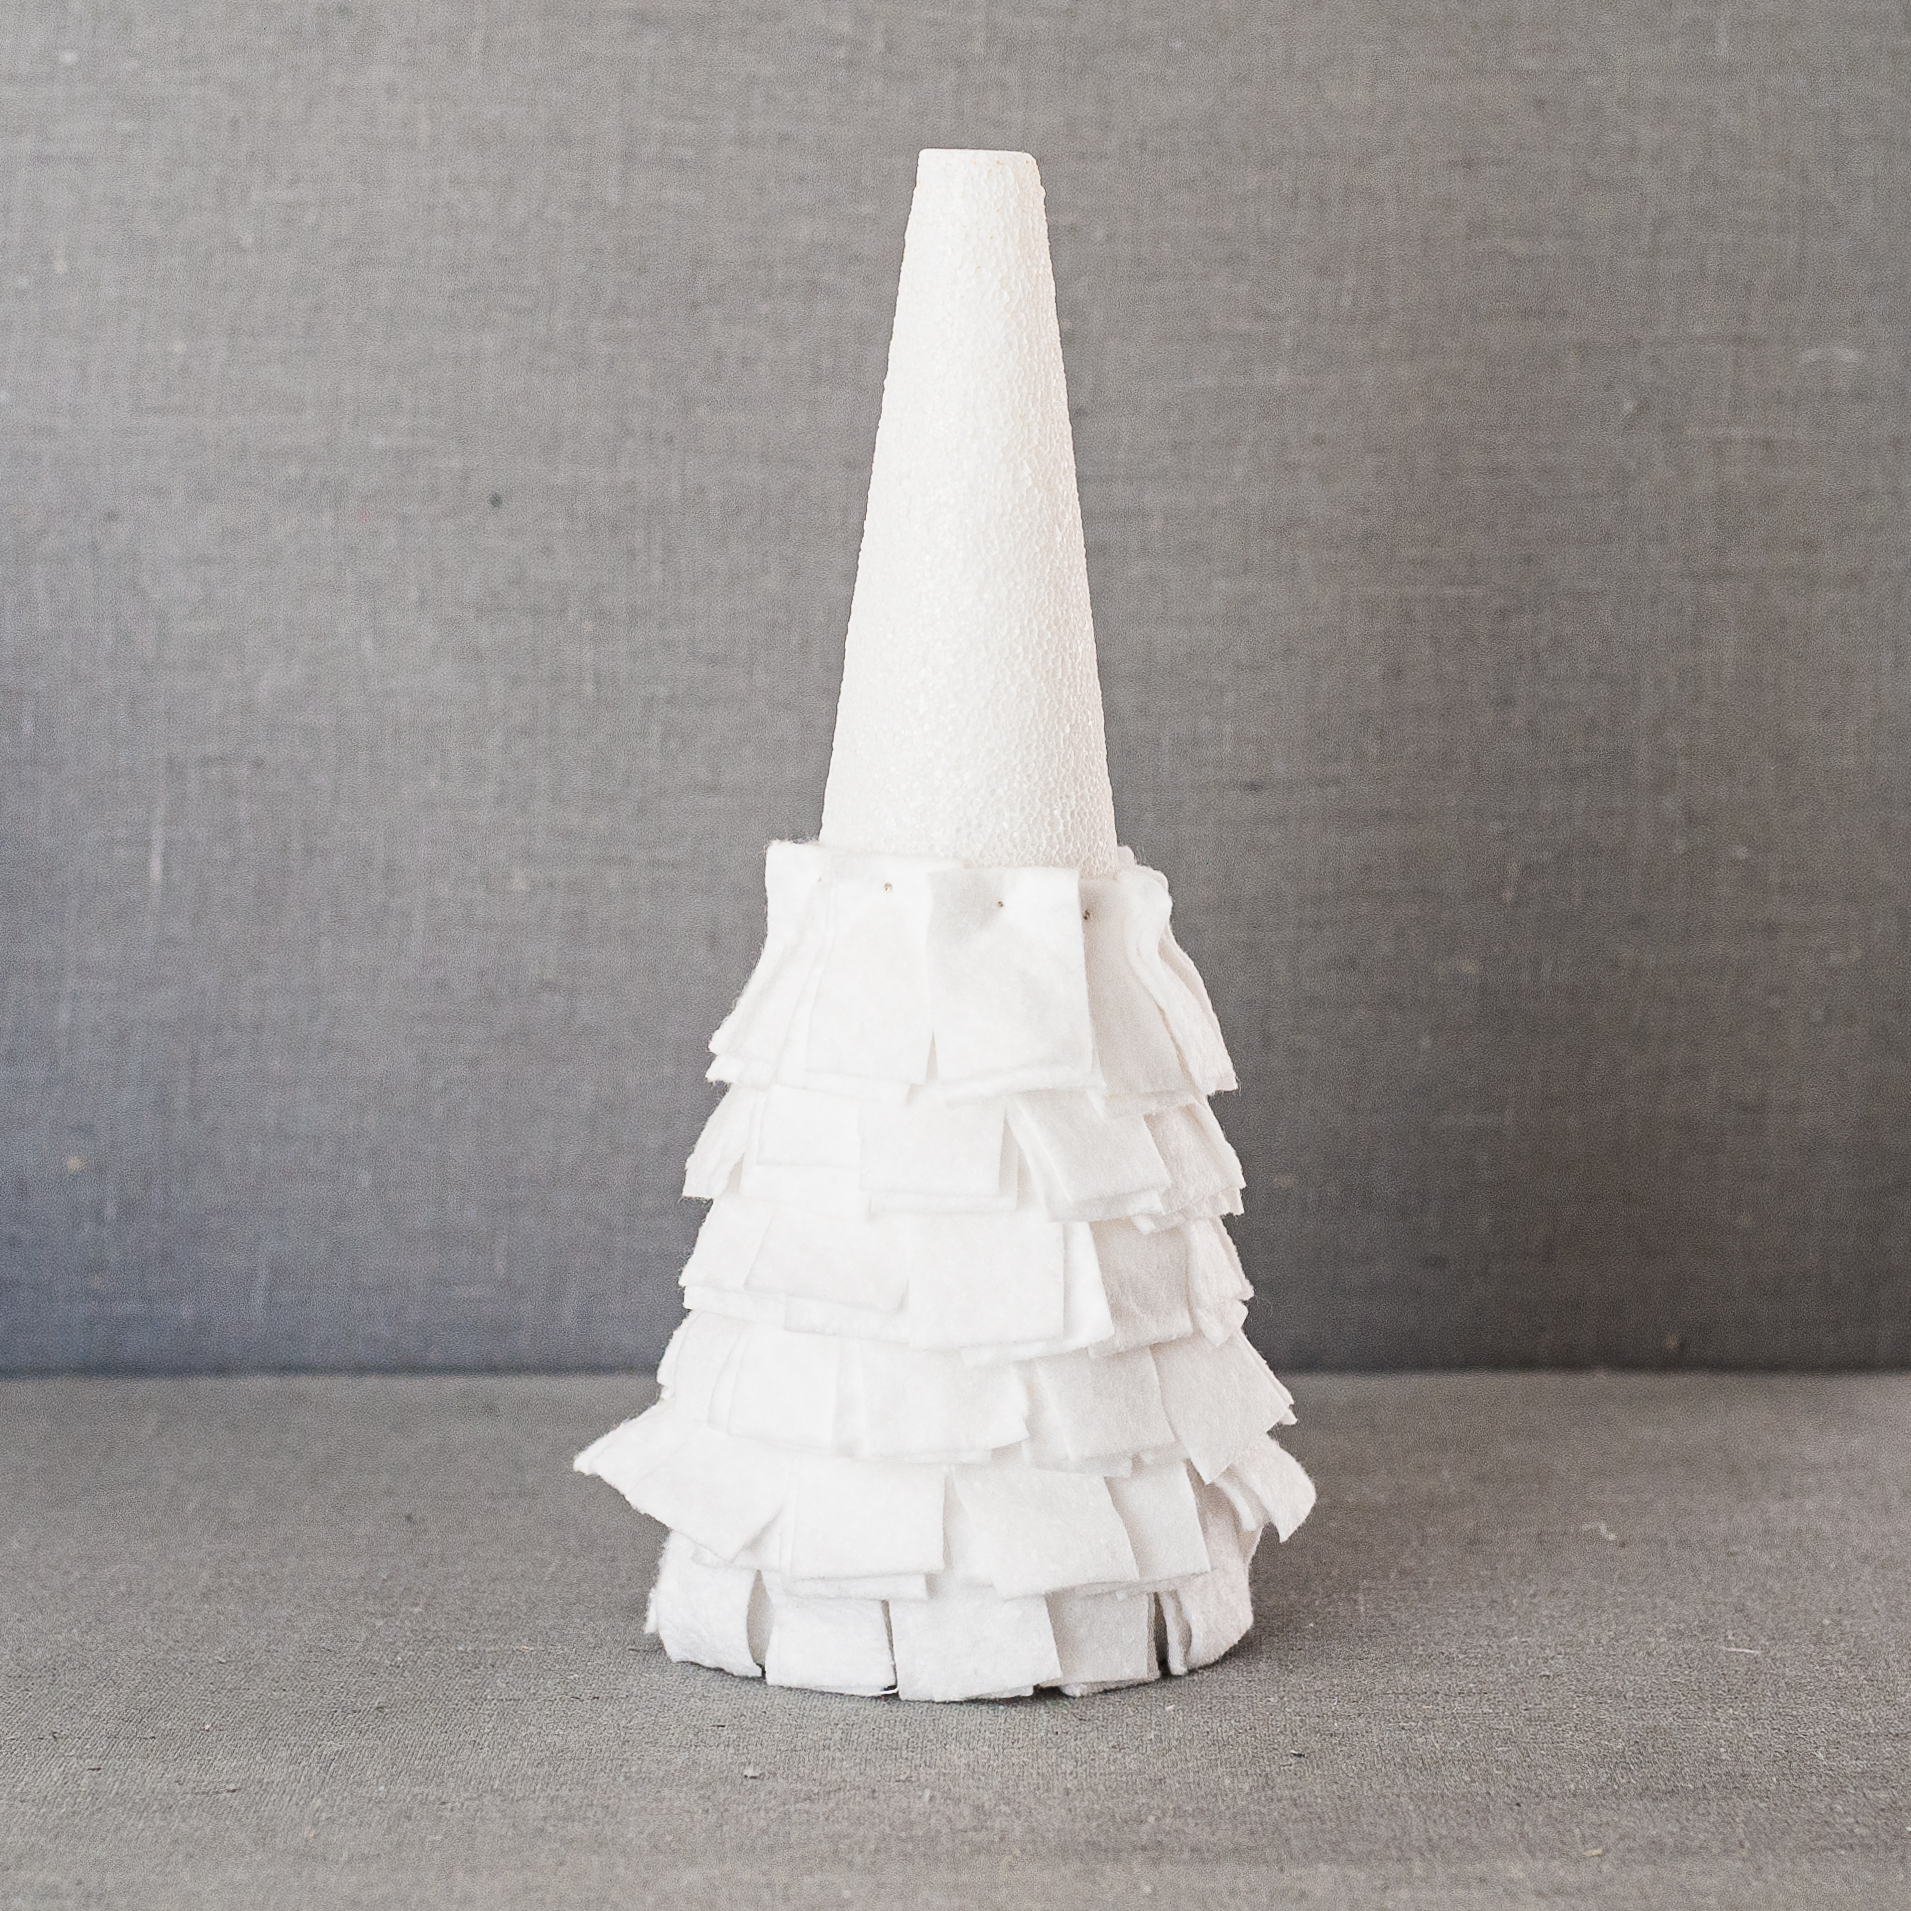
We are ready to add the batting around and around from the bottom of the cone to the top. Fold the batting strip in half and let the fold be a little off. Place the batting at the bottom side of the cone, making sure to hang the batting edges just slightly off the bottom, to make sure the styrofoam is covered up. Take a pin and pin the batting in place at the fold. Select another strip of batting, fold it in half, place it slightly over the previously attached batting and then pin it into place at the fold. Continue going around the cone to finish your row. There is no exact science on the placement of the batting. This is where your creativity comes to play. Perhaps, your creative soul wants to place batting in an entirely different way. Go for it. However, I’ll continue to tell you how I made mine.


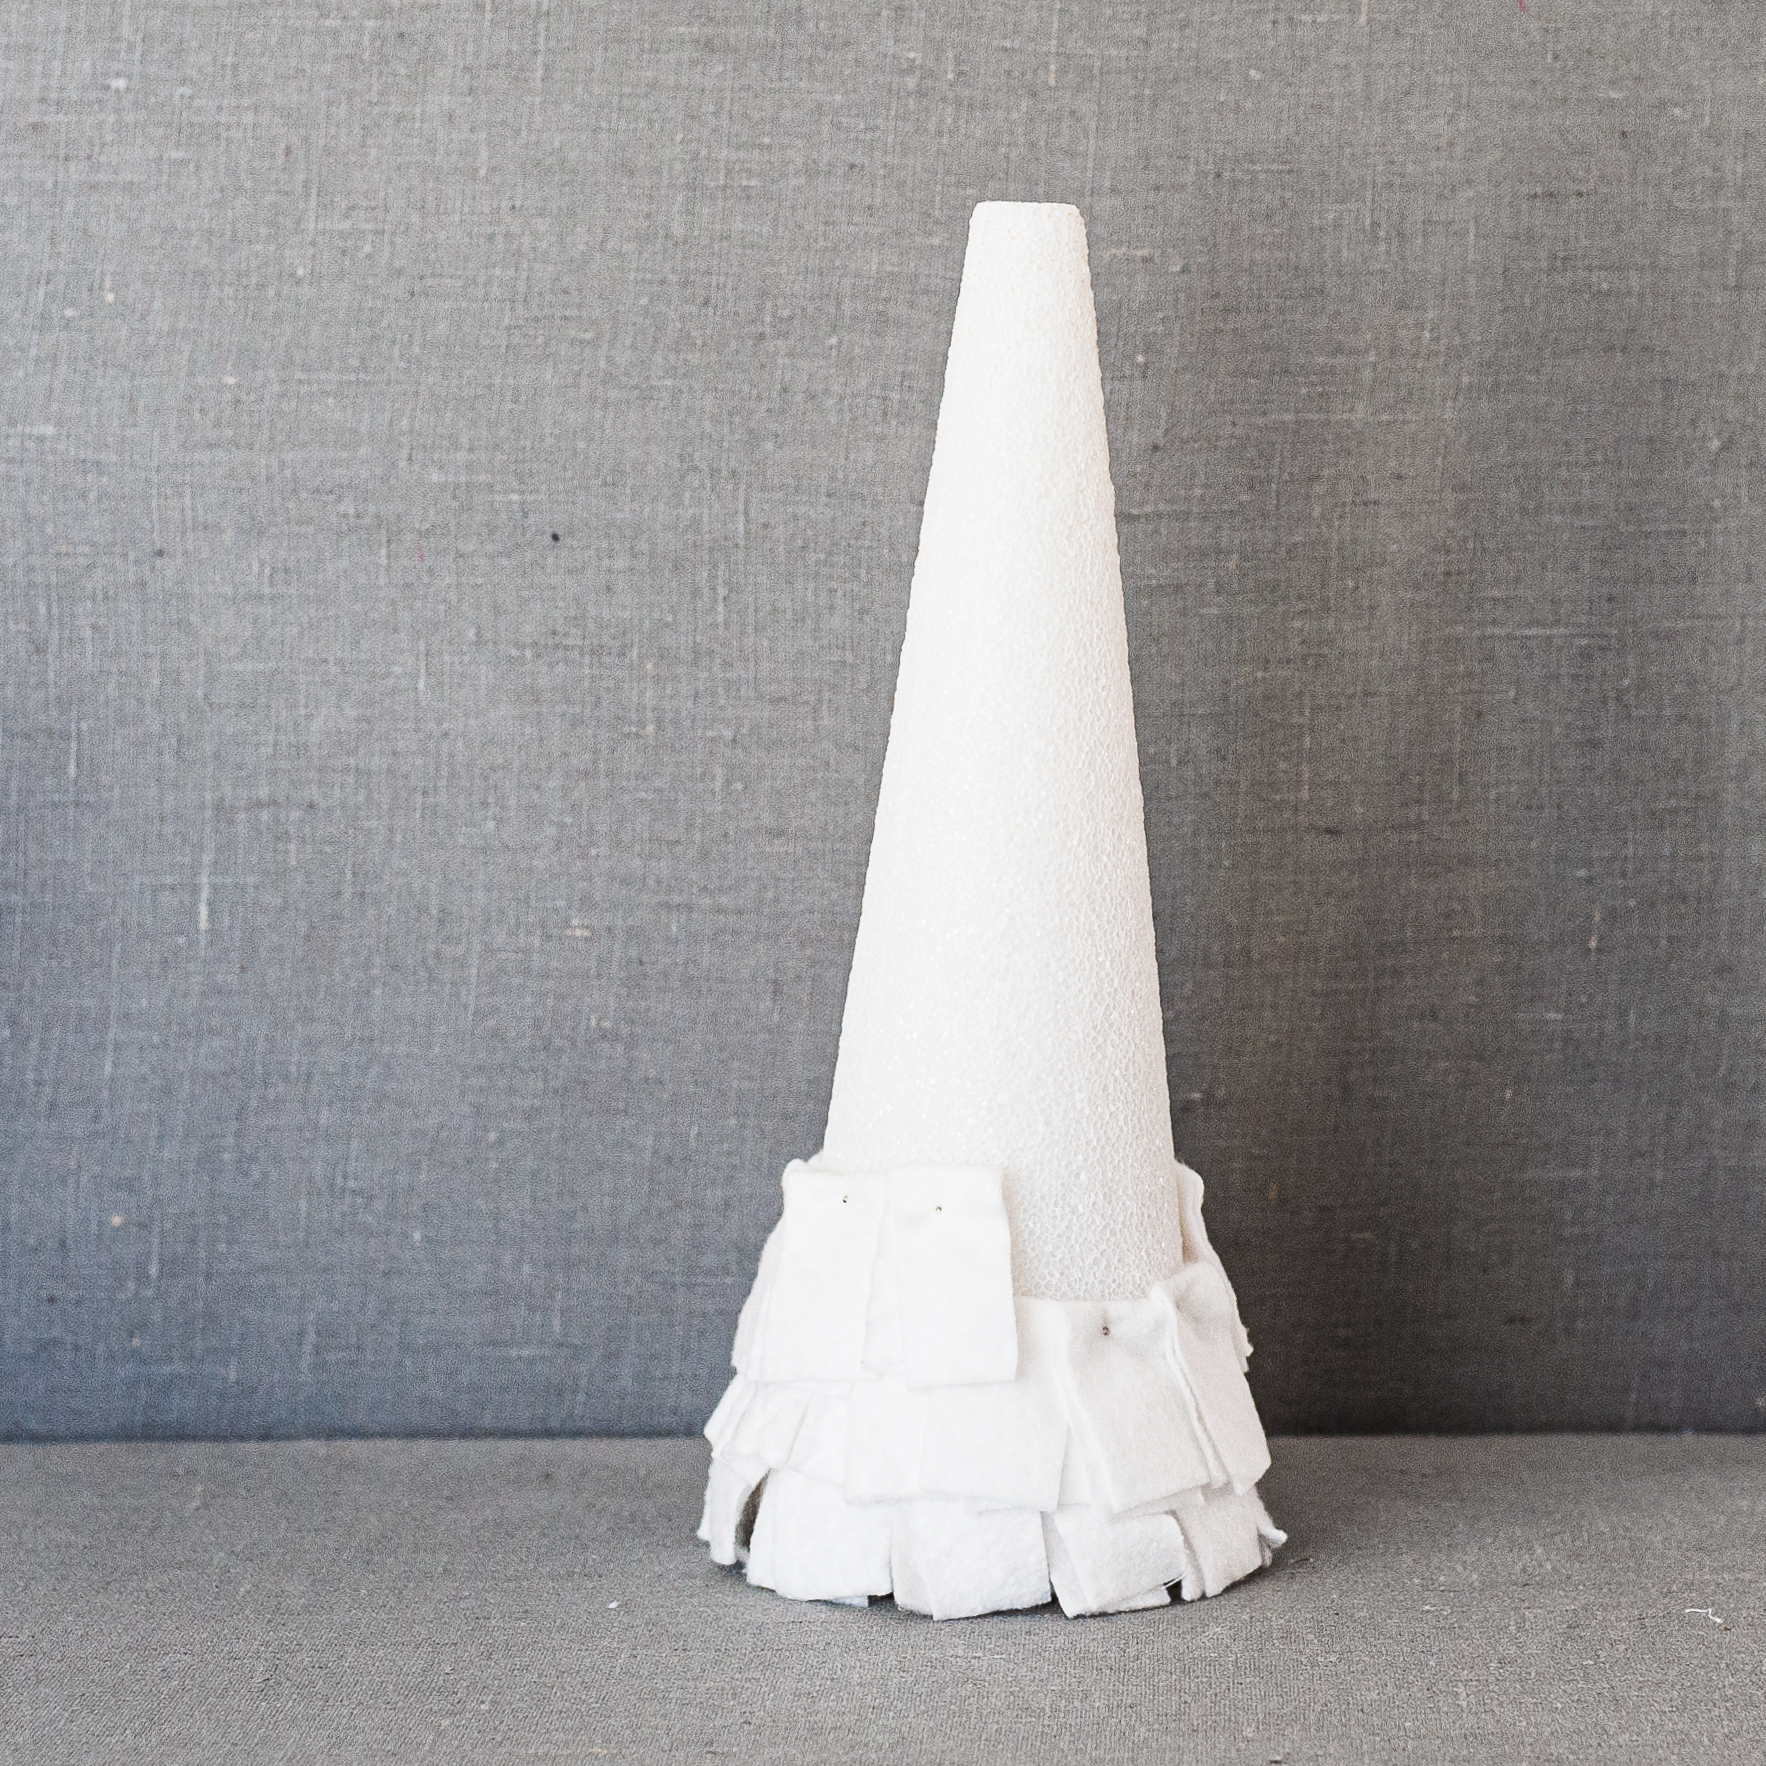
To start the next row, I pinned another batting strip, but this time I made sure it overlapped the first row. I made adjustment so long as I was covering up the styrofoam. Continue making rows and working your way up to the top.


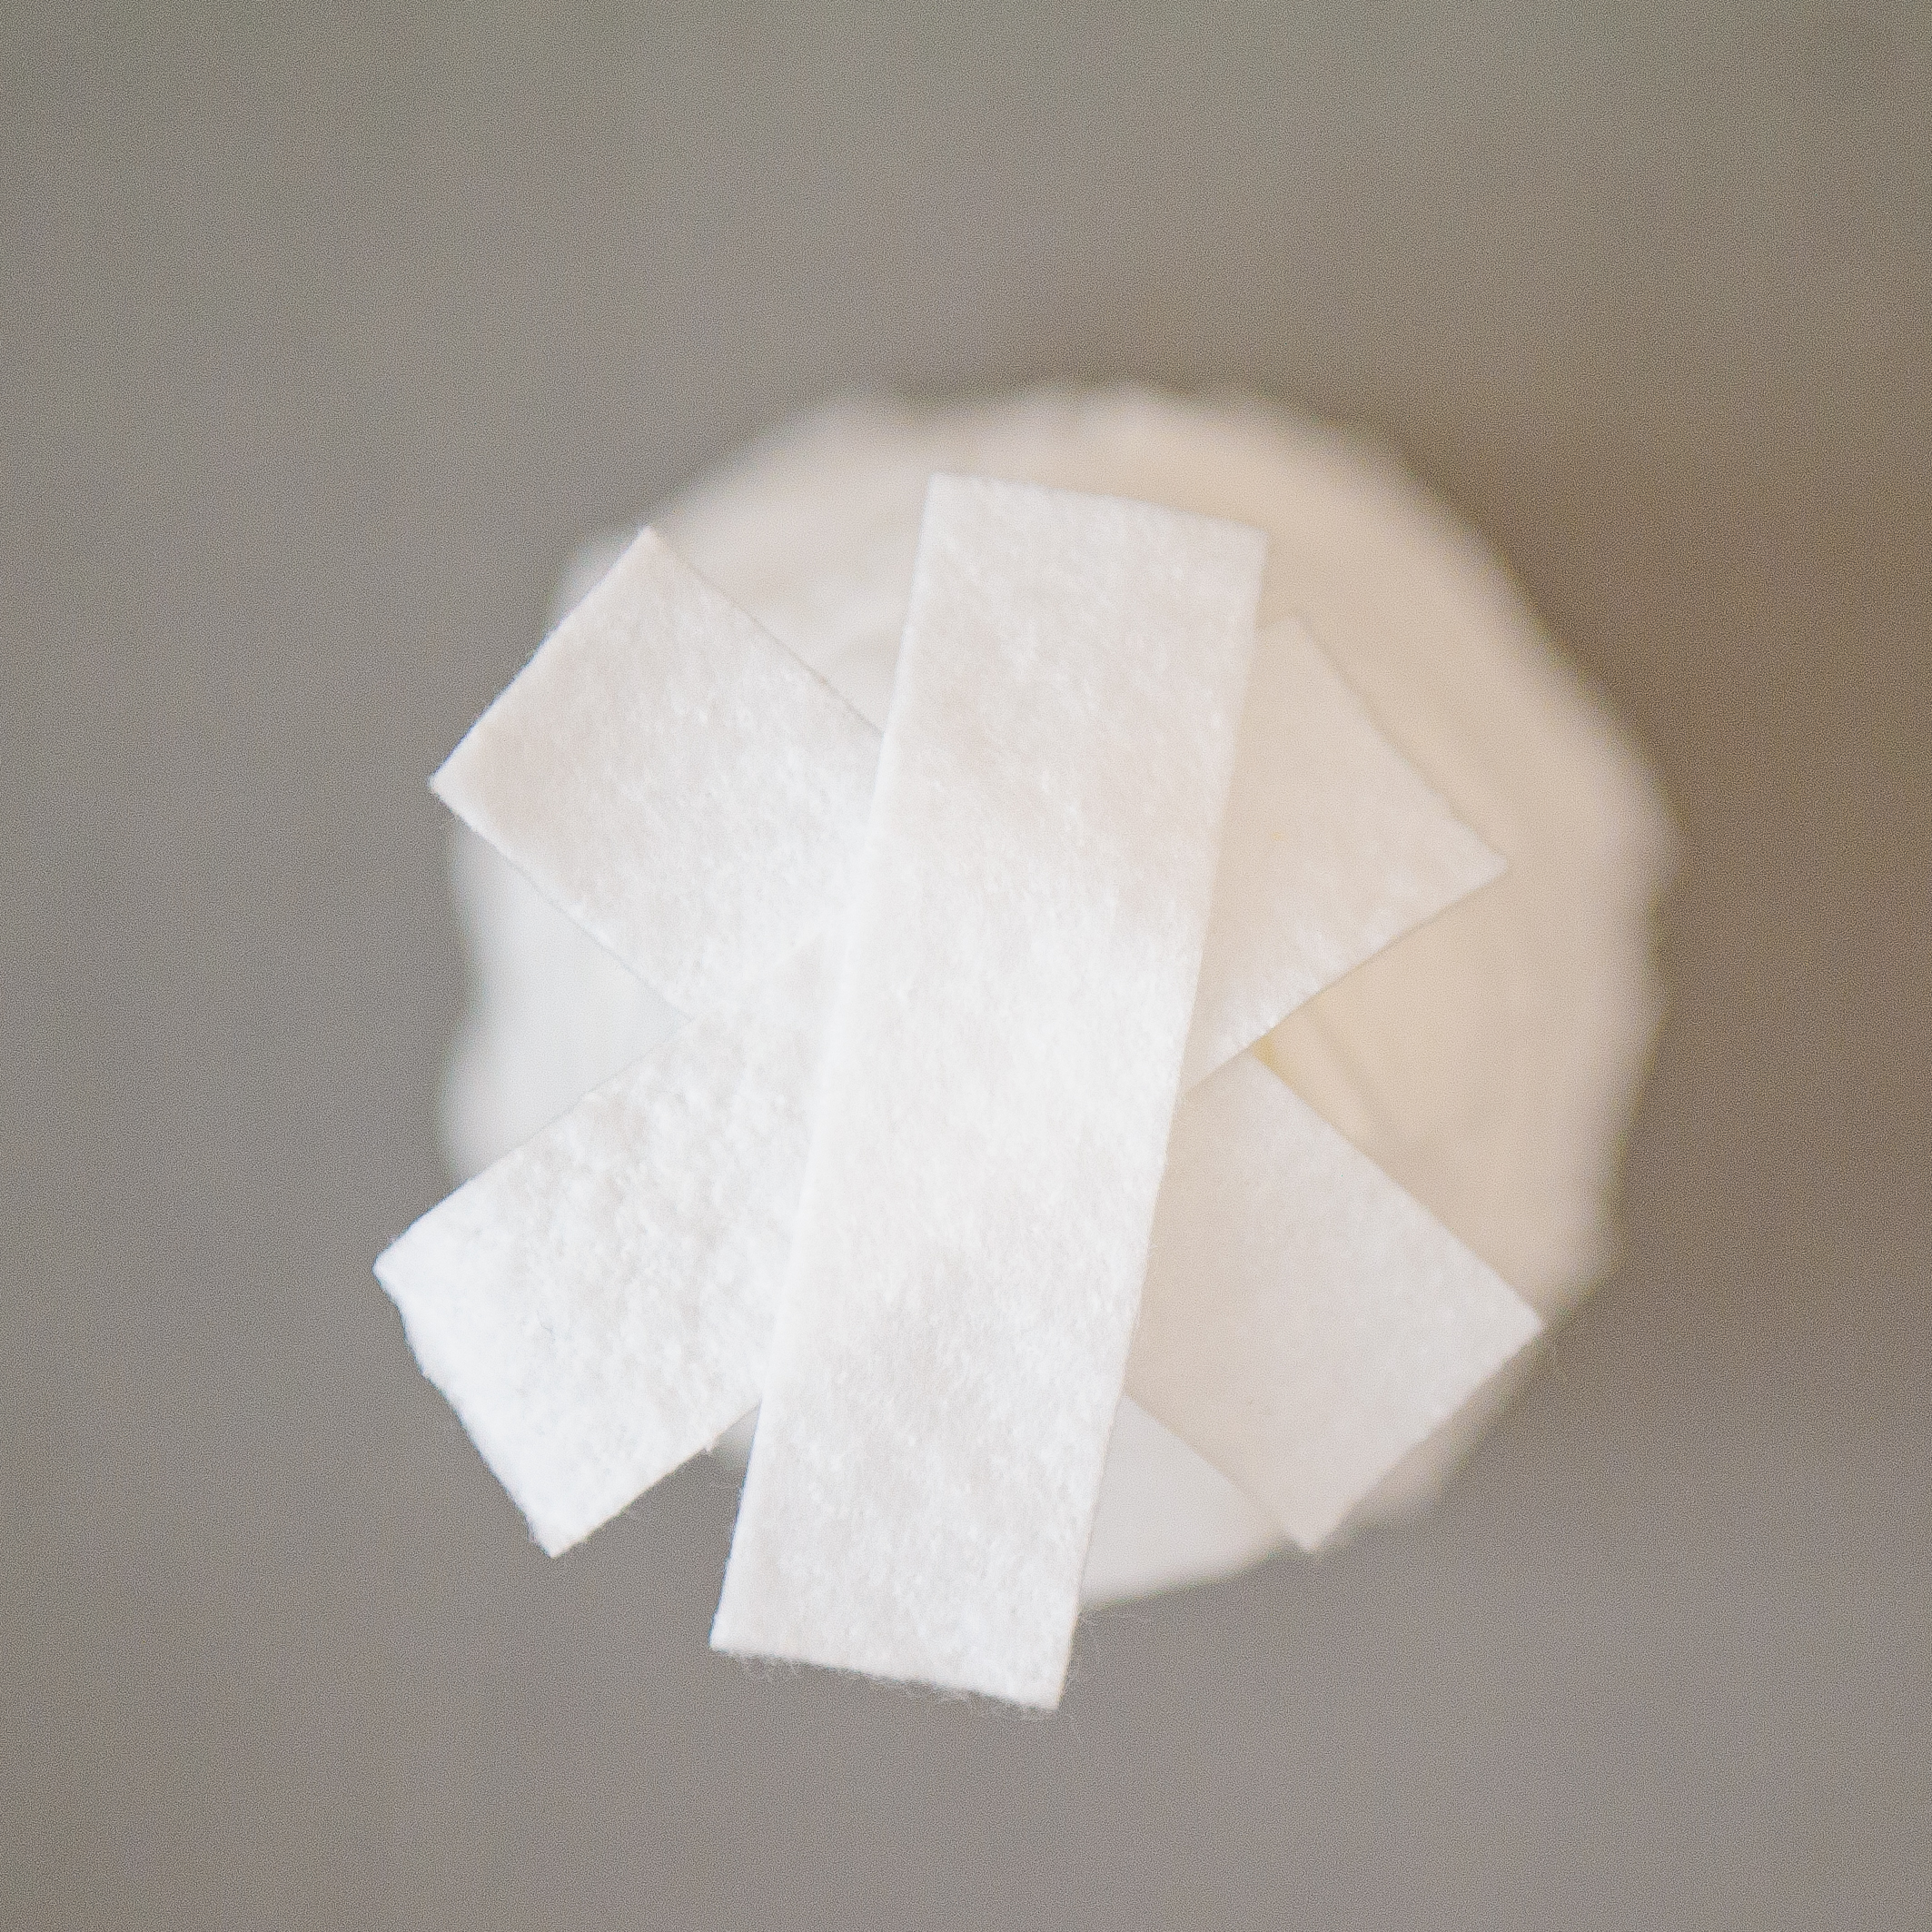
Once you’re about an 1” from the top, stop making rows. Now, lay 3 strips of batting to the top of the cone, like an asterisks.


 Add a few pins to hold down the batting in place at the top of the cone. Review your tree and feel free to add in more batting here and there around the tree as desired.


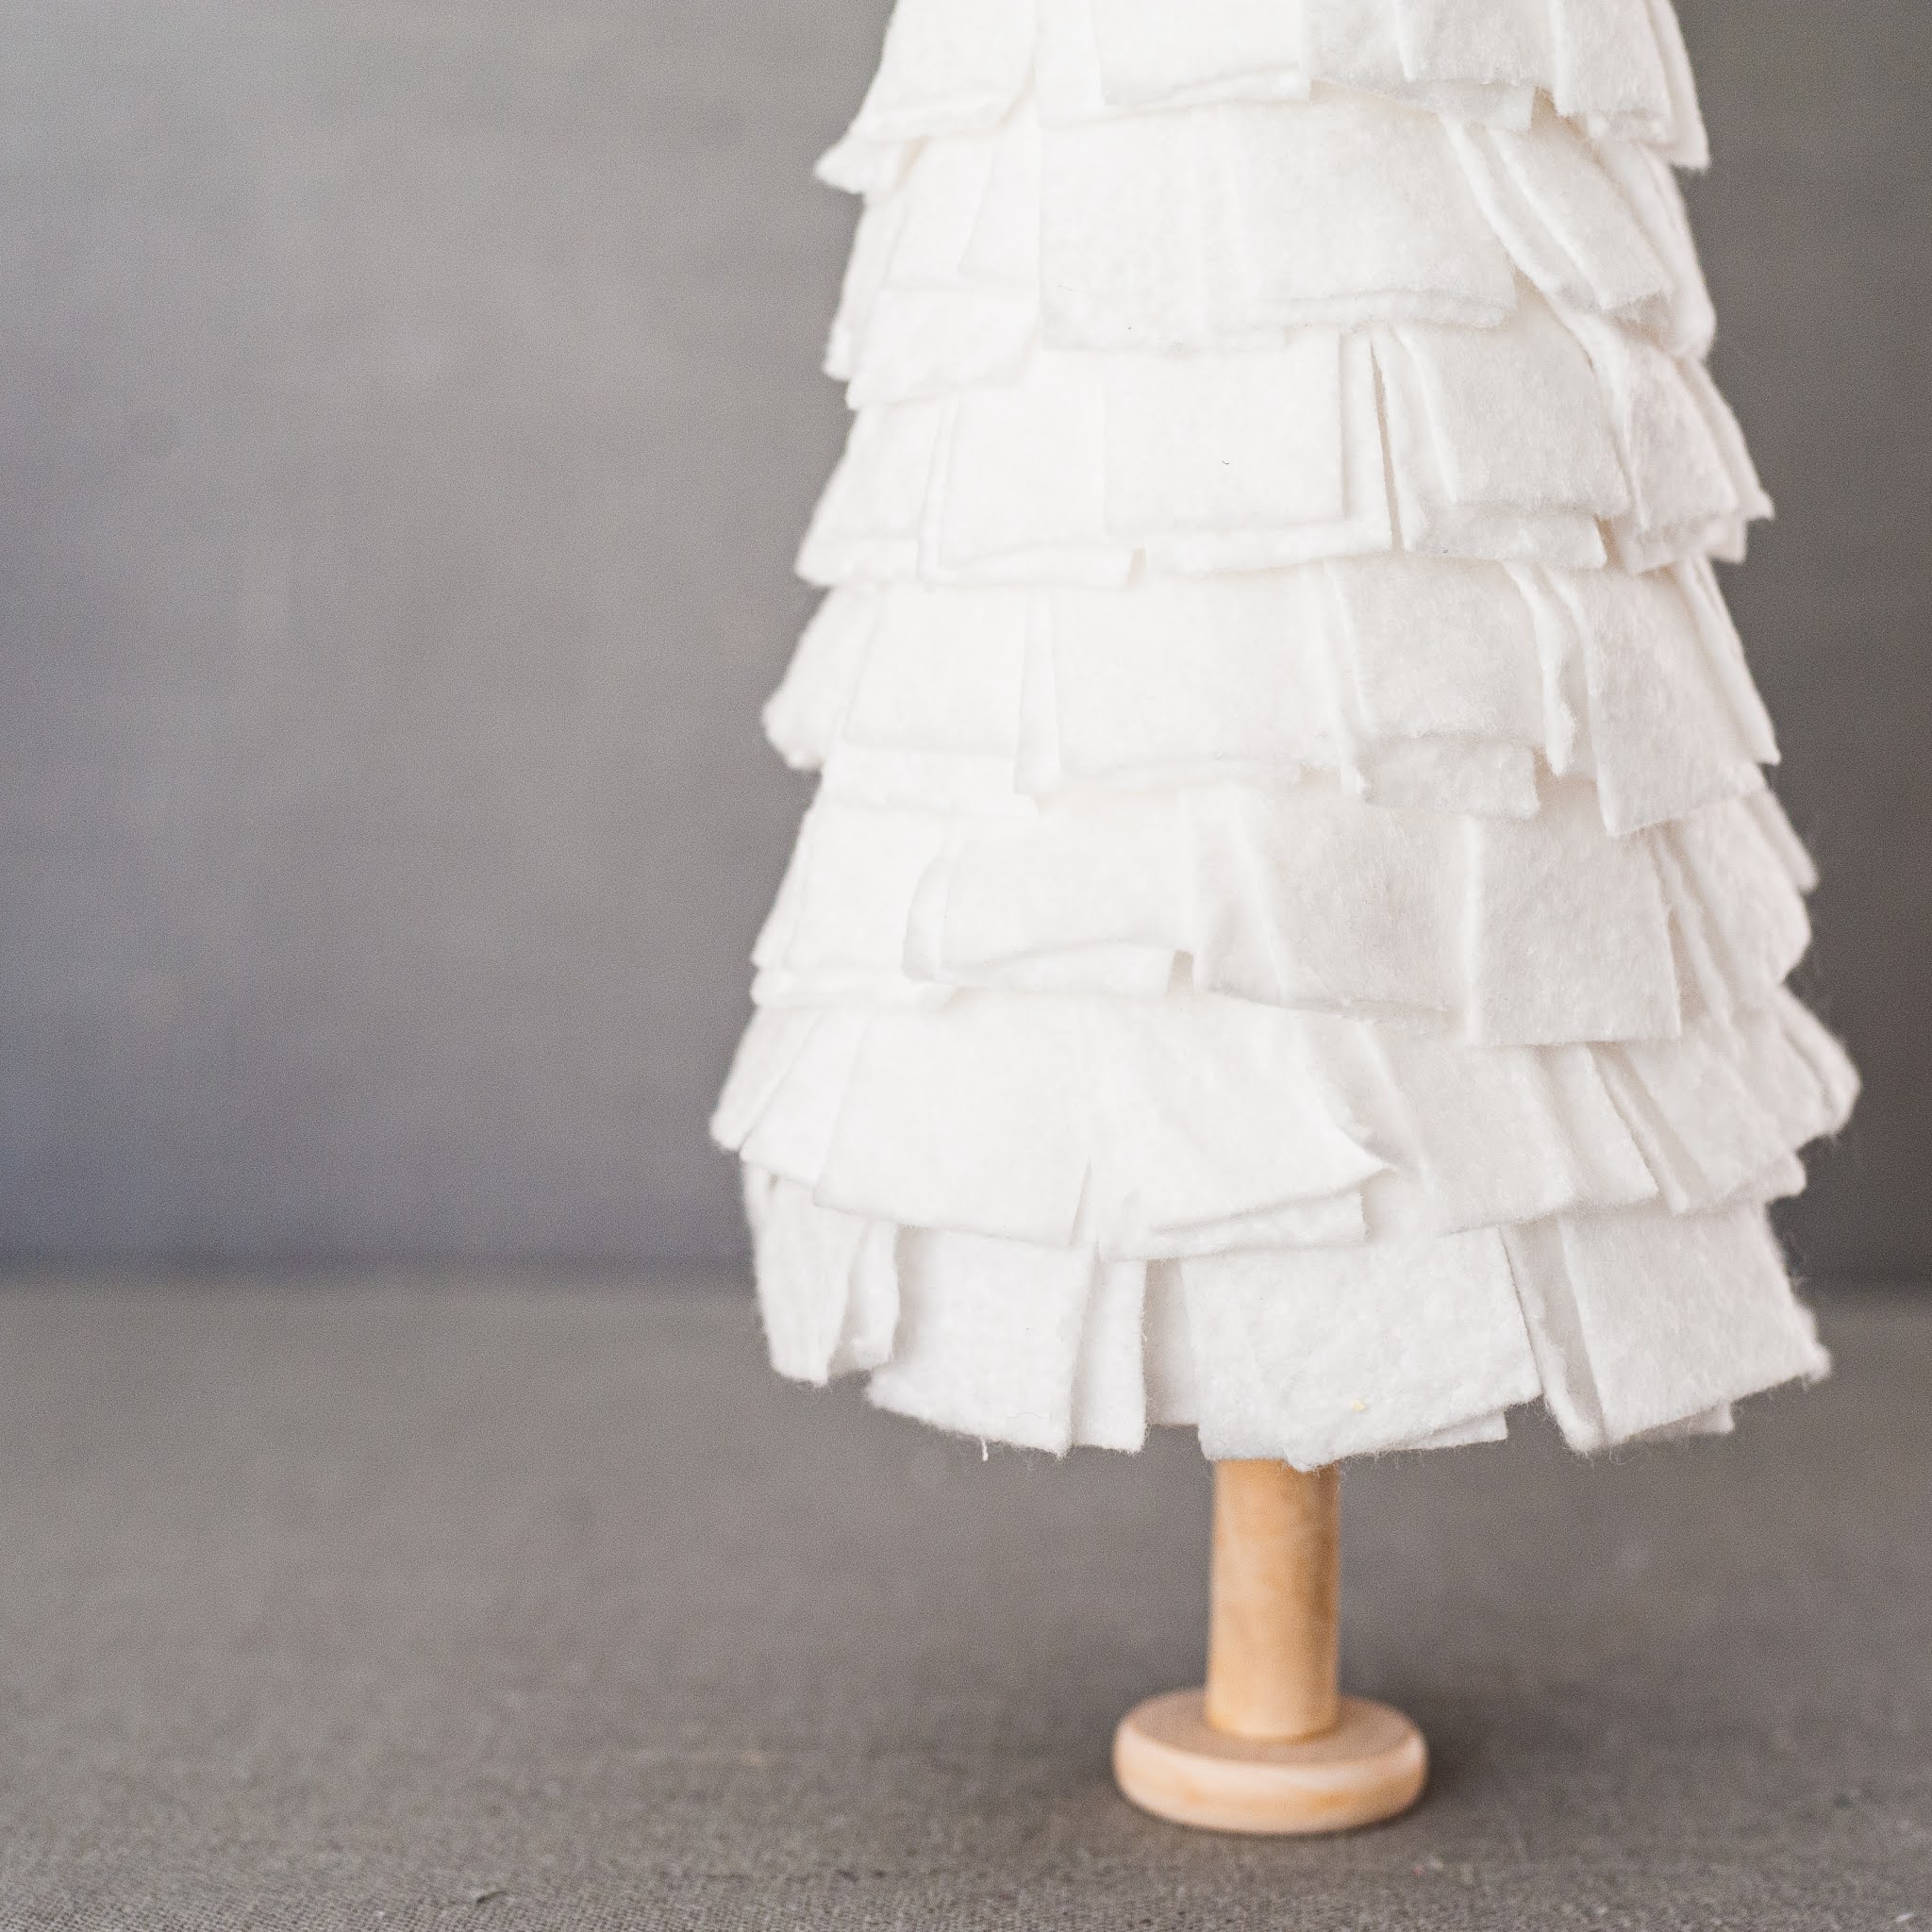
You can be done now or add a trunk to your tree, either add a wooden spool or a wood slice to the bottom of the tree. This lets the first row of batting hang down freely or if you want the first row to gently fall onto the table, then go for it too. Embellish your tree as desired. This is your fun project and doesn’t it feel good to use up stuff you already have laying around in the house? I had some old Angel ornaments from Crate and Barrel from some 10 years ago and I thought, hey, these would look great as a tree topper.


If you like this free tutorial, then show me your appreciation by following me on my social media. I also posted and shared some reels on my social media platforms. Be sure to check them out. I’d love to see your version. Make sure to share a pic of your tree by tagging me with @bysandraclemons on all social media outlets.


Merry Christmas, everyone!

Sandra


Thursday, December 9, 2021

TUTORIAL Snowman Sock Ornament


Are you ready to make an easy and so adorable snowman ornament? Let’s do this. These ornaments are great for presents, to adorn on gift wrapped presents, or keep for yourself to adorn on your own tree. Grab the kids, put on some Christmas tunes, and let’s make snowman ornaments.


M A T E R I A L S

Gerber Baby Socks 0-3 Months - https://amzn.to/3lRgBH8

Head - Styrofoam 2” Balls - https://amzn.to/3GuB8sV

Body - Styrofoam 1.5” Balls - https://amzn.to/3ELaWK4

Eyes – Dritz Long Sewing Pins - https://amzn.to/3rSCV7a

Nose – Dritz Short Sewing Pins - https://amzn.to/3DCF9tn

Orange Sharpie Marker - https://amzn.to/3EFWy5R

Black Sharpie Marker - https://amzn.to/3dBEgGZ

Scarf - Scraps of 100% Cotton Fabrics

Pompoms - https://amzn.to/336jE7G

Black and White Twine - https://amzn.to/3ELgTGU

Tacky Glue - https://amzn.to/3y19MHL

White String - https://amzn.to/33hISQL

Olfa Rotary Cutter 45mm - https://amzn.to/3c1uTj1

Dritz Cutting Mat - https://amzn.to/3DtRQGQ

Omnigrid Ruler 6” x 12” - https://amzn.to/3lFxQLc

Alphabet Beads - https://amzn.to/3oEcyzy

Flexible 22 Gauge Wire - https://amzn.to/31K2T1V


A S S E M B L E   O R N A M E N T S

Since the baby socks come in pairs of 6 socks, let’s make 12 snowmen. These assembly instructions are written to make 12 snowmen. The Gerber brand of socks has terrycloth on the inside which is perfect for these snowmen.


Open up the socks and Styrofoam packages. Insert the 2” ball first, followed by the 1.5” ball into each sock. Repeat for all 12 socks.


Next, cut 6” of white string to tie off the opening of the sock. Then, cut another length of string to tie off the sock between the 1.5” and 2” balls. Fold over the top of the sock onto the 1.5” ball. Repeat for all 12 socks.


Let’s move on to the face of the snowman. Each snowman needs 2 eyes and one nose.  The shorter sewing pins has a pinhead slightly smaller than the longer pins. Use the orange sharpie to color the pinhead for each snowman. Use the black sharpie marker to color two pinheads for each snowman. In total, color 12 short sewing pins orange and 24 long sewing pins black.


Once the pins are dry, push in two black and one orange pins into the head of the snowman to make a face with two eyes and one nose. Repeat for all 12 snowmen.


If you are making these snowmen as ornaments, then cut the black and white twine to about 8” long. Tie together the ends. Place tacky glue at the top of the snowman hat. Place the knot of the twine on the glue and then a pompom on top of the knot. Press and hold for a few second. If you’re not using these snowmen as ornaments, then simply glue on the pompom to the top of the hat. Repeat for 12 snowmen.


My daughter and I used some of these snowmen as gifts to our friends. To make them extra special, we used alphabet beads to spell out names of our friends, beaded them onto 22 gauge wire, and then tied it onto the snowman.


Now we are ready to make the scarf. Use scraps of 100% cotton fabric to cut into strips of 1” x 10”. This doesn’t need to be perfect, so adjust as desired. Cut a total of 12 fabric strips.


Fold and press the strips of fabrics in half by the width with wrong sides together. Either glue the wrong side together or edge stitch with a sewing machine. Tie the scarves onto all 12 snowmen.


You may want to color in 3 more long sewing pins for buttons. If so, then insert them into the body of the snowman. Color as many pins as desired for the number of snowmen as desired. Congratulations. You have made 12 adorable snowmen.


If you like this free tutorial, then show me your appreciation by following me on my social media. I also posted and shared some reels on my social media platforms. Be sure to check them out. I’d love to see your version. Make sure to share a pic of your tree by tagging me with @bysandraclemons.


Merry Christmas, everyone!

Sandra


Related Posts Plugin for WordPress, Blogger...